Introduction
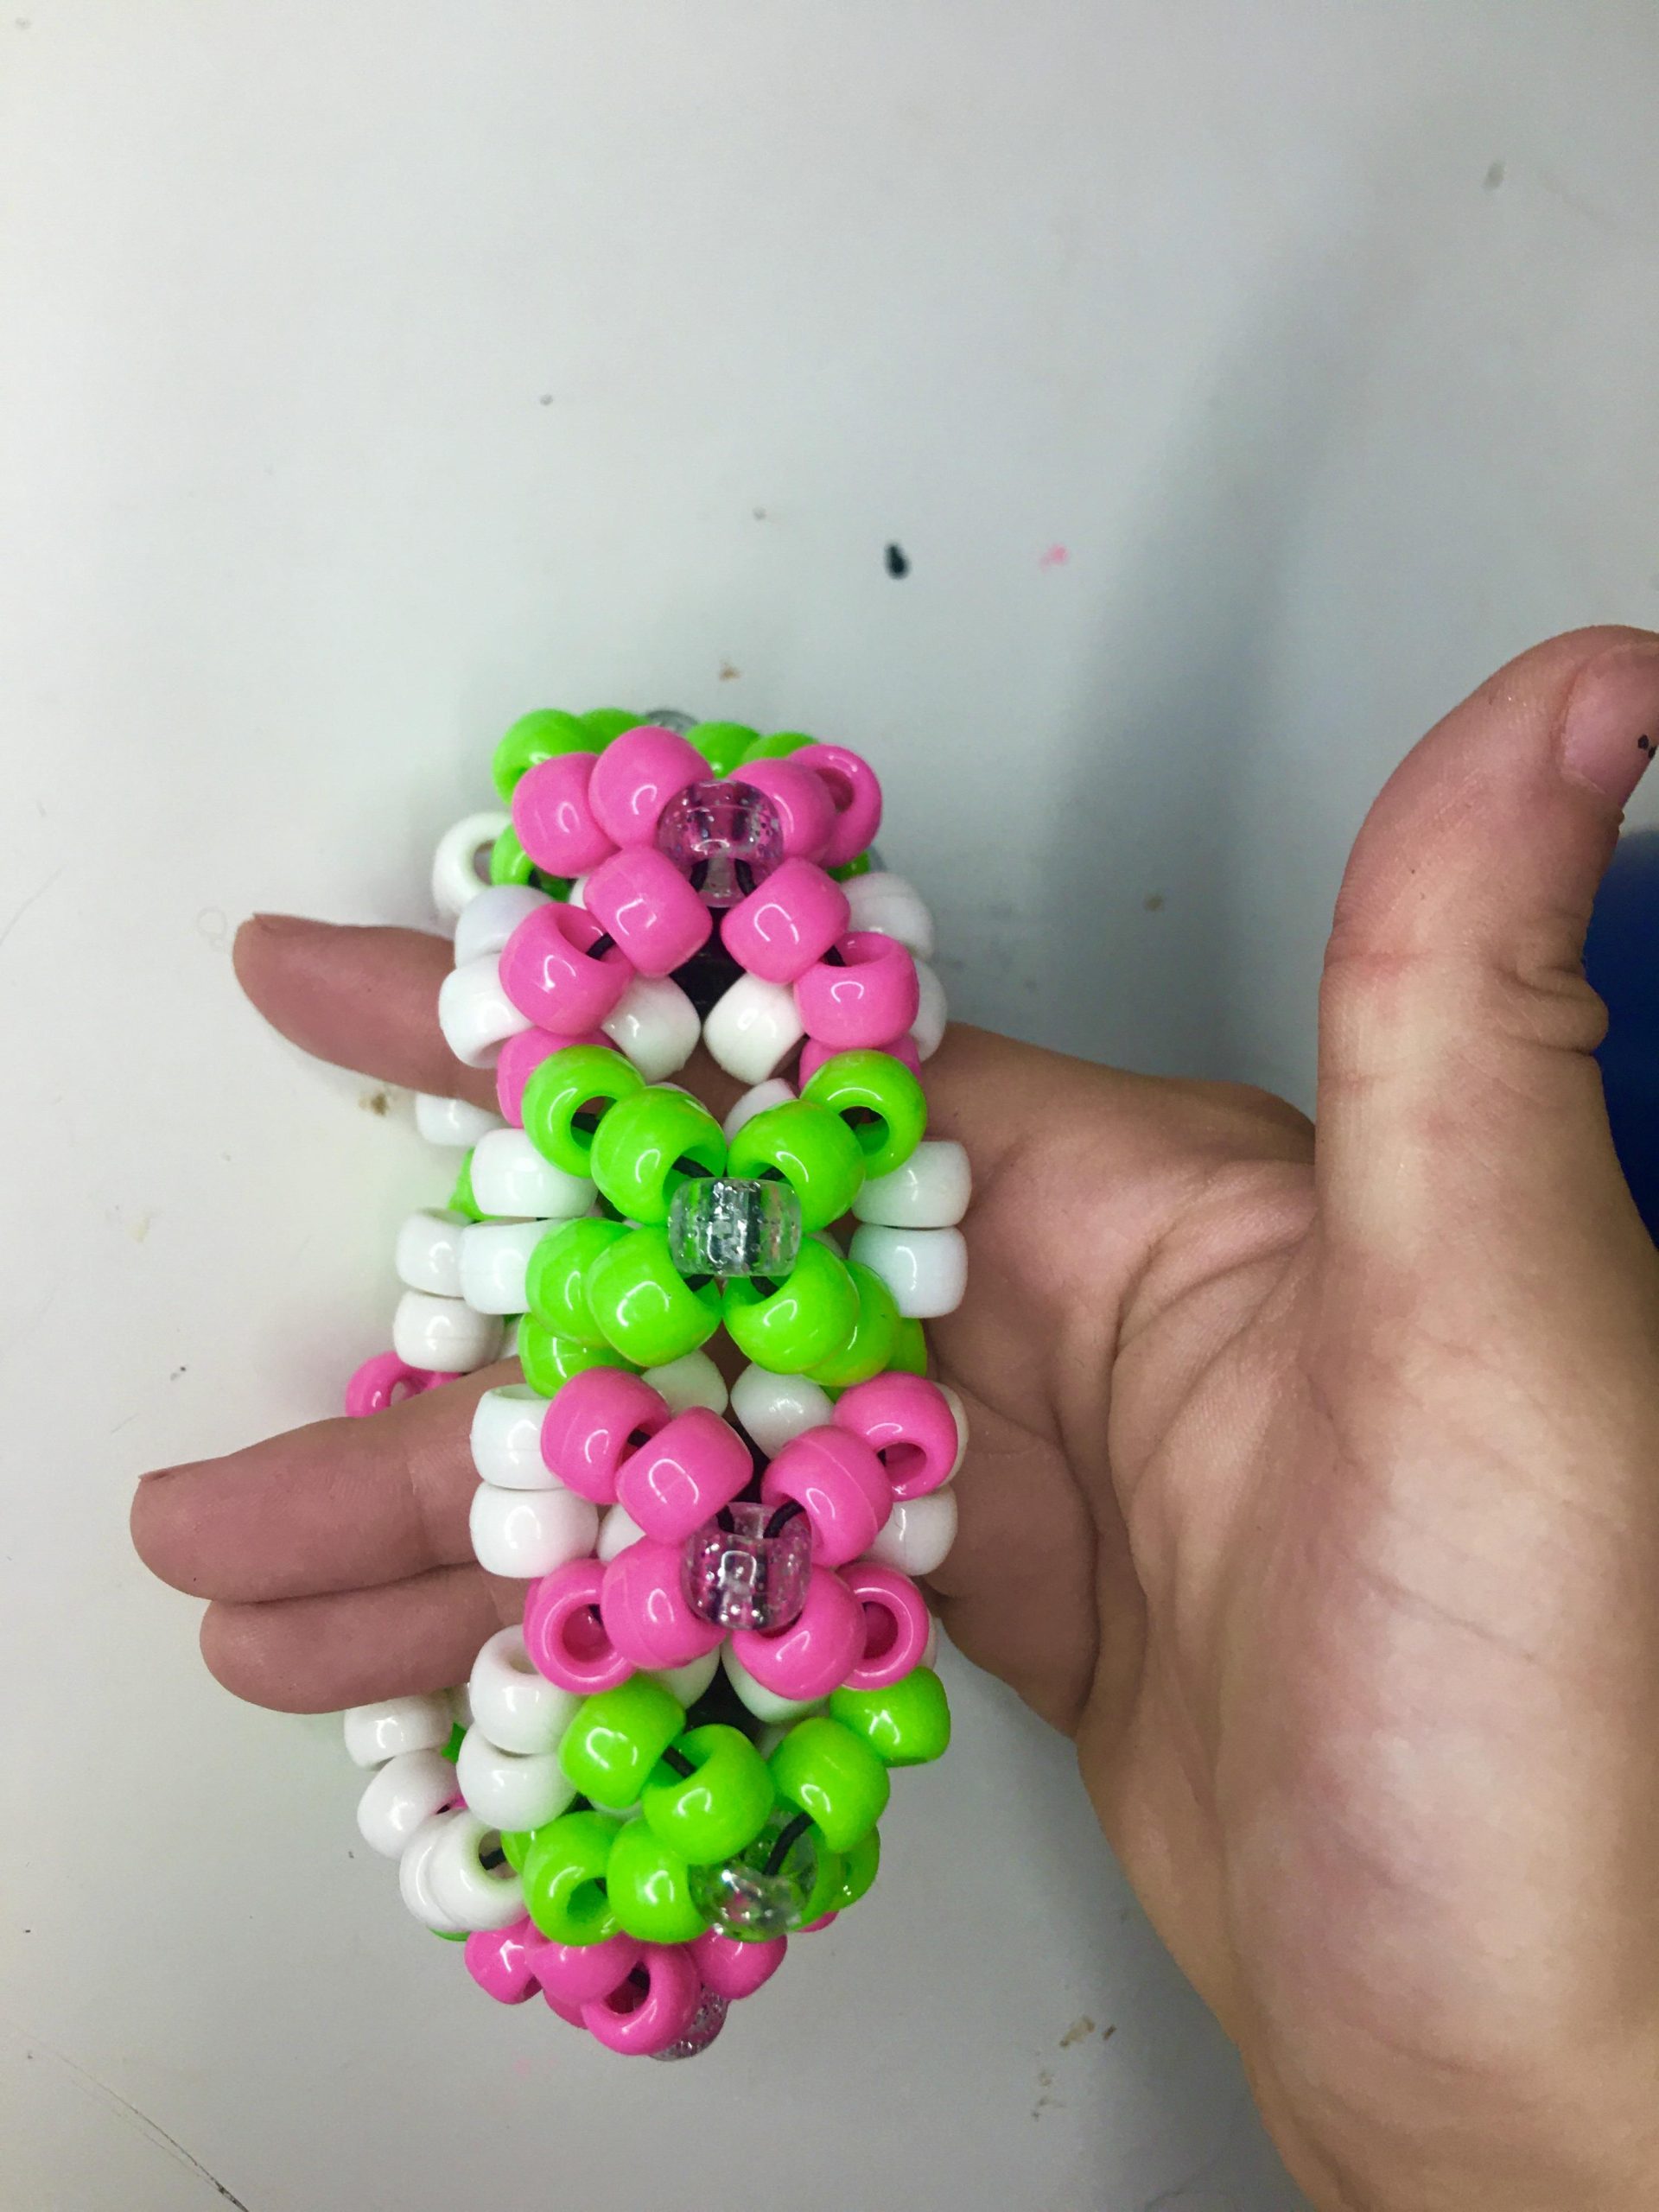
Kandi bracelets, a vibrant symbol of electronic dance music (EDM) culture and friendship, are not just accessories; they’re wearable art pieces exchanged between friends at music festivals and raves. These colorful, beaded bracelets express individuality, unity, and creativity. In this comprehensive tutorial, we’ll guide you through making your own personalized Kandi bracelets, step by step.
Materials You’ll Need:
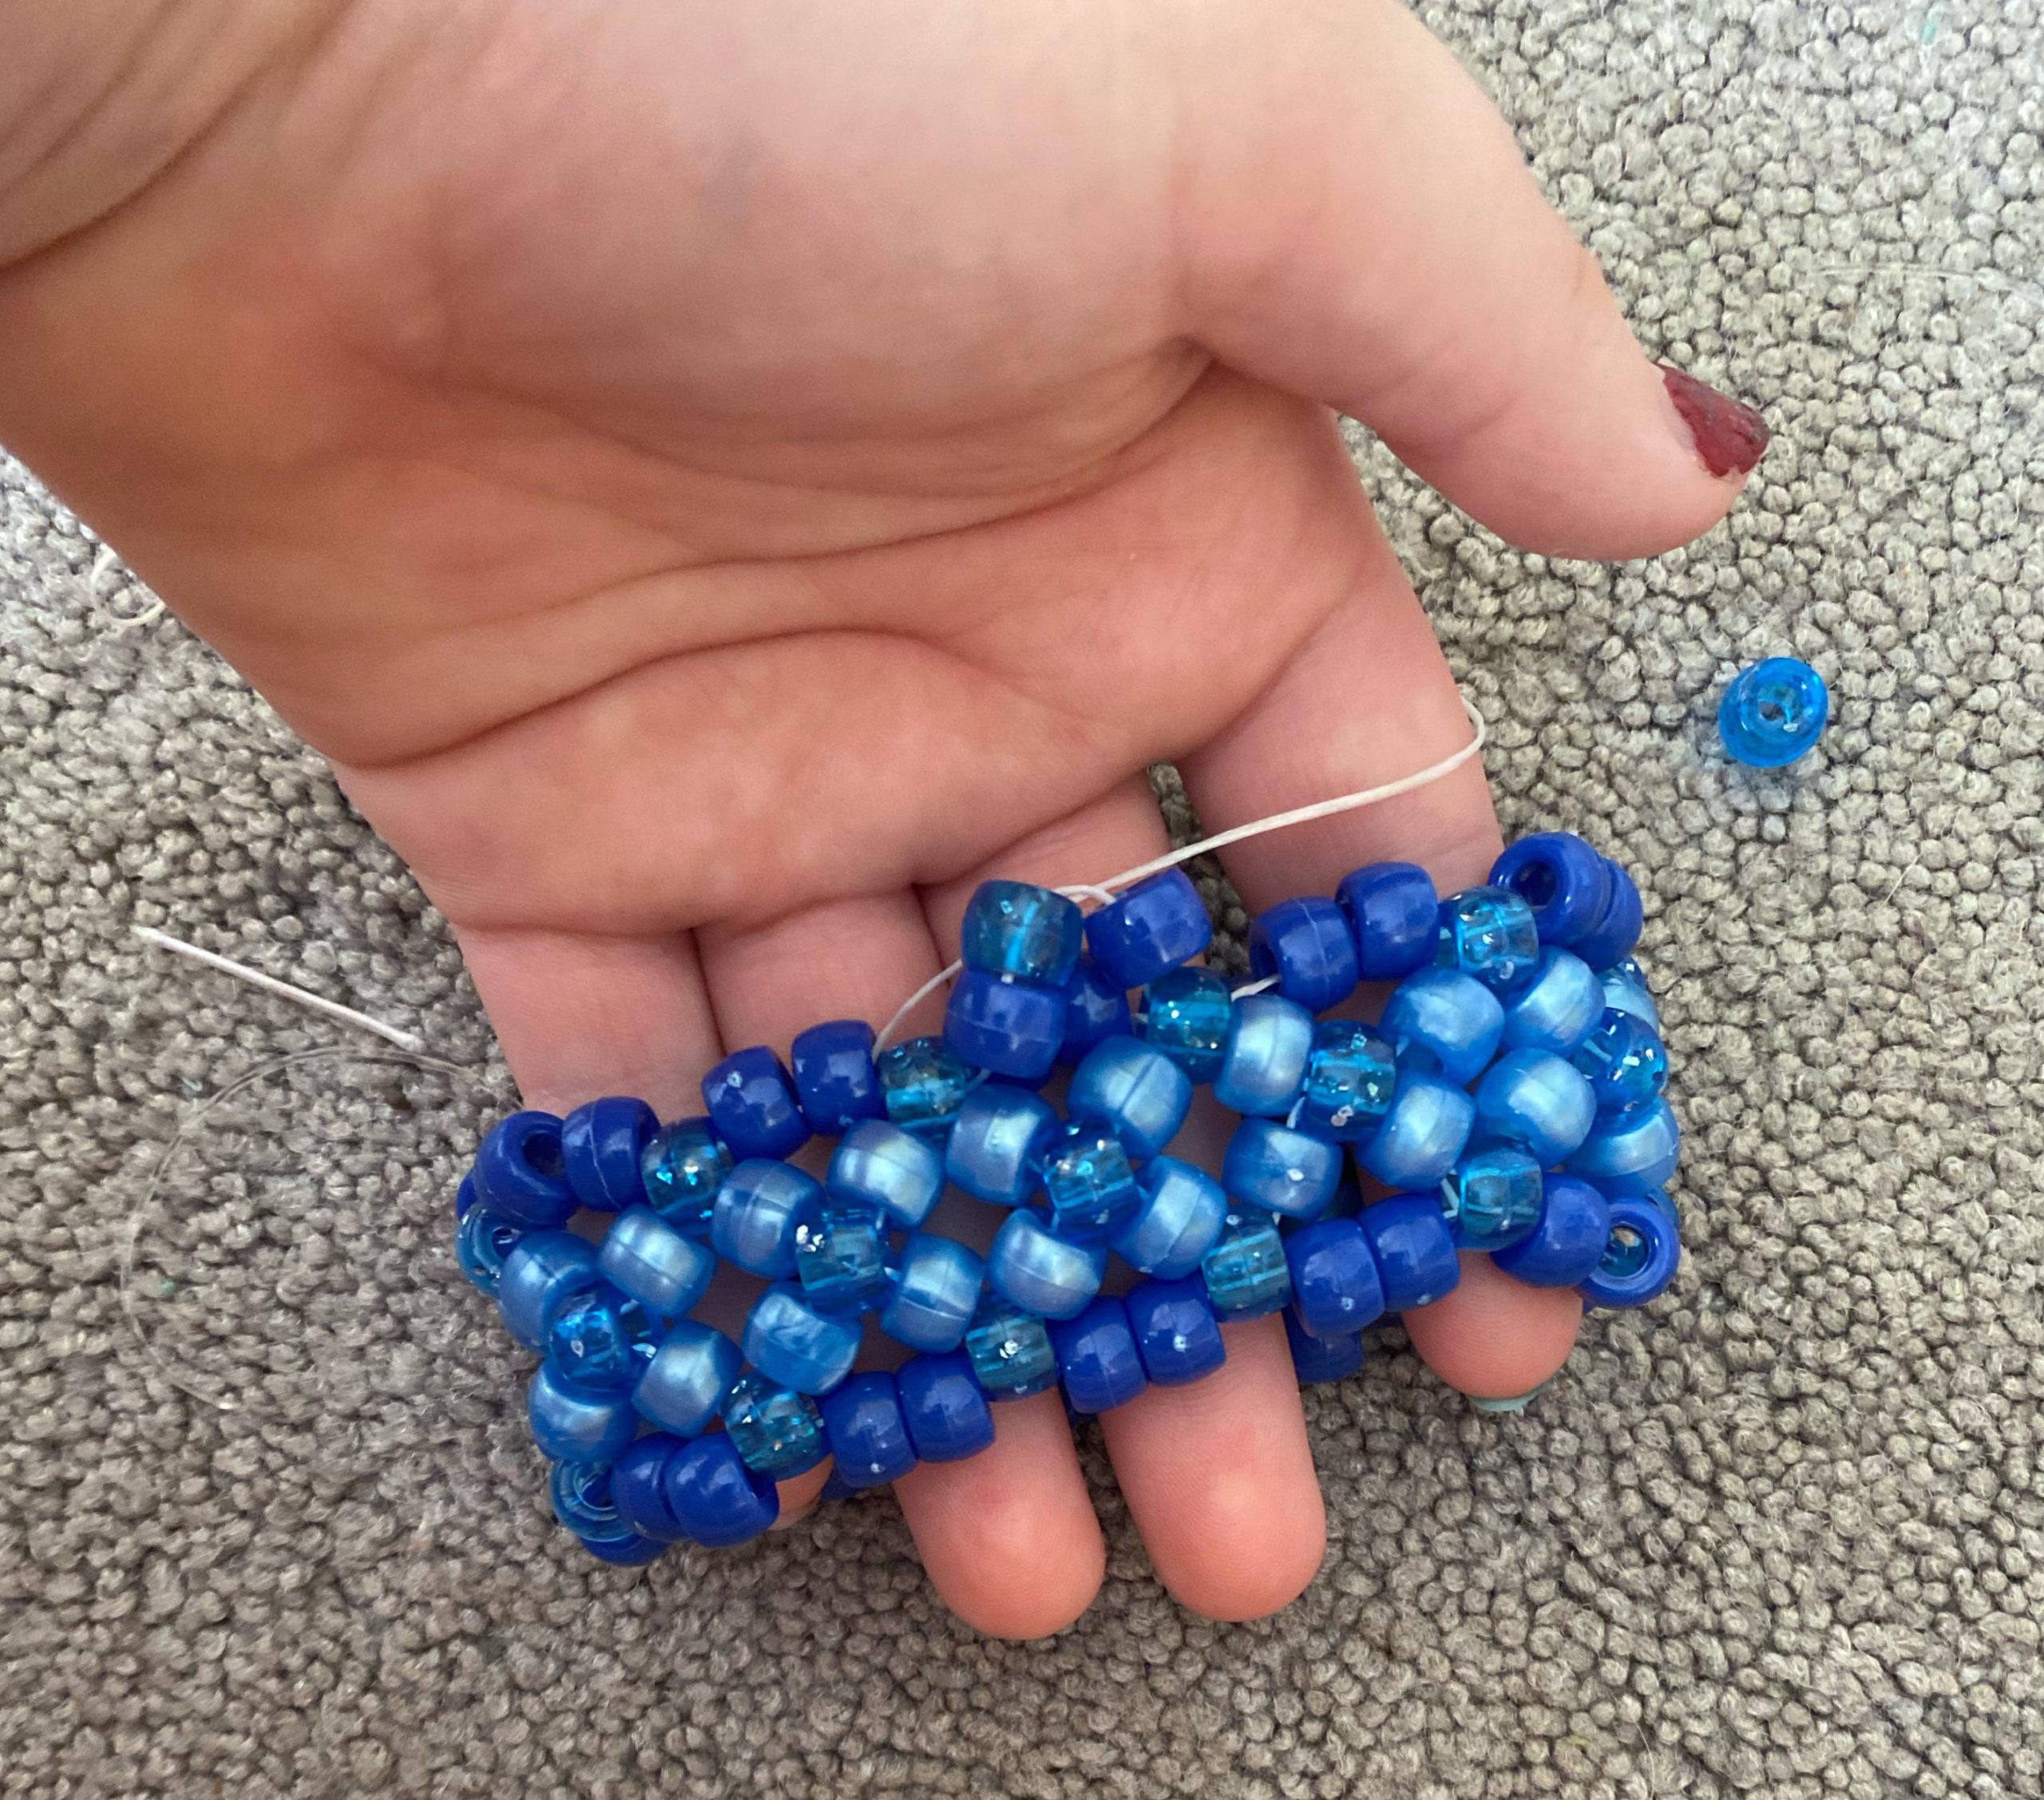
- Beads: An array of pony beads in various colors. These plastic beads typically measure around 6mm x 9mm and have a large hole for easy threading.
- Elastic Cord: Clear stretchy cord or elastic thread, suitable for jewelry making. It’s best to choose a thickness that matches the bead holes.
- Scissors: Sharp enough to cut the elastic cord.
- Lighter: To seal the ends of the cord and prevent fraying.
- ** Clipboard or Tape:** Optional, to secure your work and prevent the beads from sliding off.
Step-by-Step Guide:
1. Plan Your Design
Before you start threading, decide on your pattern. You can create stripes, repeating patterns, or even spell out words using alphabet beads. Sketching out your design beforehand can be helpful.
2. Measure and Cut the Cord
Measure out a length of elastic cord that will fit comfortably around your wrist with a bit of extra room for tying off. A good starting point is about 7 inches for a standard adult bracelet, but adjust according to preference.
3. Secure the Cord
Tie a simple knot at one end of the cord, leaving a small tail (around 1 inch). You can also tape the end to a flat surface or clipboard to keep the beads from slipping off as you work.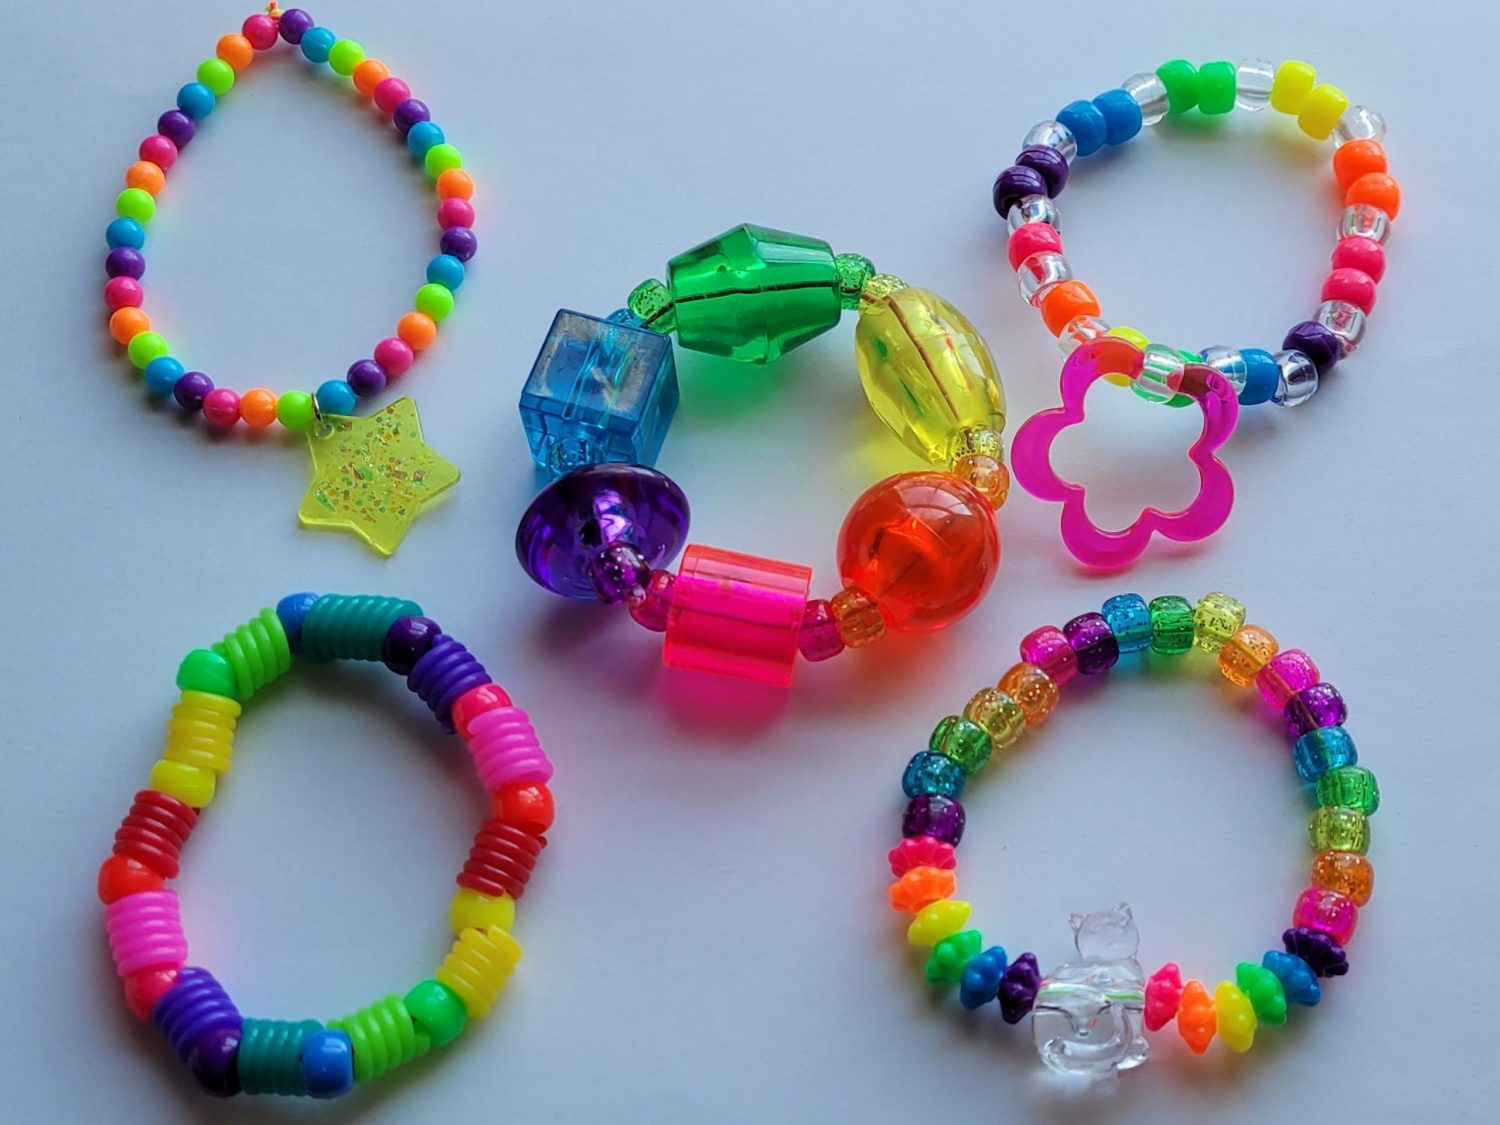
4. Start Beading
Thread your beads onto the cord following your planned design. Remember to alternate colors or patterns consistently for a uniform look. If you’re spelling out words, start from the center and work outward to ensure symmetry.
5. Check the Fit
Once you’ve added enough beads to cover the desired bracelet length, try it on your wrist to check the fit. It should be snug but not too tight, allowing for a little stretch.
6. Tie Off and Finish
After confirming the fit, tie the ends of the cord together using a double knot or square knot for added security. Make sure the knot is tucked neatly into the beads so it’s not visible from the outside. Trim any excess cord close to the knot.
7. Seal the Knot
To prevent the knot from unraveling and to secure the ends, carefully melt the cut edges of the cord using a lighter. Be cautious not to burn the beads or cord. This step is crucial for ensuring the longevity of your bracelet.
8. Repeat and Customize
Now that you’ve mastered the basic technique, feel free to experiment with different patterns, color combinations, and even adding charms or special beads to make each bracelet unique.
Advanced Techniques:
- Inverted Patterns: Create a mirror image of your design on both sides of the bracelet for a symmetrical and intricate look.
- Kandi Cuffs: Use wider elastic bands or multiple cords to create thicker, cuff-style bracelets that cover more of your wrist.
- Advanced Word Patterns: Incorporate more complex word or phrase designs using a combination of letter and decorative beads.
Kandi bracelet making is not just a craft; it’s a community-building activity that fosters connections and spreads positivity. Share your creations with friends, exchange them at events, or gift them as symbols of friendship and shared experiences. Happy beading!
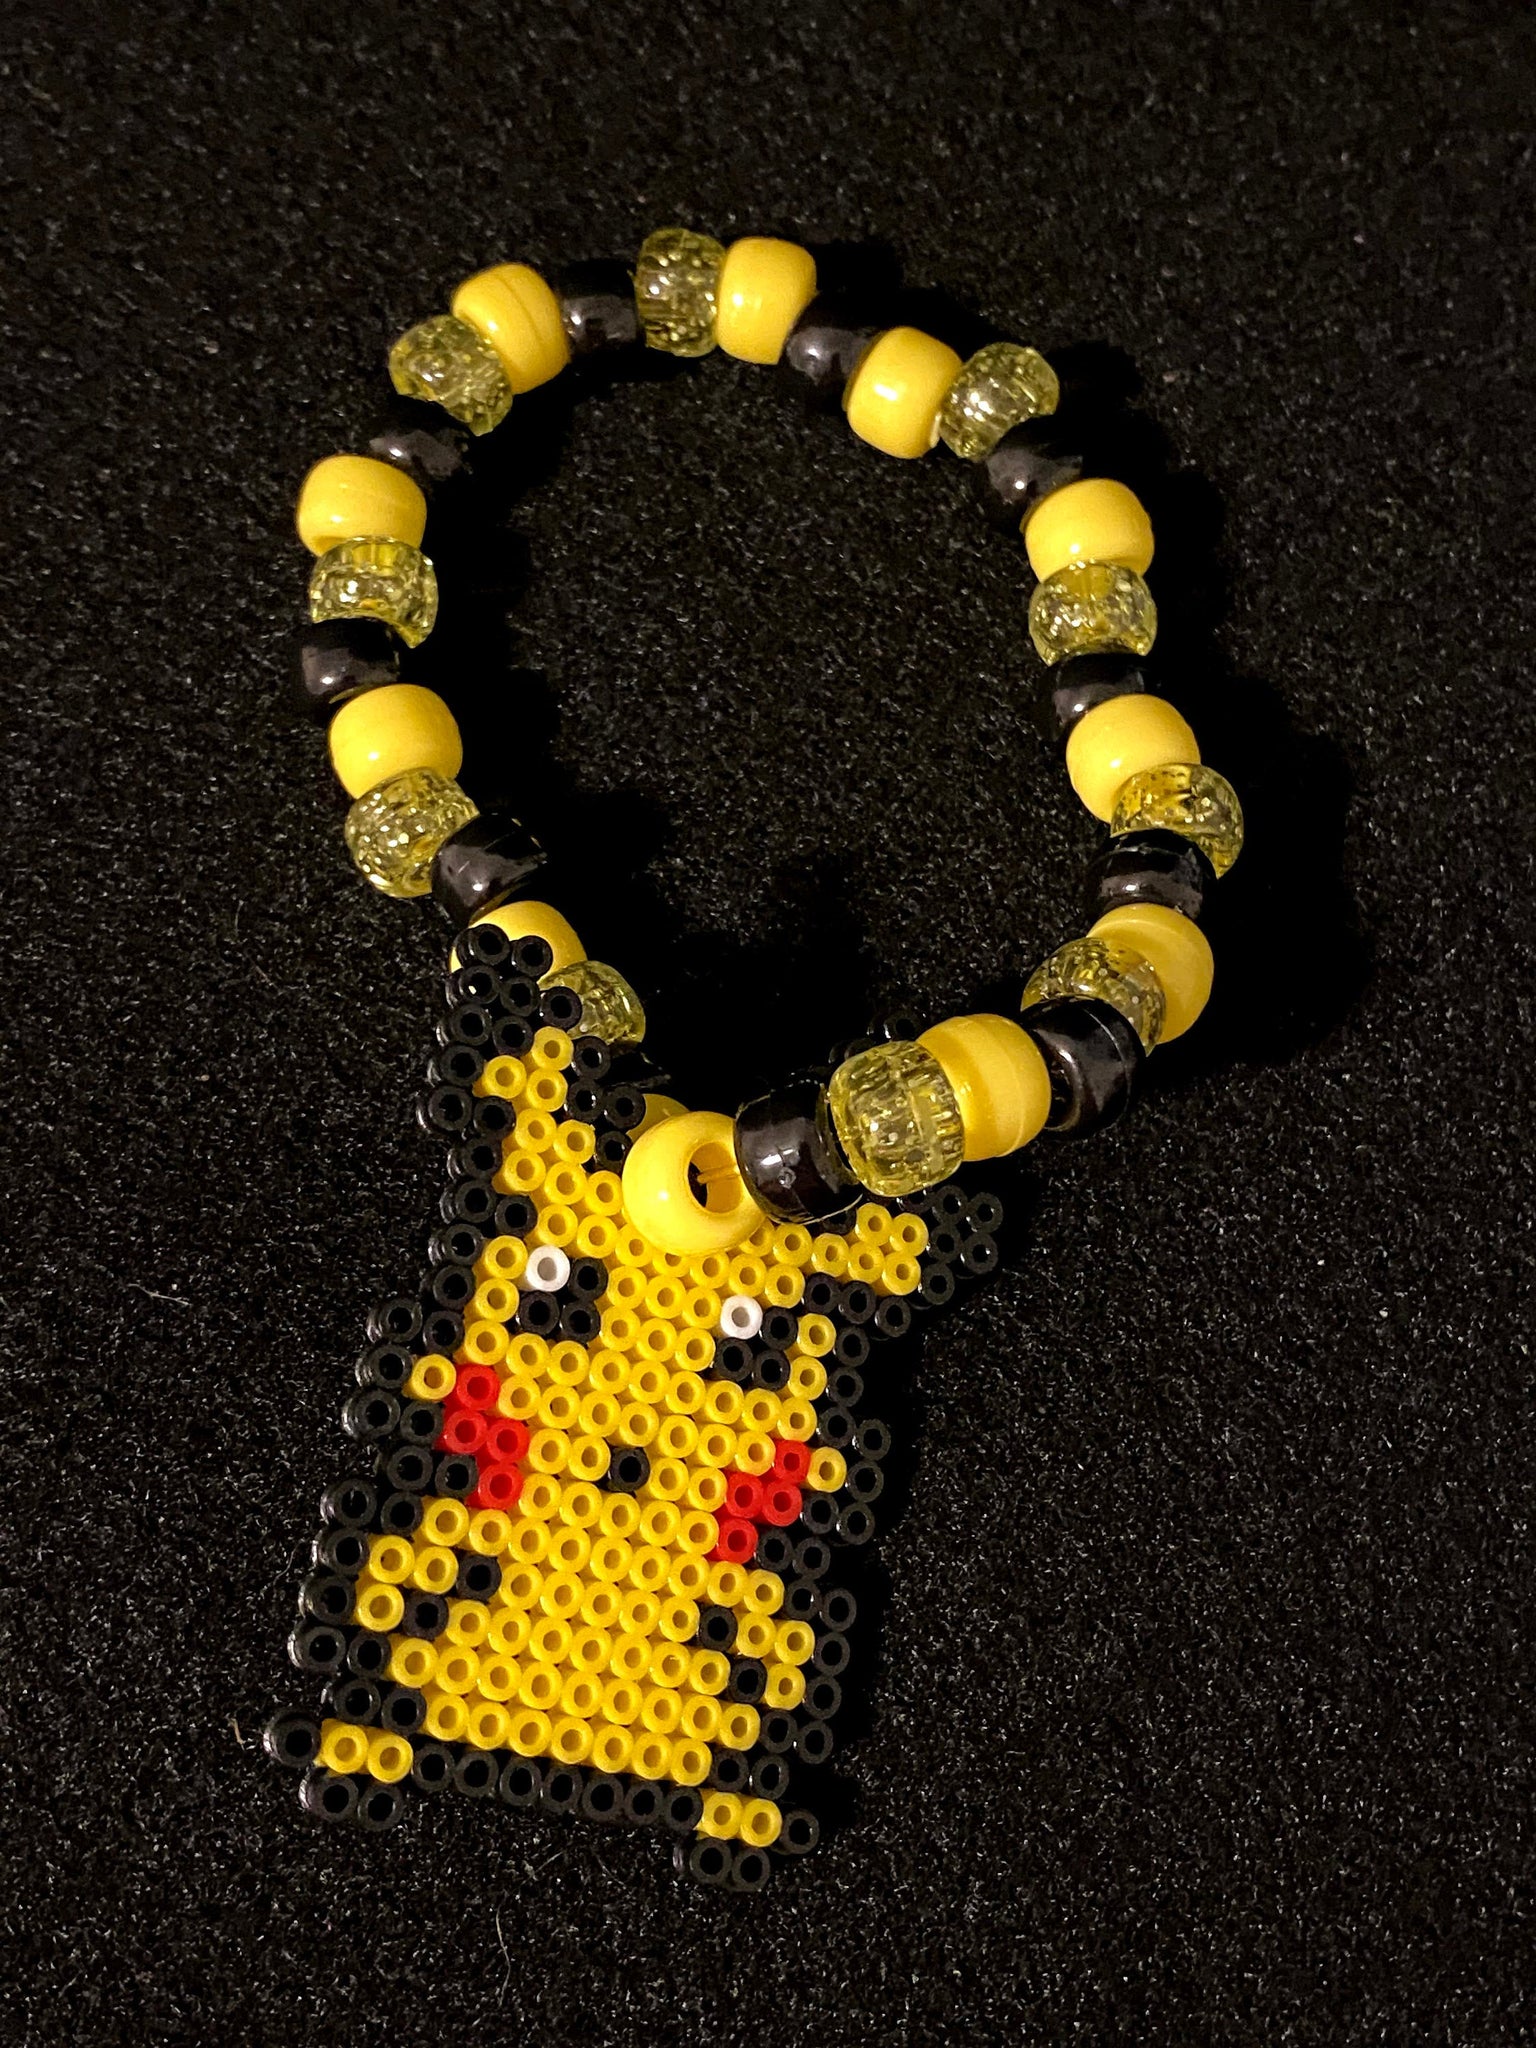
Adding Charms and Pendants:
Charms and pendants can elevate your Kandi bracelets, giving them a personal touch and added charm. Here’s how to incorporate these elements:
Choosing Charms
Select charms that resonate with your personality or match the theme of the bracelet. From peace signs and hearts to music notes and festival-themed pendants, there’s a charm for every style. Ensure the loop or attachment point of the charm fits through the elastic cord.
Attaching Charms
- Direct Attachment: If the charm has an open loop, slide it onto the cord before beading or after completing the bracelet design, positioning it where desired. Secure the charm in place by threading a few beads above and below it.
- Jump Ring Method: For charms without a suitable loop, use a jump ring (a small metal ring used in jewelry making). Open the jump ring using pliers, attach the charm to it, then close the ring securely. Slide this onto the cord as mentioned above.
- Using Split Rings: Split rings function like tiny keyrings and are sturdier than jump rings. They’re ideal for heavier or frequently used charms. Attach the charm to a split ring and then to the bracelet in the same manner.
Including Pendants
Pendants are larger decorative elements that usually hang from the bracelet. To incorporate a pendant:
- Center Placement: Decide where you want the pendant to sit on the bracelet, typically at the center. Measure and mark this position on your cord.
- Attach Pendant: Thread the cord ends through the pendant’s loop or bail. If necessary, use a jump ring to attach the pendant to the cord.
- Resume Beading: Continue beading on either side of the pendant, ensuring it remains centered and secure within your design.
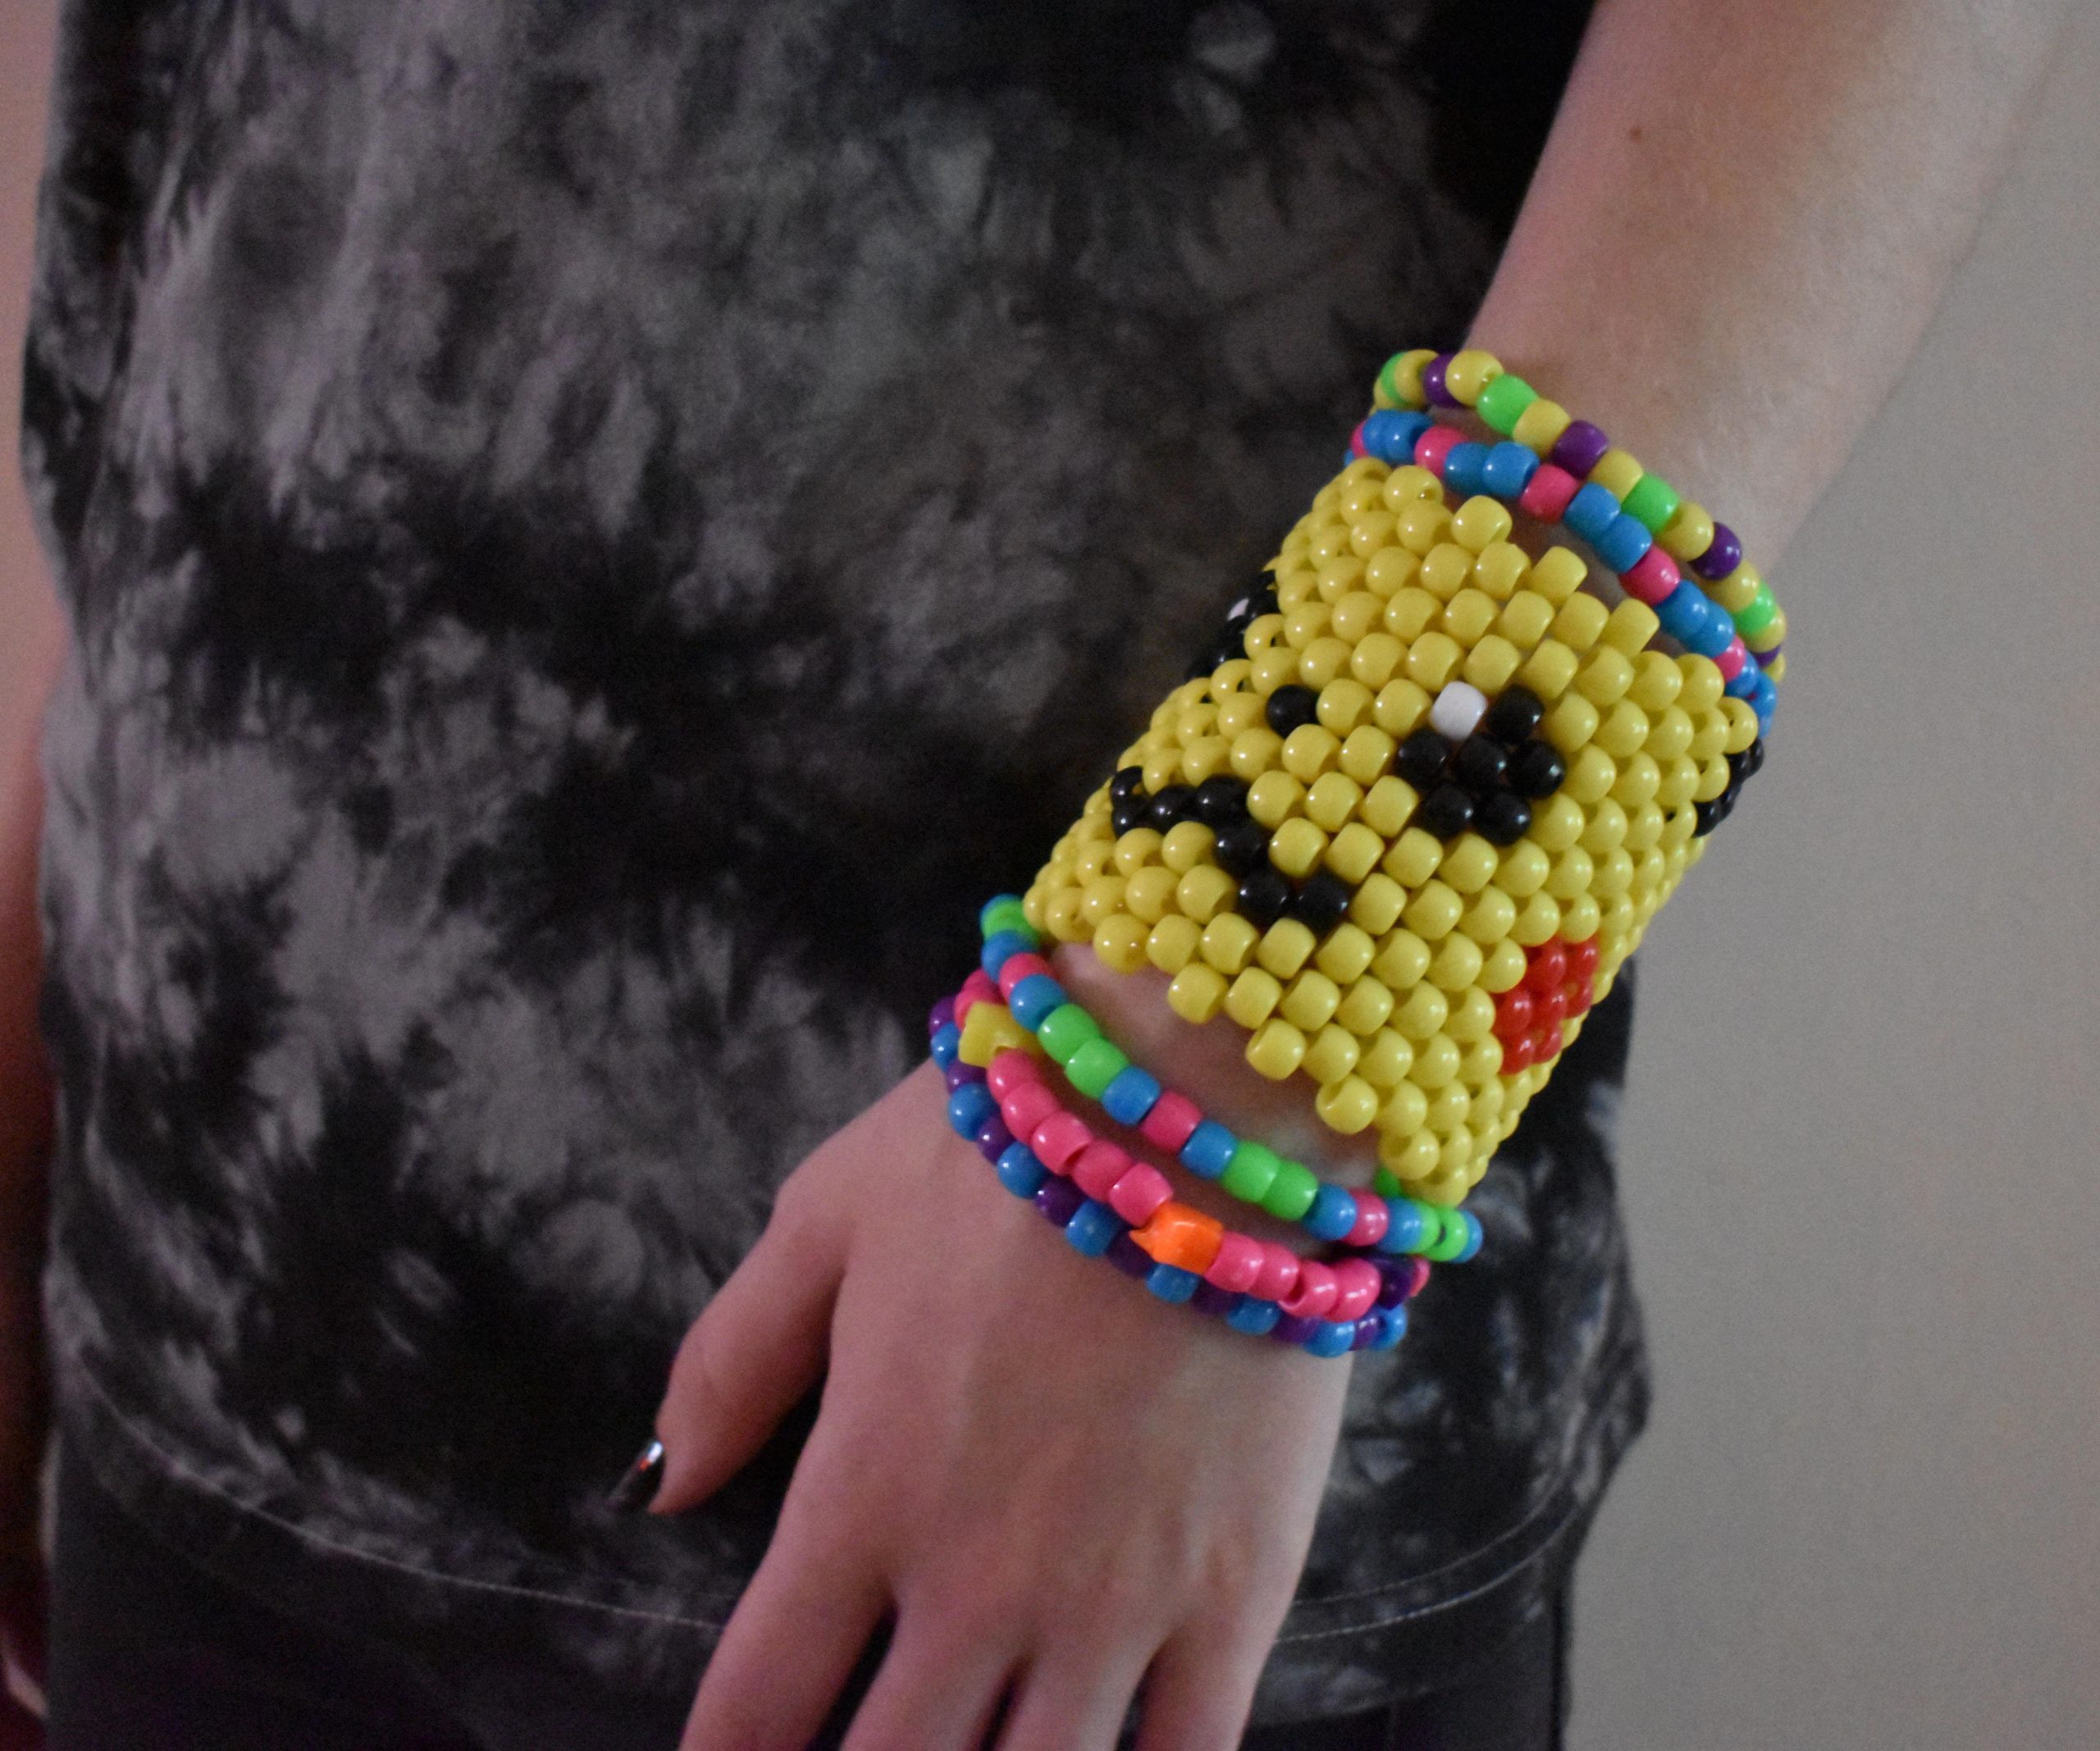
Personalizing with Friendship Symbols:
Kandi bracelets often include symbols that represent friendship, love, and unity. Some popular motifs include:
- Hearts: Symbolize love and affection.
- Peace Signs: Promote harmony and peace.
- Smiley Faces: Represent happiness and good vibes.
- Infinity Symbols: Signify eternal friendship.
- Handshake or High-Five Beads: Show unity and camaraderie.
Incorporate these symbols into your patterns, either as standalone beads or integrated into word messages, to add deeper meaning to your creations.
Organizing a Kandi Swap:
Kandi swapping is a cherished tradition at EDM events, where individuals trade their handmade bracelets as a symbol of connection and shared experience. To organize a swap:
- Create a Collection: Make a variety of bracelets in different styles and colors to appeal to diverse tastes.
- Spread the Word: Use social media or event groups to announce a Kandi swap meet-up at an upcoming event or even online.
- Exchange Respectfully: When swapping, approach others with a friendly demeanor and ask if they’d like to trade. It’s customary to offer a bracelet with both hands as a sign of respect.
- Document and Share: Take pictures of your swaps and share them online to showcase the artistry and spread positive vibes within the Kandi community.
Remember, Kandi making is all about self-expression and fostering connections. With each bracelet you create, you’re not only crafting a wearable piece of art but also contributing to a culture of love and unity. Keep experimenting, swapping, and spreading the joy!