Introduction
Body piercings have become a popular form of self-expression, and among the myriad options, conch piercings stand out for their unique location and aesthetic appeal. If you’re considering getting a conch piercing or simply curious about this intriguing ear modification, this guide will provide you with all the information you need.
What is a Conch Piercing?
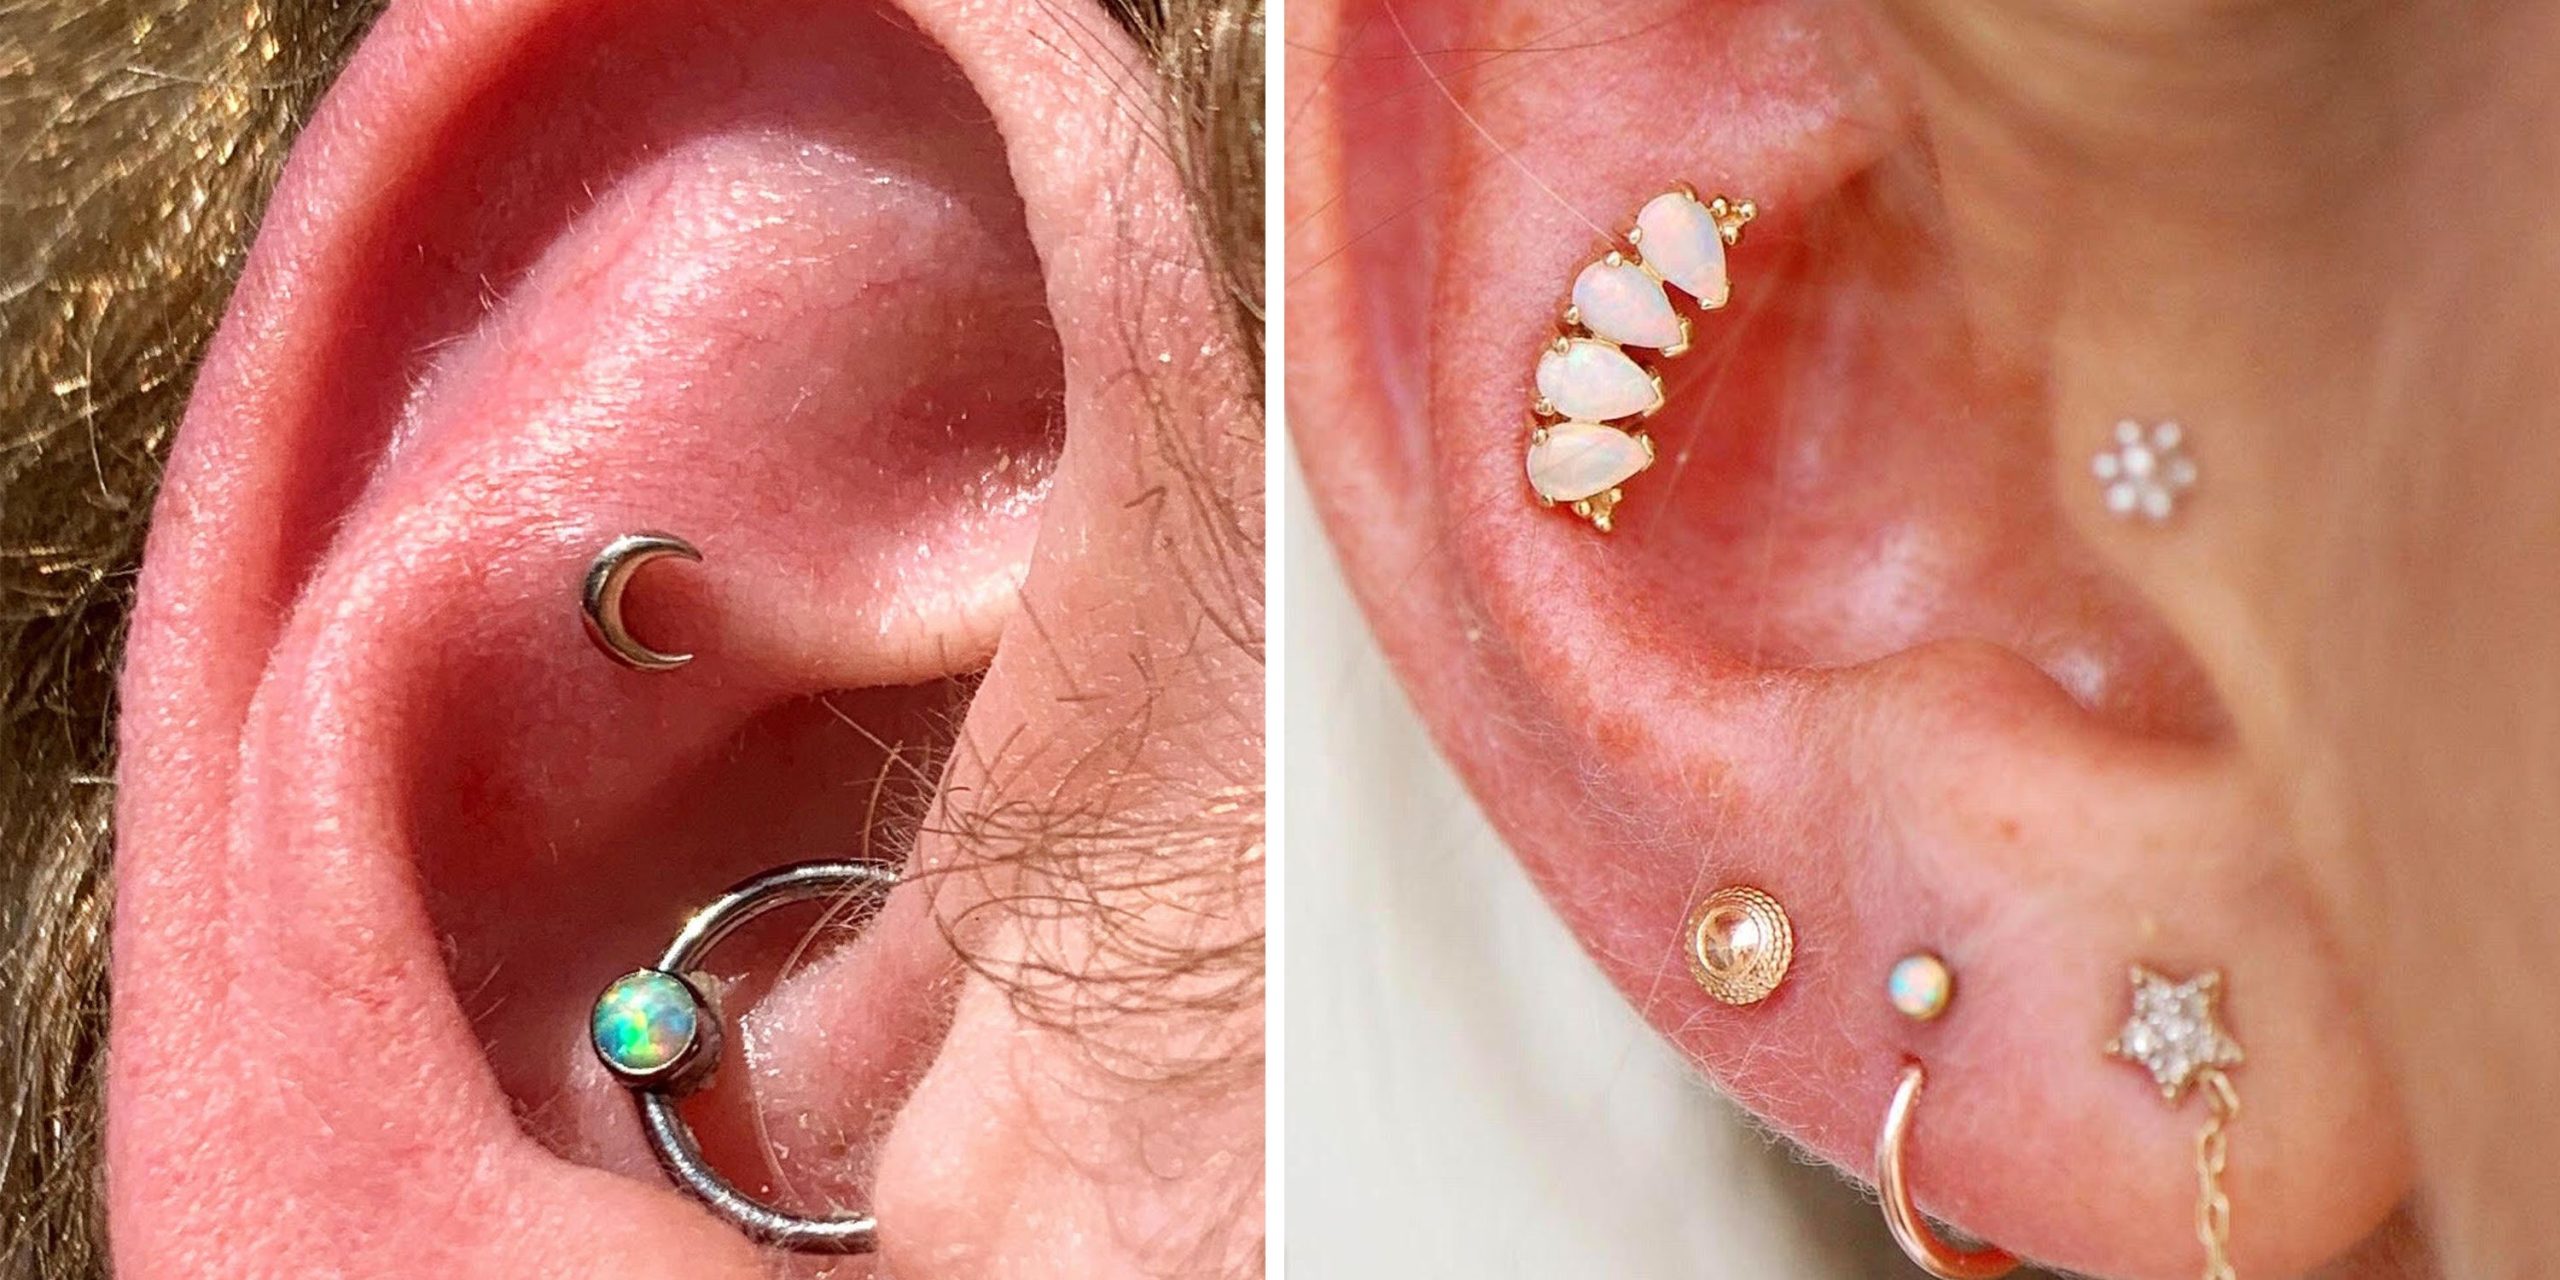
A conch piercing is a type of ear cartilage piercing located in the middle part of the ear, known as the concha. The concha is divided into two parts:
- Inner Conch: This is the deeper part of the ear cartilage, closer to the ear canal.
- Outer Conch: This sits on the flat part of the ear’s cartilage, more towards the outer edge of the ear.
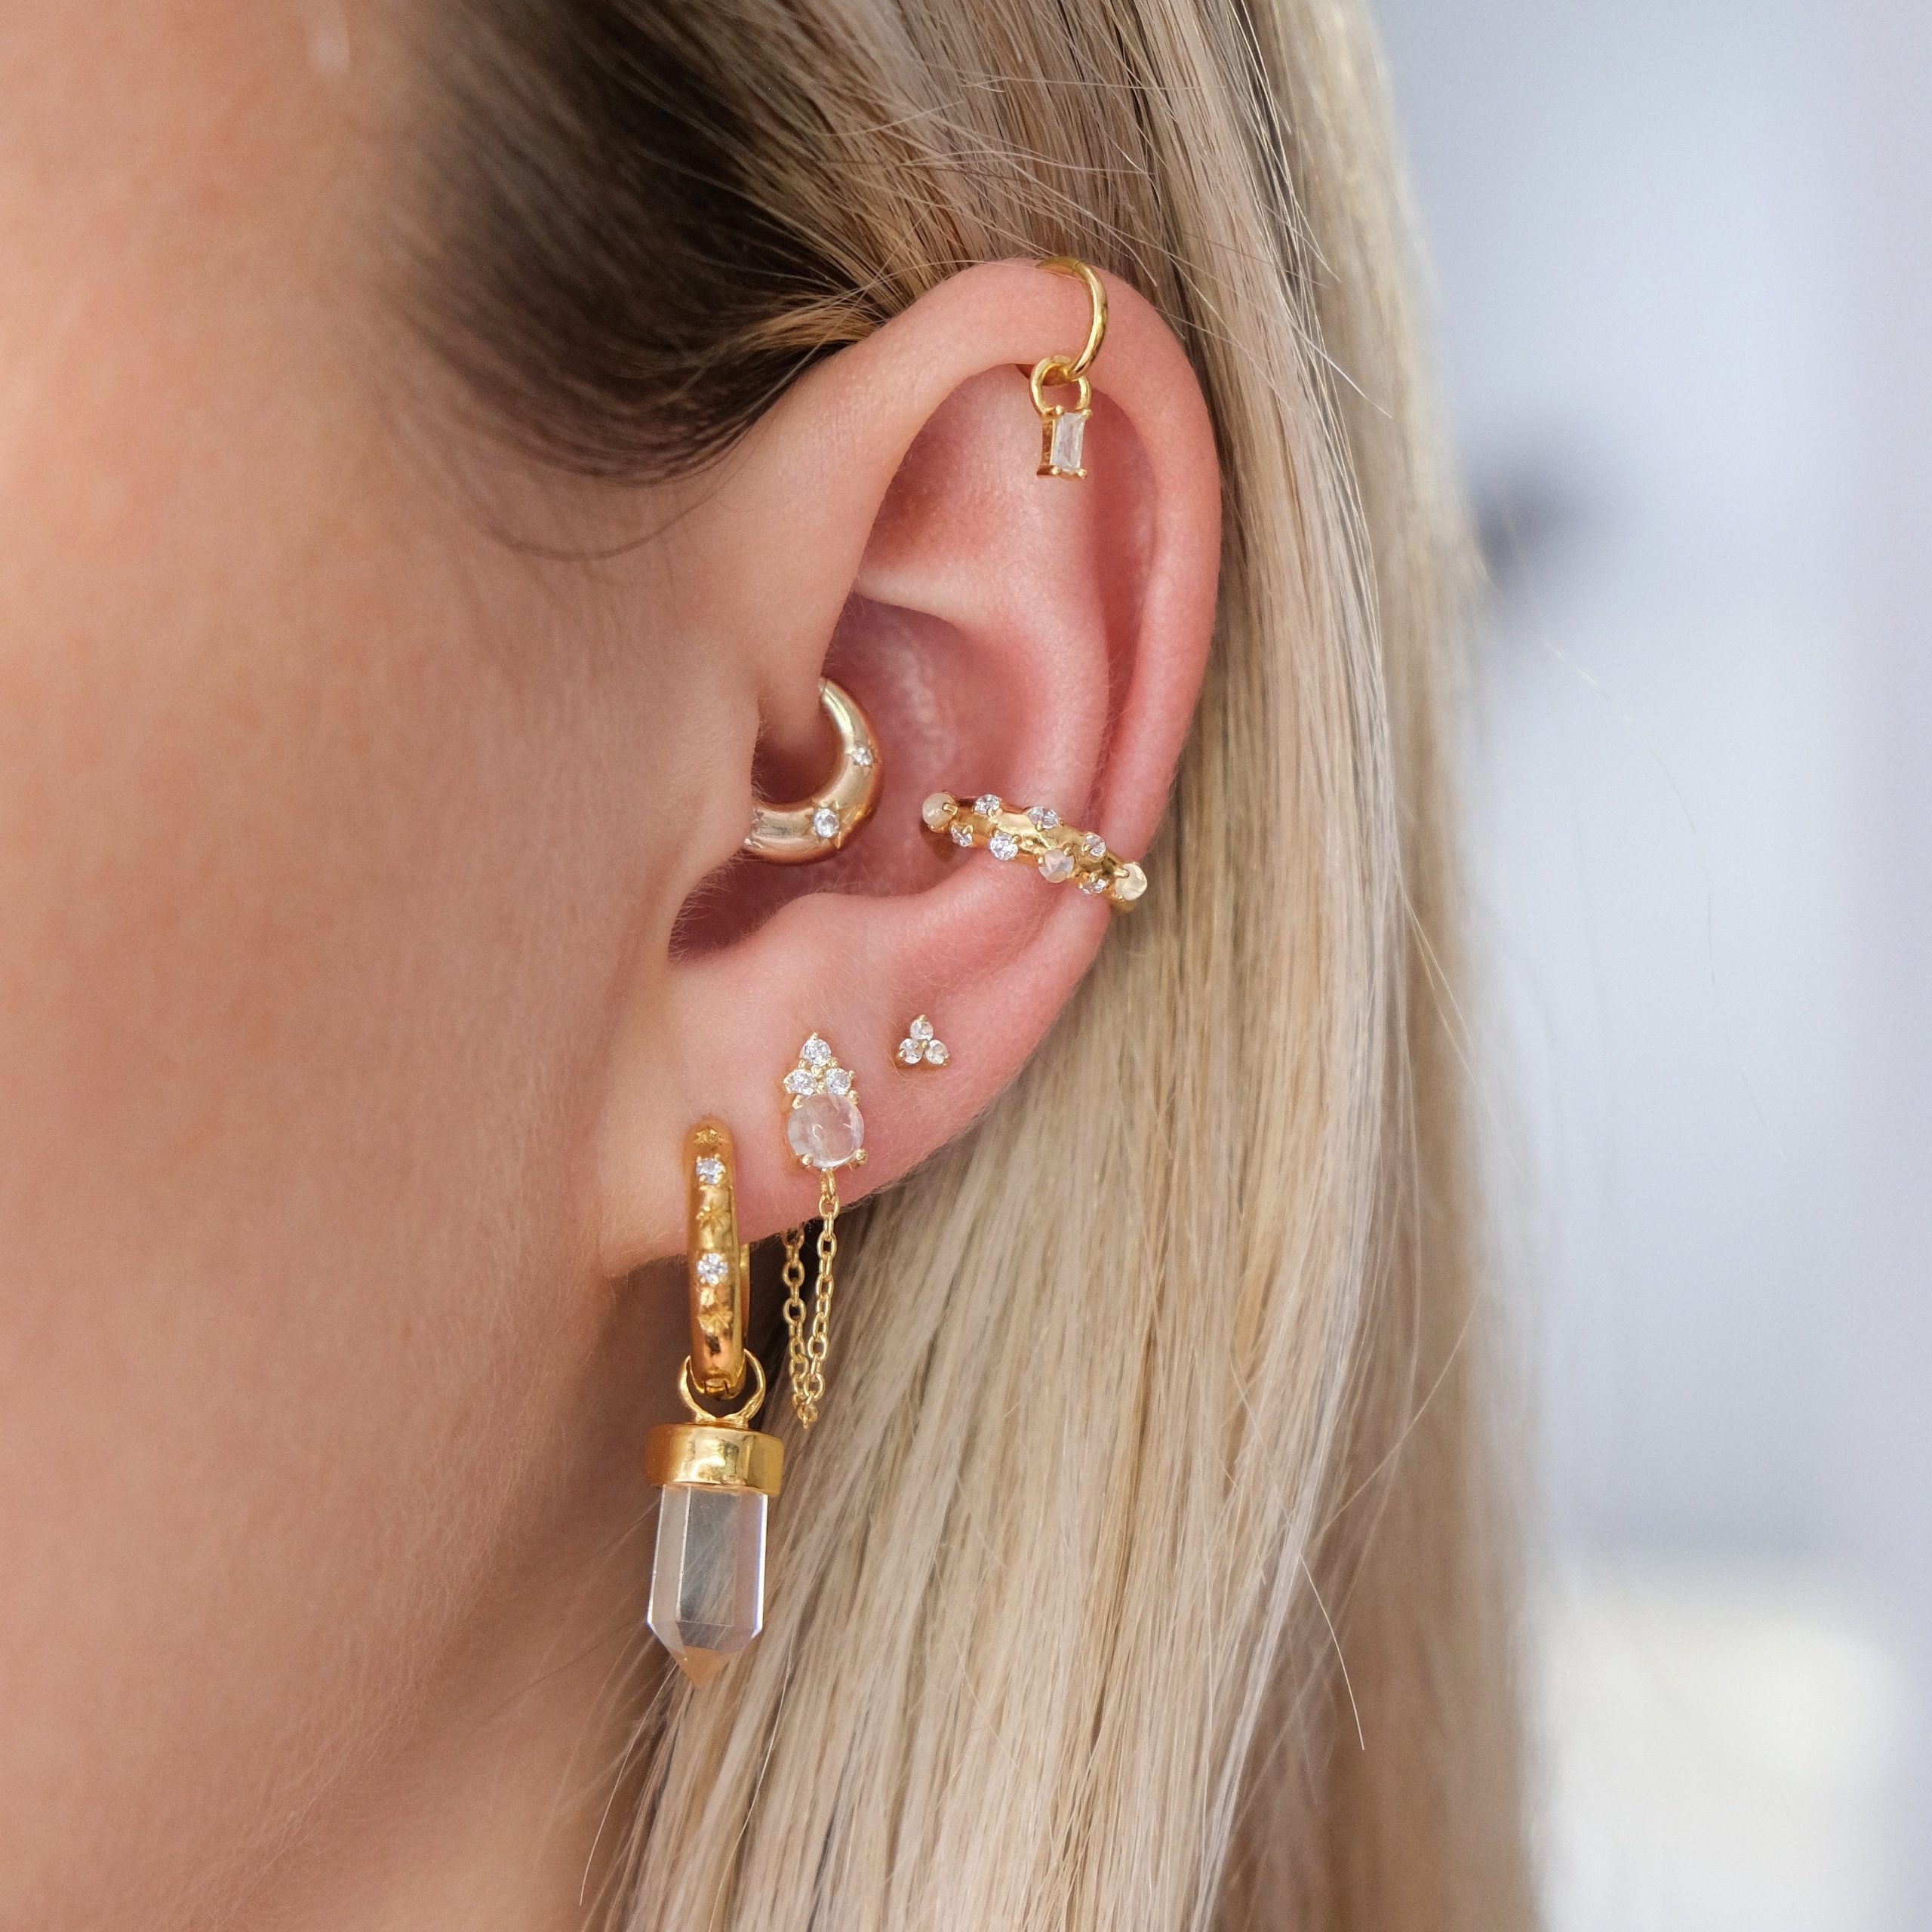
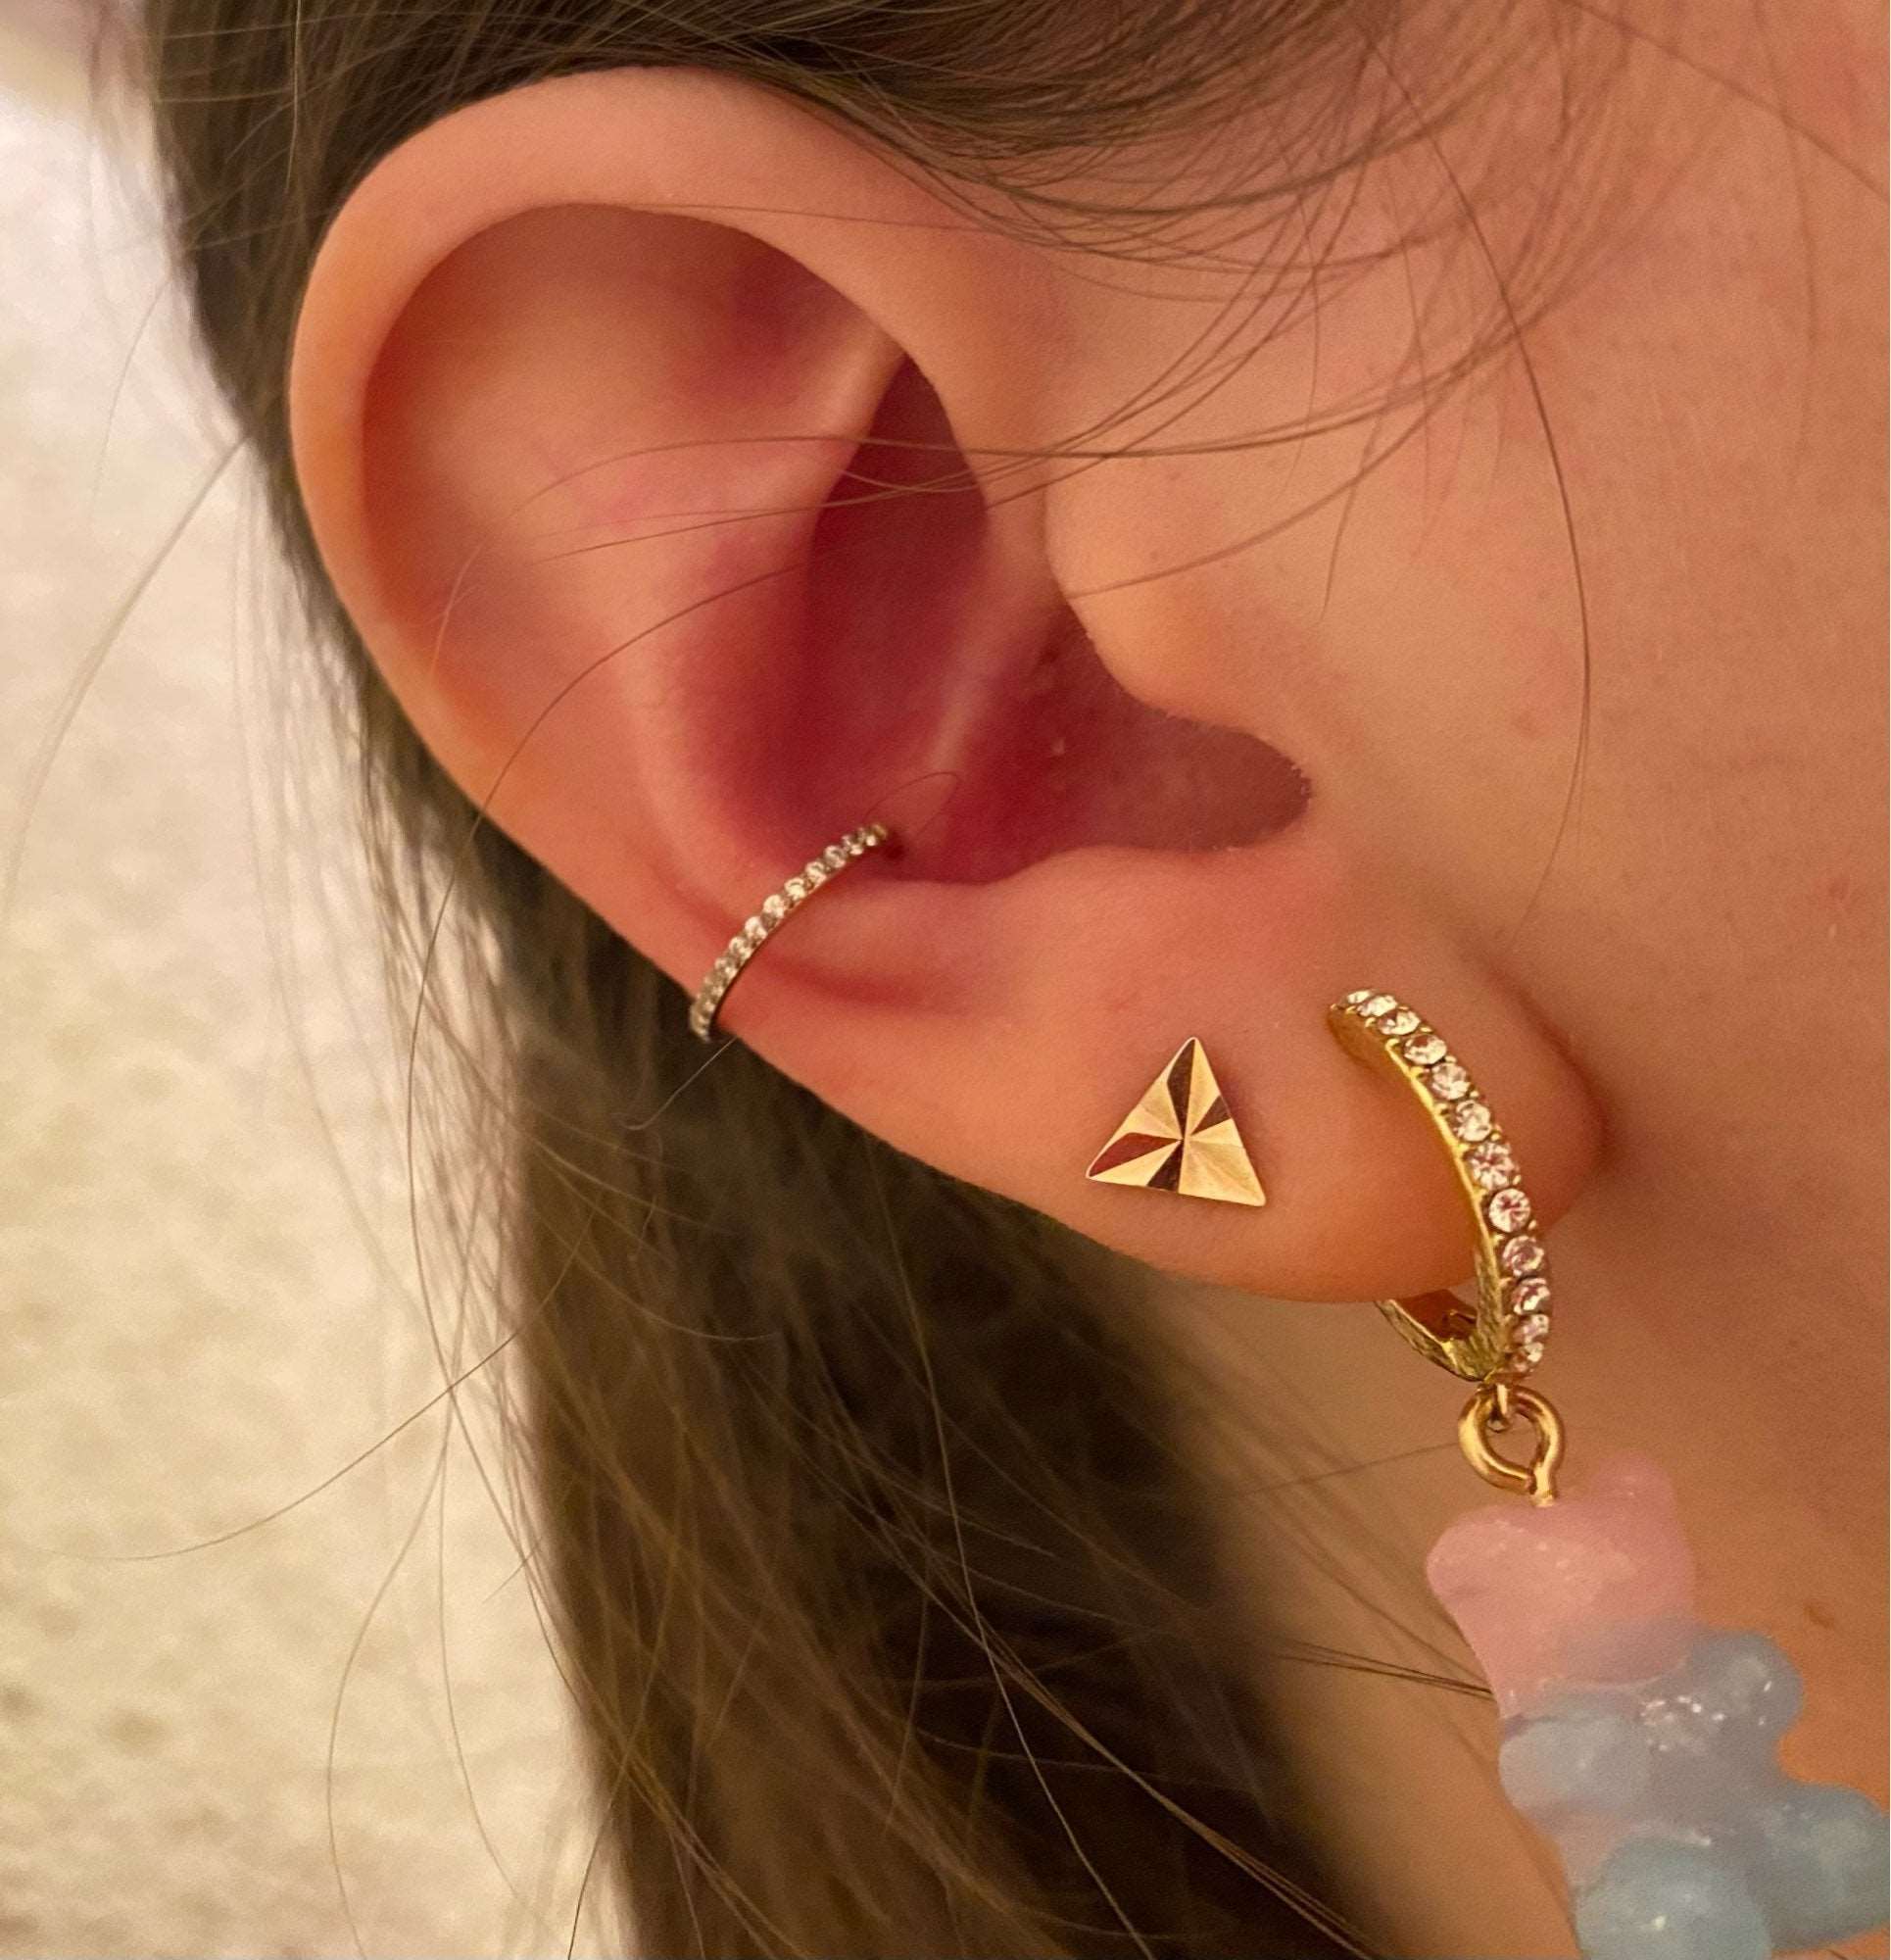
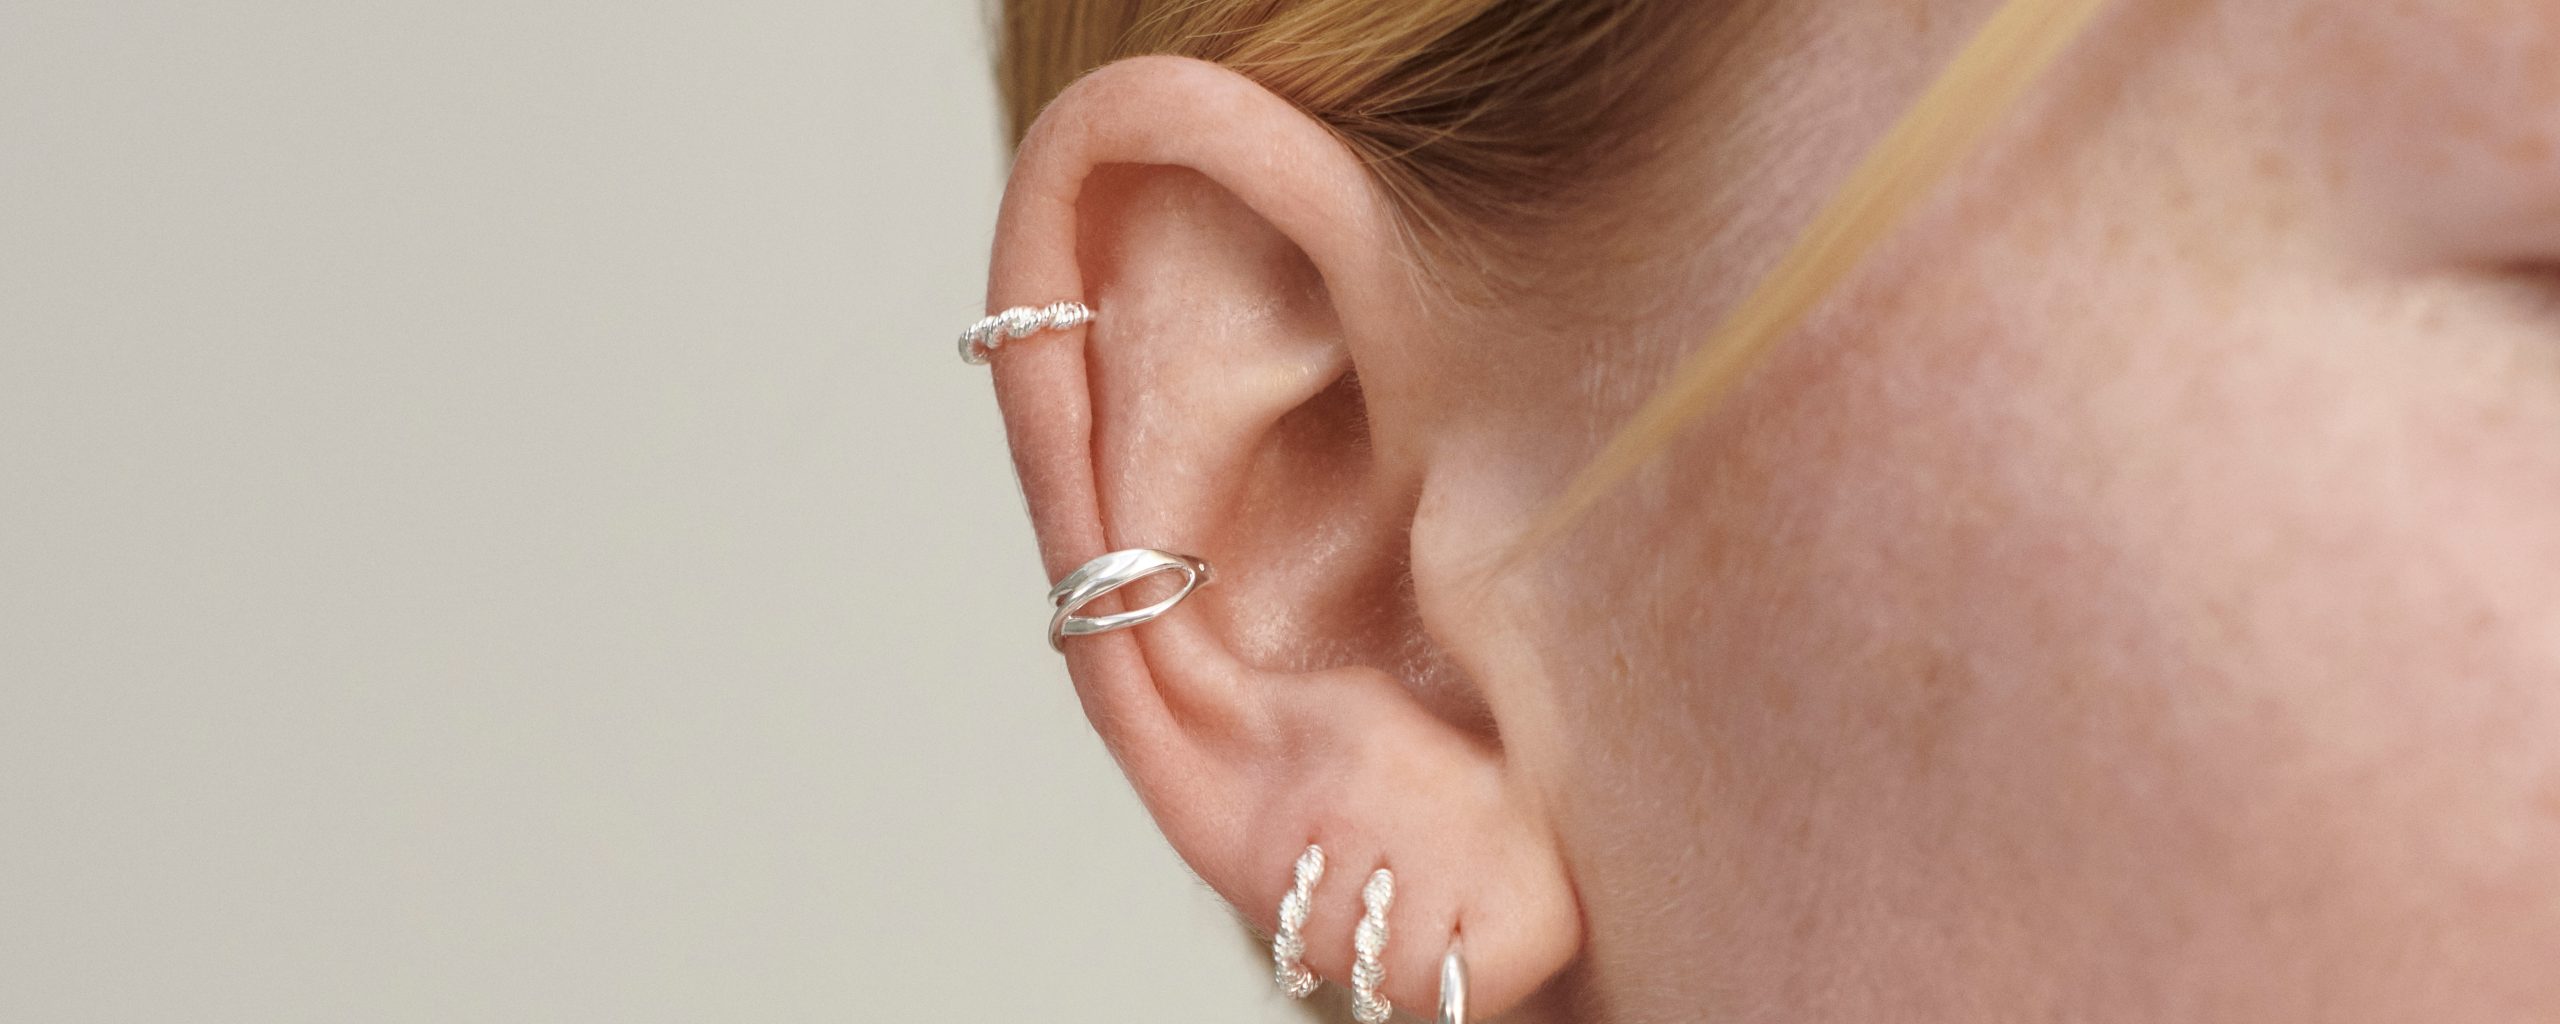
Conch piercings can be adorned with a variety of jewelry, including studs, hoops, and barbells, making them versatile and customizable.
Types of Conch Piercings
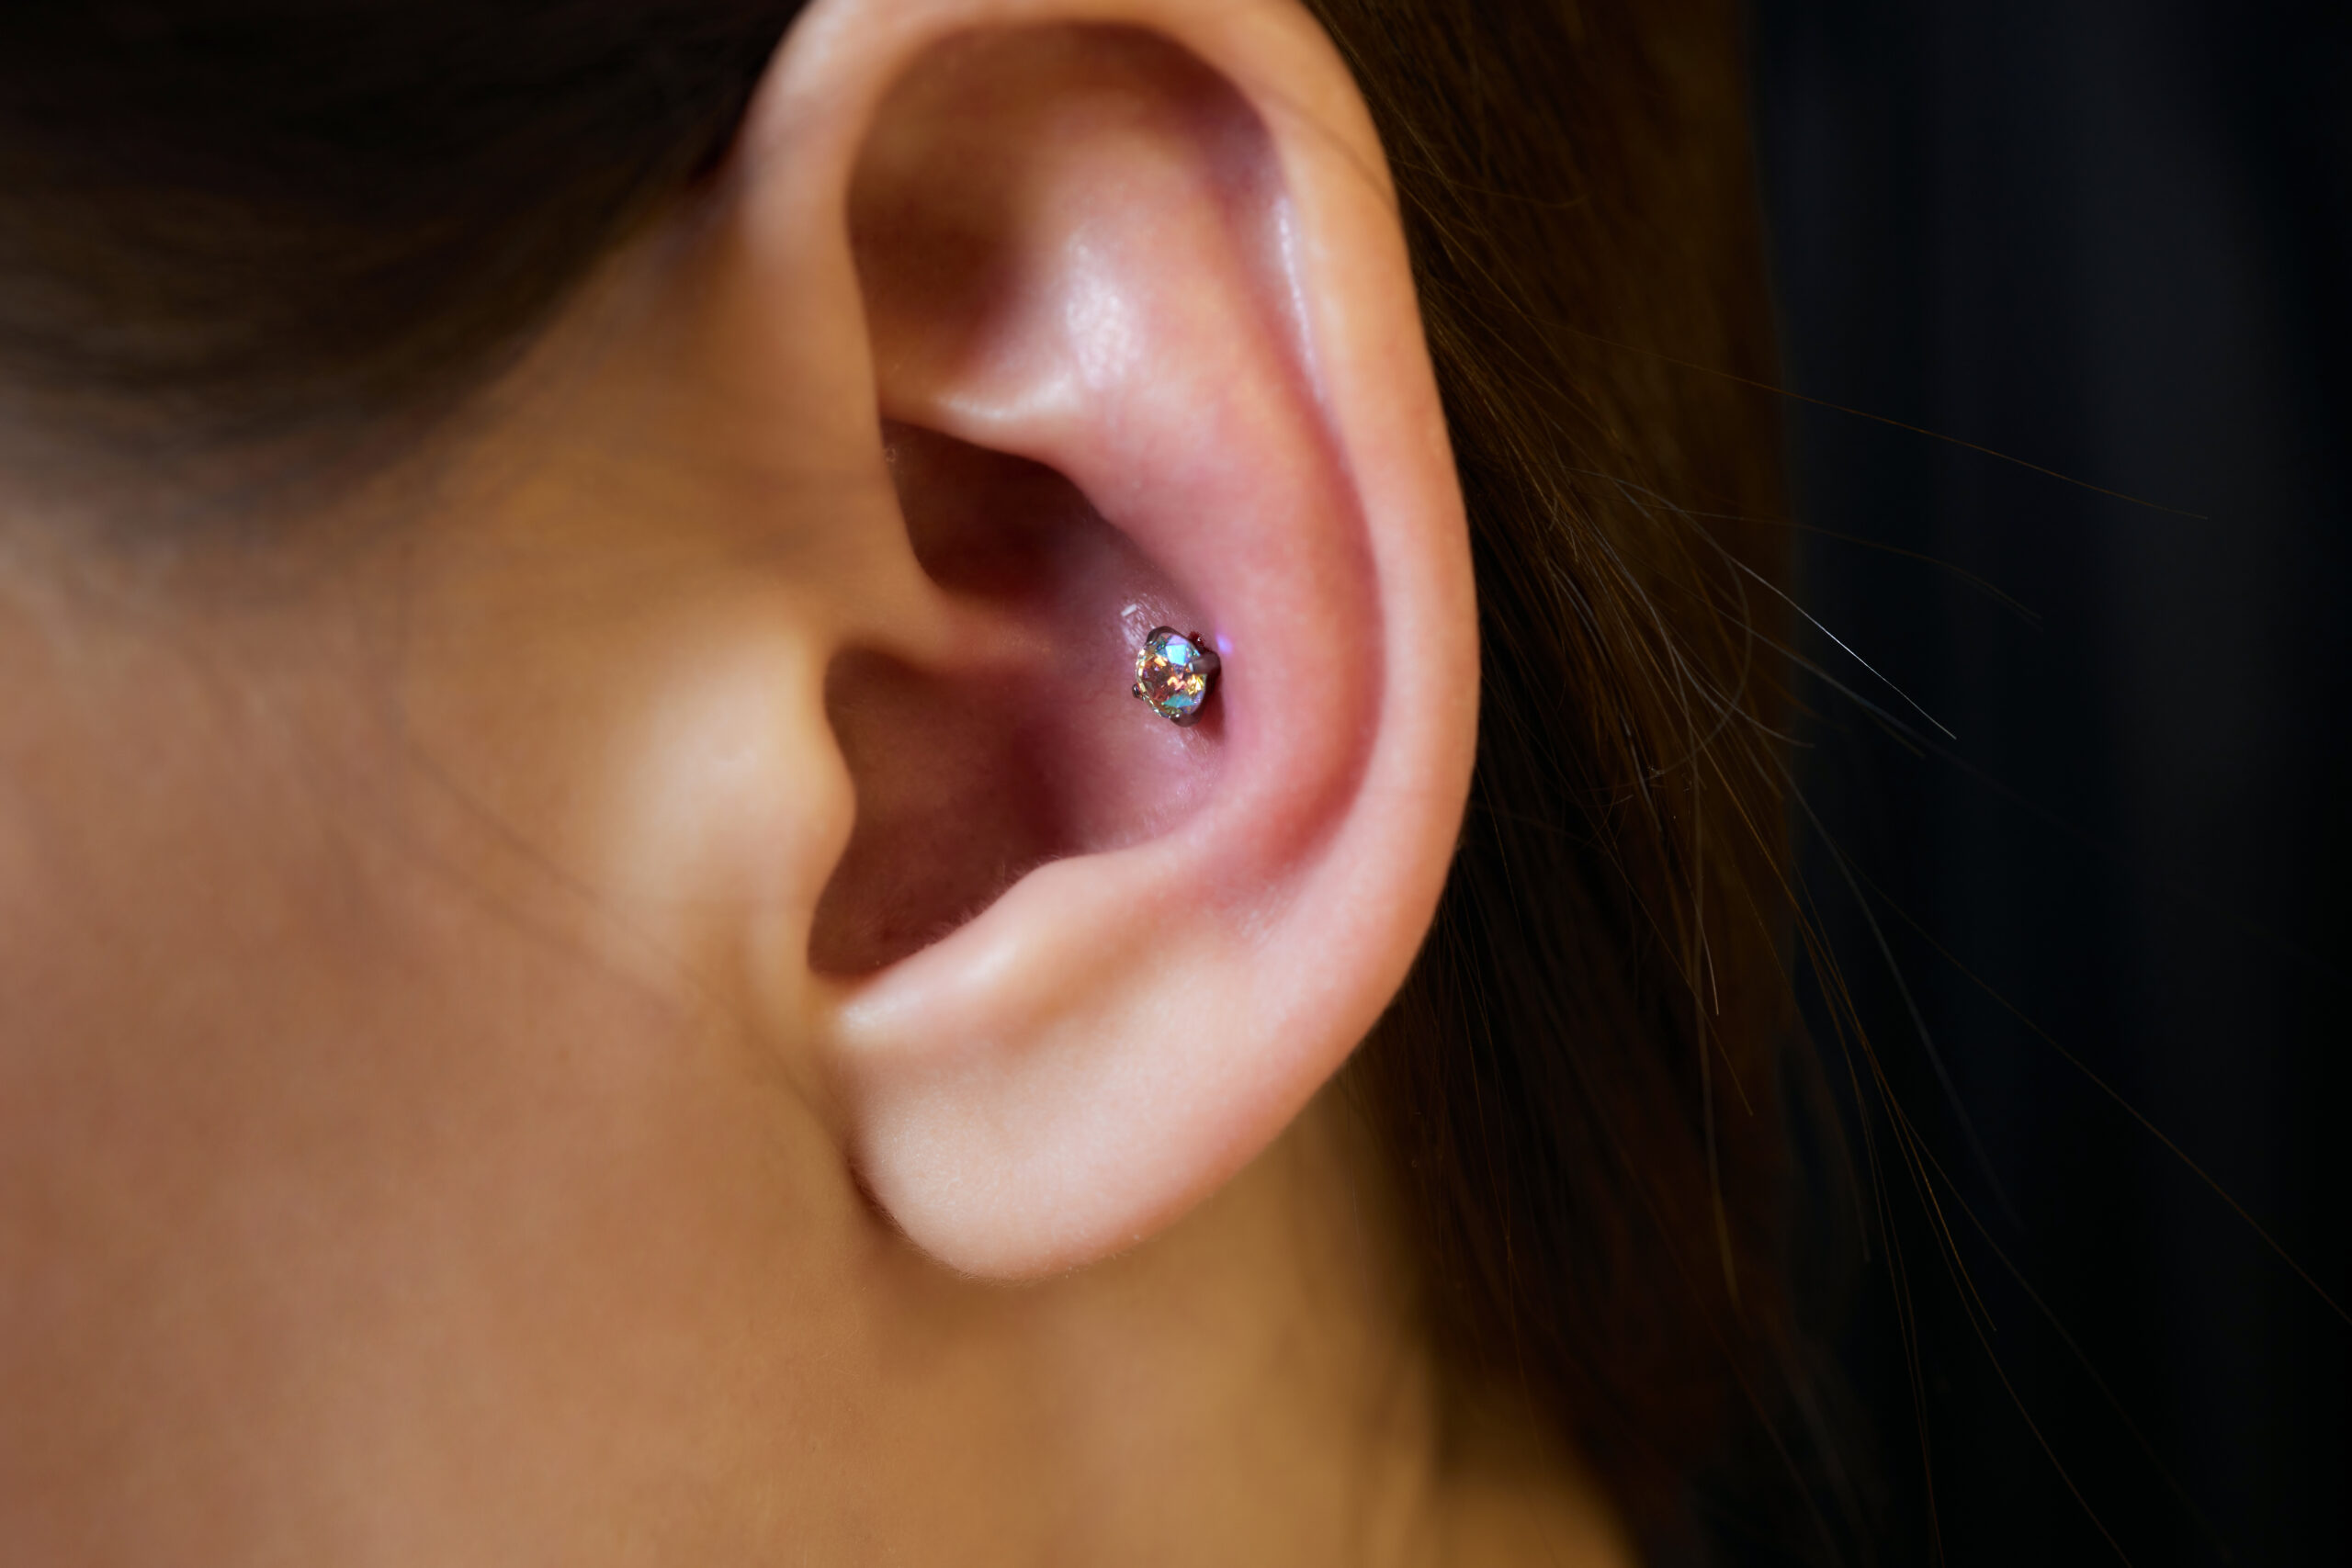
- Inner Conch Piercing: This involves puncturing the central part of the ear cartilage. It’s typically done with a stud initially, but once healed, it can accommodate a hoop.
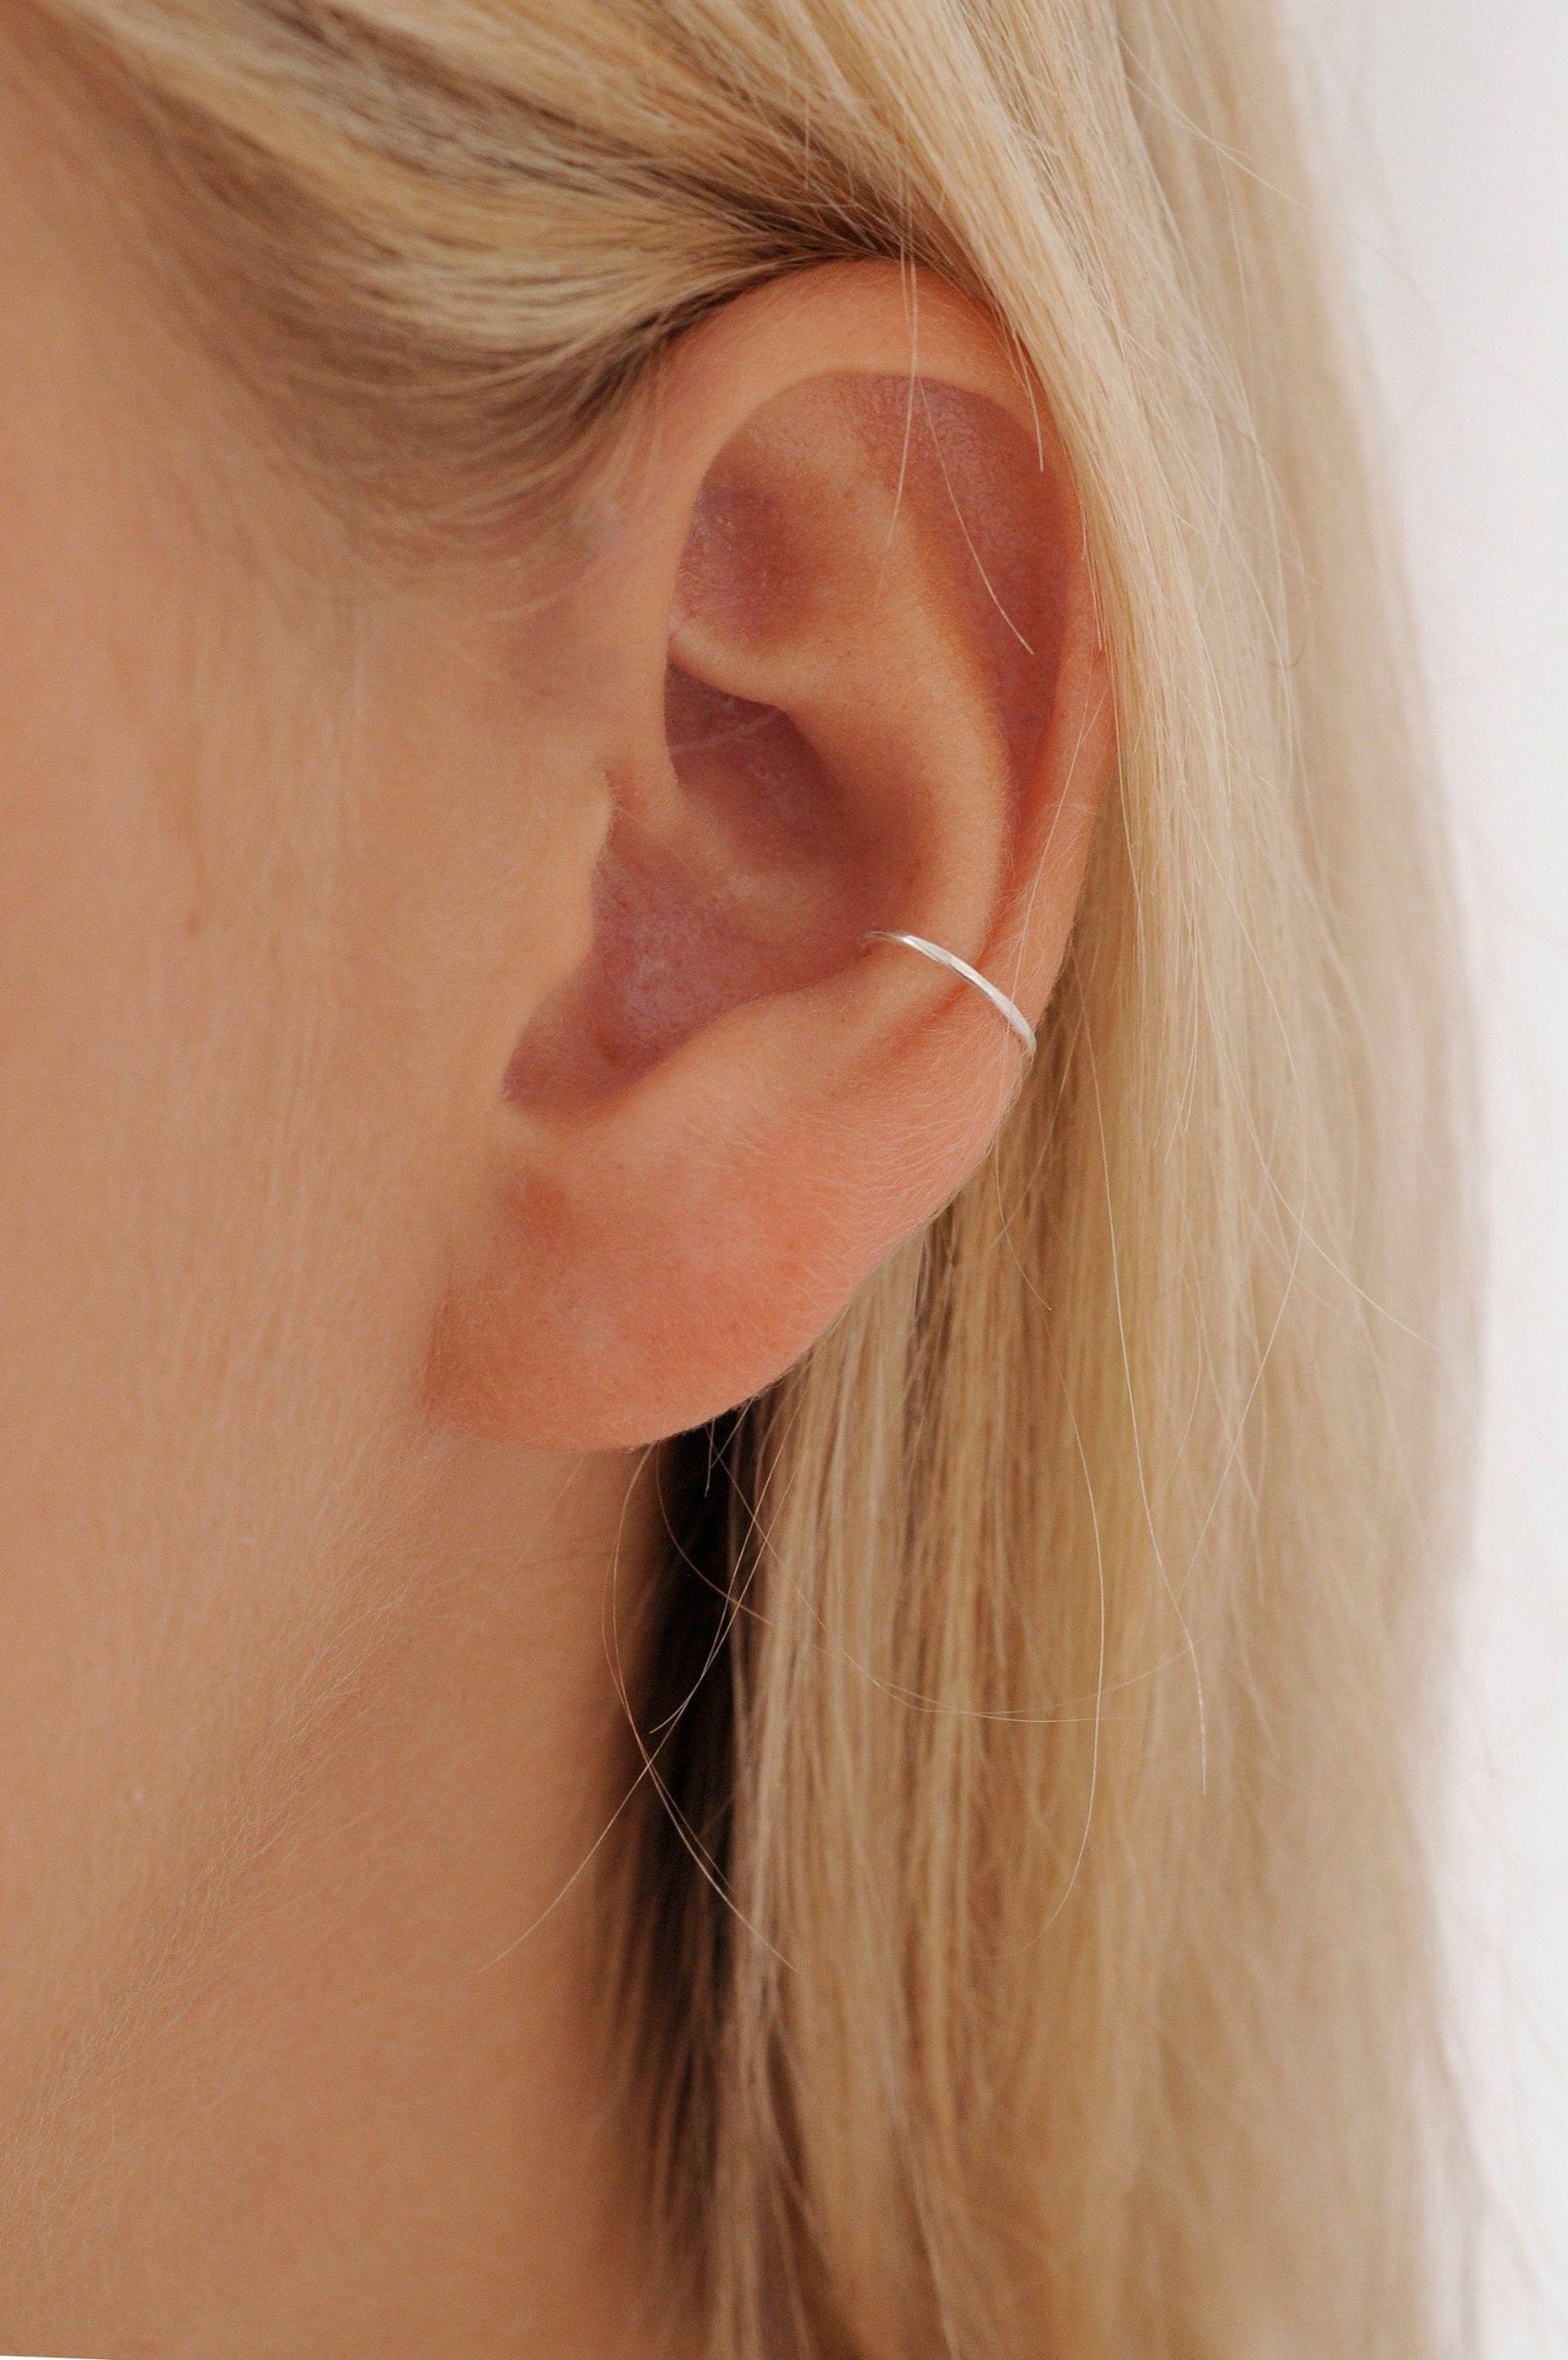
- Outer Conch Piercing: Positioned on the flat area of the cartilage closer to the outer edge of the ear, this piercing is often adorned with a hoop or a stud.
The Procedure
Getting a conch piercing is a straightforward process, but it’s crucial to have it done by a professional piercer to ensure safety and proper placement. Here’s what you can expect during the procedure:
- Consultation: Discuss your desired piercing location and jewelry options with the piercer.
- Preparation: The piercer will clean your ear and mark the exact spot for the piercing.
- Piercing: Using a sterilized needle, the piercer will create a hole through the cartilage. For an inner conch piercing, they might use a dermal punch in some cases, although this method is less common.
- Jewelry Insertion: The initial jewelry, usually a stud, will be inserted immediately after the piercing.
Pain and Healing
Pain levels vary from person to person, but because the conch is a thicker area of cartilage, you can expect a moderate level of discomfort. The pain is often described as a sharp pinch followed by a throbbing sensation.
Healing time for conch piercings can range from 6 months to a year. Cartilage piercings generally take longer to heal due to lower blood flow in the area compared to earlobe piercings.
Aftercare
Proper aftercare is crucial for preventing infections and ensuring smooth healing. Here are some key aftercare tips:
- Cleaning: Clean the piercing twice a day with saline solution or a piercing aftercare spray. Avoid using alcohol or hydrogen peroxide, as these can dry out and irritate the piercing.
- Avoid Touching: Refrain from touching or twisting the jewelry unnecessarily, as this can introduce bacteria and cause irritation.
- Sleeping: Try to avoid sleeping on the side with the new piercing to prevent pressure and potential injury.
- Avoid Submersion: Keep the piercing away from pools, hot tubs, and bodies of water to reduce the risk of infection.
- Monitor for Infection: Watch for signs of infection such as excessive redness, swelling, pain, or discharge. If any of these occur, consult a professional piercer or a healthcare provider.
Choosing Jewelry
Once your conch piercing has healed, you can explore different types of jewelry:
- Studs: Classic and elegant, studs are a popular choice for both inner and outer conch piercings.
- Hoops: Captive bead rings or seamless hoops add a striking look, especially for the inner conch.
- Barbells: These can offer a unique aesthetic and are available in various materials and designs.
Risks and Considerations
As with any piercing, there are risks involved:
- Infection: Proper aftercare minimizes this risk, but infections can occur if the piercing is not kept clean.
- Keloids and Hypertrophic Scarring: Some individuals may develop raised scars around the piercing site.
- Jewelry Rejection or Migration: Rarely, the body may push the jewelry out, causing it to move or be rejected.
Pros and Cons
Pros:
- Unique and eye-catching
- Versatile jewelry options
- Can be a statement piece or subtle addition
Cons:
- Longer healing time
- Potential for higher pain compared to earlobe piercings
- Risk of complications if not properly cared for
Detailed Aftercare Steps
Proper aftercare is essential for preventing infections and promoting healing. Here’s a more detailed look into the aftercare routine:
- Saline Solution Cleaning:
- Preparation: You can either buy a pre-made saline solution from a pharmacy or make your own by dissolving 1/4 teaspoon of non-iodized sea salt in 8 ounces of warm distilled water.
- Application: Soak a clean cotton ball or gauze pad in the saline solution and gently apply it to both sides of the piercing. Let it sit for a few minutes, then carefully remove any debris. Alternatively, you can use a saline spray specifically designed for piercings.
- Frequency: Perform this cleaning routine twice a day, morning and night.
- Avoid Harsh Chemicals:
- Do not use alcohol, hydrogen peroxide, or antibacterial ointments, as these can dry out the skin and impede healing.
- Minimize Touching:
- Only touch the piercing with clean hands. Avoid unnecessary handling and twisting of the jewelry, which can introduce bacteria and cause irritation.
- Protect During Sleep:
- Try sleeping on your back or on the opposite side of the piercing to avoid pressure and friction. Using a travel pillow with a hole in the middle can be helpful to keep the ear elevated.
- Avoid Submersion:
- Keep the piercing away from pools, hot tubs, and natural bodies of water to prevent contamination.
- Monitor for Signs of Infection:
- Redness, swelling, heat, prolonged pain, and unusual discharge are signs that may indicate an infection. If you notice these symptoms, consult your piercer or a healthcare professional promptly.
Potential Complications
While many people heal without issues, being aware of potential complications can help you address them quickly:
- Infection:
- This is the most common complication. Signs include increased redness, swelling, pain, and discharge that is yellow or green. Seek medical advice if you suspect an infection.
- Keloids and Hypertrophic Scarring:
- Some people are prone to developing raised scars around the piercing site. These can often be treated with over-the-counter remedies or prescribed treatments from a dermatologist.
- Jewelry Rejection/Migration:
- In rare cases, the body may reject the jewelry, causing it to move or push out. This can occur due to improper jewelry size, material, or placement. Consulting with a professional piercer can help minimize this risk.
- Cartilage Bumps:
- Small bumps, known as hypertrophic scarring, might form around the piercing. They can often be treated with saline soaks or chamomile compresses.
Choosing the Right Jewelry
Selecting the appropriate jewelry for your conch piercing can significantly impact both comfort and healing:
- Material:
- Choose high-quality materials like titanium, surgical stainless steel, niobium, or 14k/18k gold for initial jewelry. These materials are less likely to cause allergic reactions and are safe for healing.
- Size and Style:
- For initial piercings, a stud with a flat back is often recommended, as it promotes better healing. Once healed, you can switch to other styles like hoops or barbells based on your preference.
- Ensure the jewelry is of appropriate gauge (thickness) and diameter to fit comfortably without putting pressure on the piercing.
- Changing Jewelry:
- Wait until the piercing is fully healed before changing jewelry. Consult your piercer for guidance on when and how to change jewelry safely.
Tips for a Successful Piercing Experience
- Research Your Piercer:
- Choose a reputable piercer with good reviews and proper credentials. Visit the studio beforehand to ensure it’s clean and adheres to hygiene standards.
- Prepare for the Procedure:
- Eat a good meal before your appointment to maintain blood sugar levels. Stay hydrated and try to relax to minimize discomfort.
- Follow Professional Advice:
- Listen to your piercer’s aftercare instructions carefully and don’t hesitate to ask questions if you’re unsure about any aspect of the care routine.
- Be Patient:
- Healing cartilage piercings takes time. Be patient and diligent with your aftercare routine to ensure the best outcome.
Personalizing Your Conch Piercing
Once your piercing is healed, you can personalize it to match your style:
- Layering and Stacking:
- Combine your conch piercing with other ear piercings like helix, tragus, or lobe piercings to create intricate and stylish ear stacks.
- Custom Jewelry:
- Explore custom-made jewelry options to find unique pieces that reflect your personality. Many jewelers offer customization services for a truly personalized look.
- Seasonal Styles:
- Change your jewelry to match different seasons or occasions. Opt for sparkly gems during festive seasons and minimalist designs for everyday wear.
Conclusion
Conch piercings are a stunning way to enhance your ear’s aesthetic appeal while expressing your personal style. By choosing a reputable piercer and adhering to recommended aftercare practices, you can enjoy a beautiful and well-healed conch piercing. Whether you opt for an inner or outer conch piercing, this modification offers endless possibilities for customization and self-expression.