Introduction
DIY bracelet making has become a popular and fulfilling hobby for many, serving as a creative outlet and a means to express one’s personal style. Among the various techniques and materials used, stretch cords play a pivotal role in crafting bracelets that are not only fashionable but also comfortable and durable. Selecting the right elastic cord is crucial for ensuring your handmade bracelets hold up to daily wear and maintain their beauty over time. This guide delves into the world of elastic cords, highlighting key factors to consider when choosing the best option for your DIY bracelet projects.
Types of Elastic Cords:
- Beadalon Elasticity: Known for its strength and stretchiness, Beadalon Elasticity is ideal for creating bead bracelets. It’s easy to knot and holds its shape well, making it a favorite among jewelry makers.
- Elasticity Memory Wire: This type of cord is pre-formed into a coil that retains its shape, simplifying bracelet creation. It’s particularly useful for quick and easy stackable bracelets without the need for clasps.
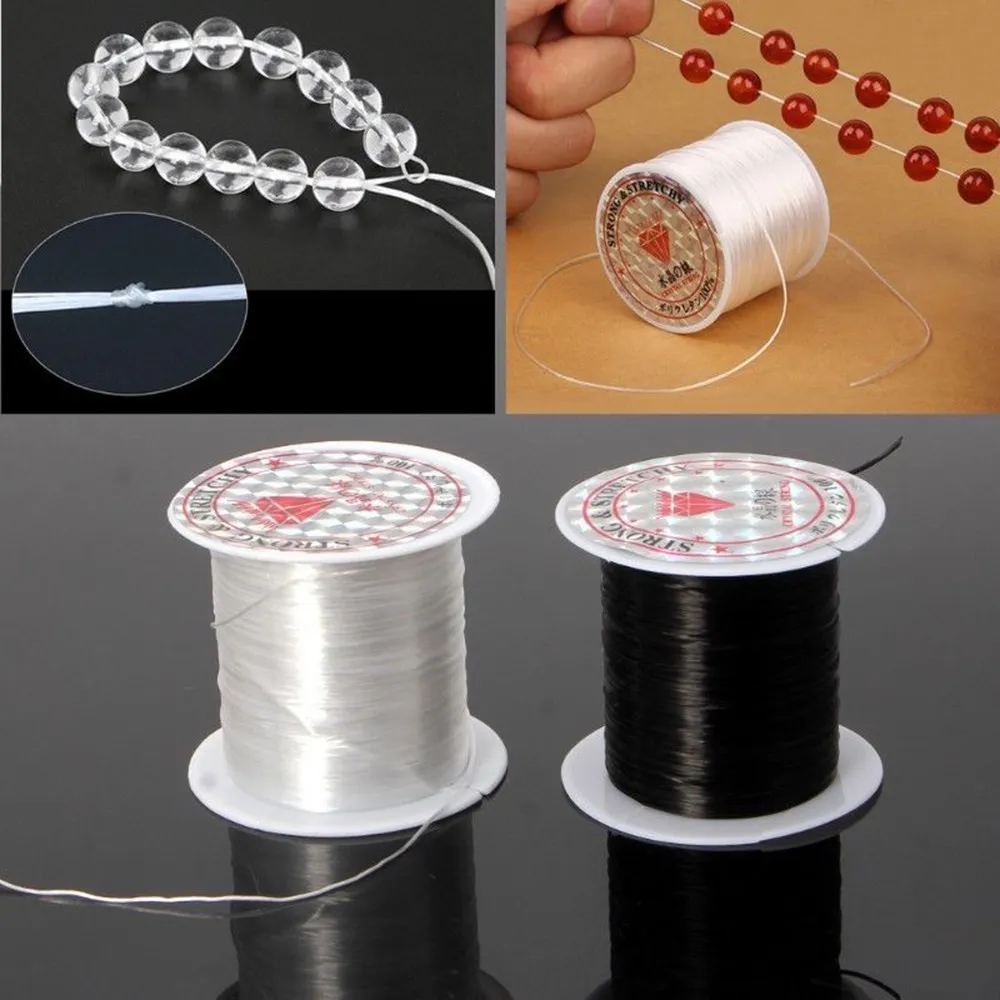
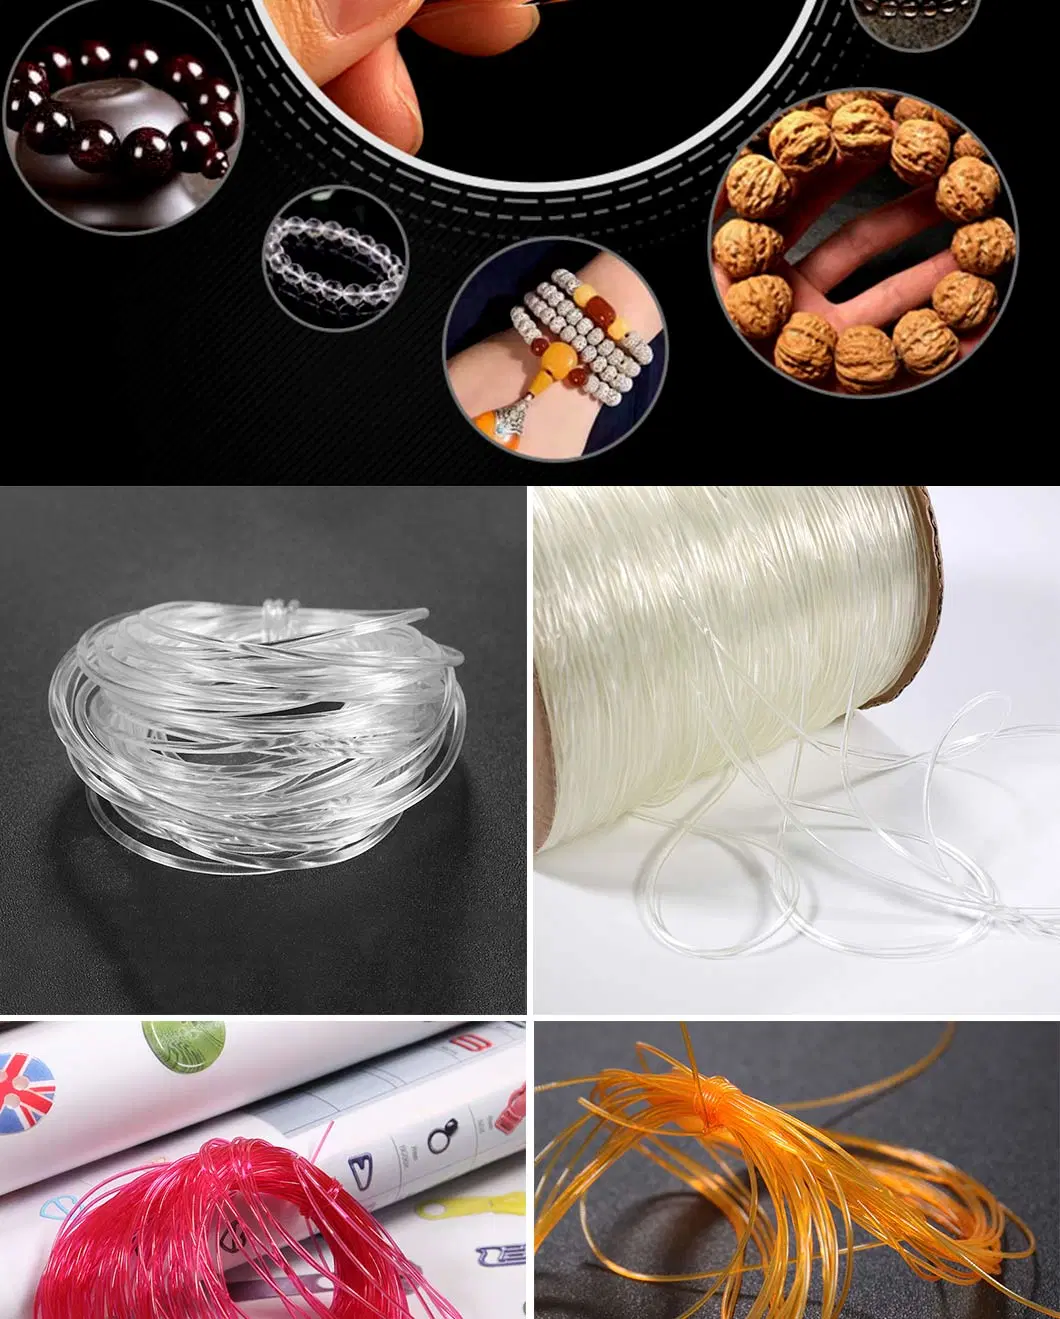
- Powercord or Stretch Magic: Highly elastic and resistant to fray, Powercord and Stretch Magic are premium choices for intricate designs. They’re nearly invisible once strung with beads, ensuring the focus remains on your creation.
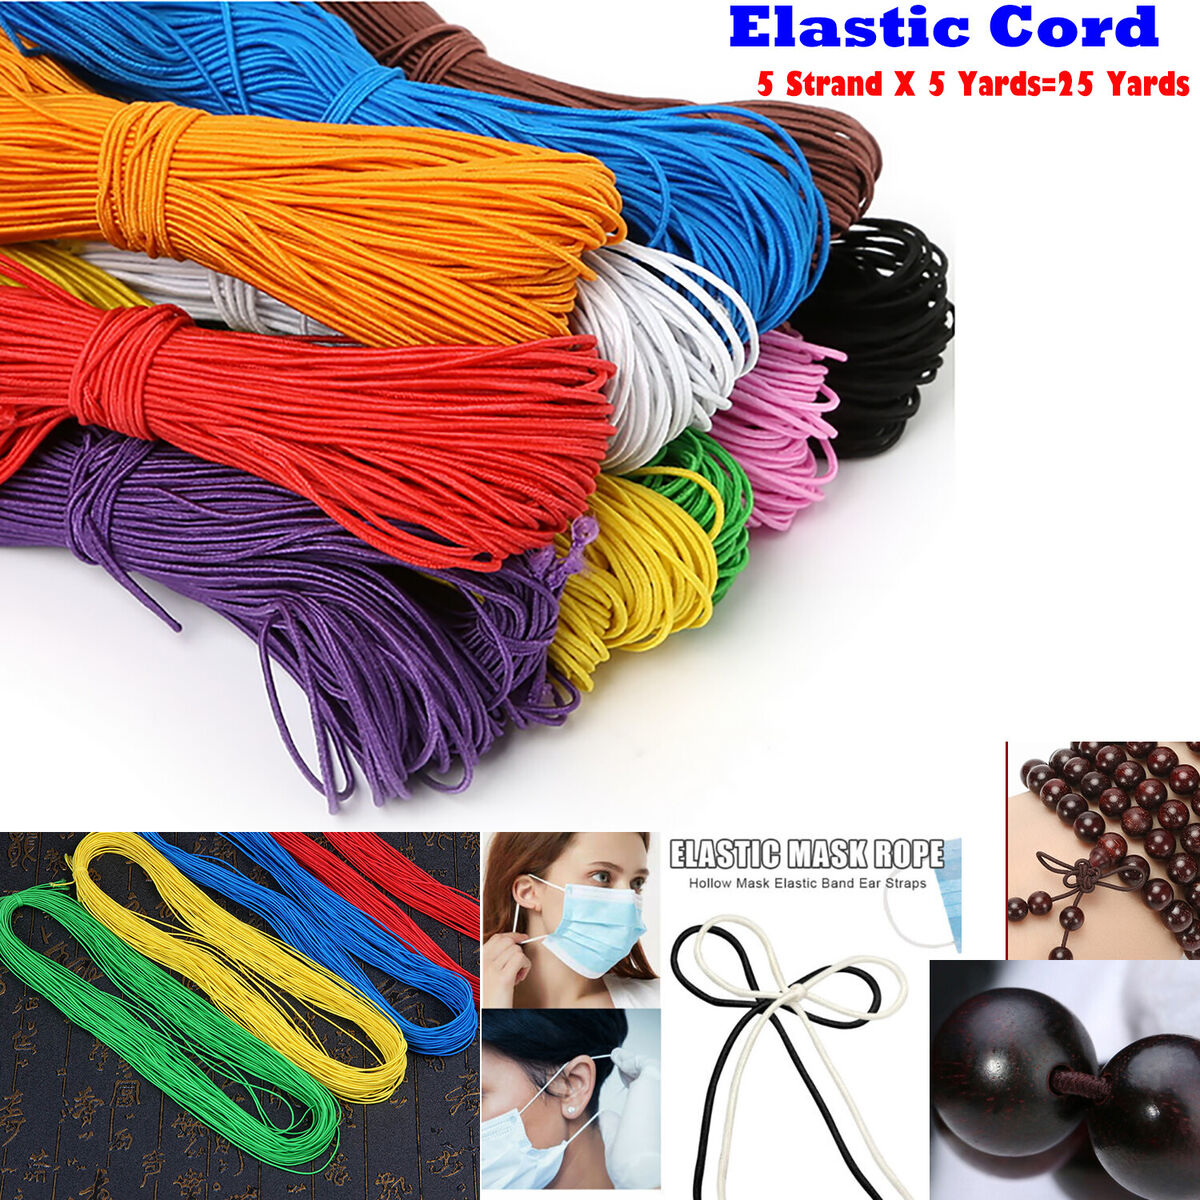
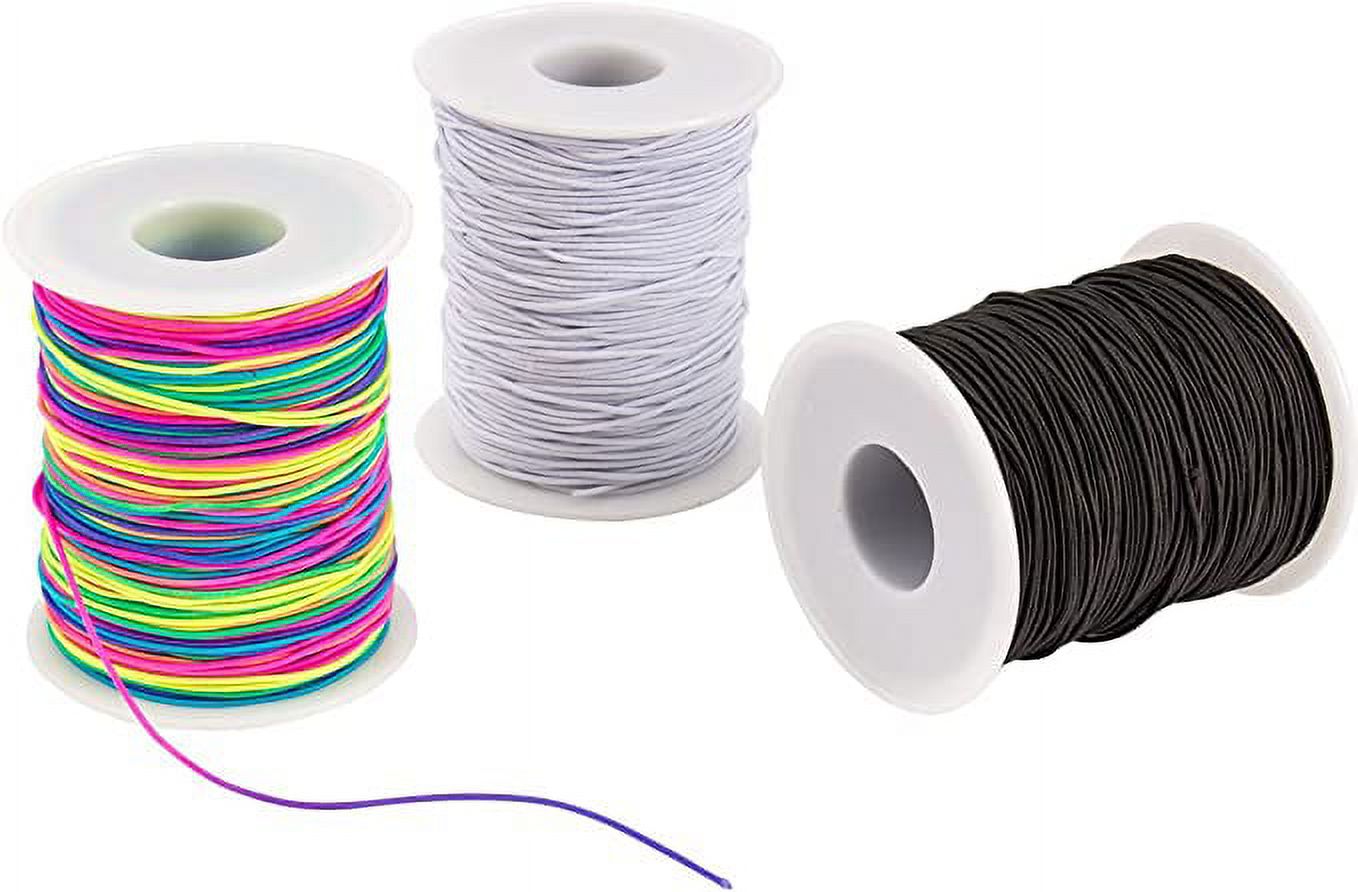
- Clear Elastic Cord: A budget-friendly option, clear elastic cord is great for basic bracelet designs. Its transparency makes it suitable for use with transparent or light-colored beads.
Factors to Consider:
- Strength and Durability: Look for cords that can withstand the weight of your beads without breaking or stretching out too quickly. Materials like nylon and polyurethane are known for their resilience.
- Stretch Recovery: The cord’s ability to return to its original length after being stretched is vital. High-quality elastic cords maintain their elasticity over time, ensuring your bracelets stay snug and secure.
- Color and Transparency: Clear cords are ideal for invisibility, whereas colored cords can add a decorative element to your design. Choose based on your aesthetic preference and the visibility you desire.
- Thickness: The cord’s diameter should complement the size of your beads. Thicker cords work well with larger beads, while thinner cords suit delicate or seed bead designs.
Techniques for Working with Elastic Cords:
- Knotting: Mastering a secure knot is essential. The surgeon’s knot or double knot followed by a dot of clear glue is a popular technique to finish off bracelets without fear of them coming undone.
- Measuring: Always measure your wrist and add extra length for the knots and a comfortable fit. As a rule of thumb, allow an extra 10-15% of cord length.
- Stringing: Thread beads gently to avoid damaging the cord. Use a needle or a bead stopper to prevent beads from sliding off the end while working.
Care and Maintenance:
- Regularly clean your bracelets with a soft cloth and mild soap to remove dirt and oils that can weaken the cord over time.
- Avoid exposing elastic bracelets to water, lotions, or perfumes as chemicals can deteriorate the cord’s elasticity.
Inspiration and Experimentation:
Embrace creativity! Don’t be afraid to mix cord types, bead sizes, and colors to create unique pieces. With the right elastic cord and a touch of imagination, you can craft bracelets that reflect your personality and style perfectly.
Advanced Tips for Elevating Your Elastic Cord Bracelets:
Now that we’ve covered the basics of choosing the right elastic cord and fundamental techniques, let’s explore some advanced tips and ideas to elevate your DIY bracelet creations to the next level.
Incorporating Advanced Knots and Finishing Techniques:
- Double Crimp End Caps: For a more polished look, use end caps with crimp beads or tubes. Slide the ends of the cord into the cap, add a crimp, and secure with pliers. This method works well with thicker cords and heavy beads.
- Macramé Knots: Integrate macramé techniques like the square knot or half-hitch to add decorative elements at the ends or throughout the bracelet, giving it a bohemian flair.
Mixing Materials and Textures:
- Combine elastic cords with leather or silk threads for a mixed-media effect. Wrap the cord around a leather strip or alternate between nylon and silk threads to create texture and visual interest.
Adding Charms and Pendants:
- Personalize your bracelets by attaching charms or pendants using jump rings or directly onto the cord before securing the final knot. These embellishments can reflect personal interests, symbols, or initials for a customized touch.
Layering and Stacking:
- Create sets of coordinating bracelets in varying widths, colors, and textures to encourage layering and stacking. This trend not only adds depth to your wristwear but also allows for versatile styling options.
Experimenting with Unique Bead Arrangements:
- Play with asymmetry or gradient patterns in your bead arrangement. An ombre effect achieved by gradually transitioning bead colors can lend a sophisticated touch.
- Incorporate non-traditional materials like wood, glass, or semi-precious stones for added depth and texture. Mixing materials can elevate the visual appeal and tactile experience of your bracelets.
Advanced Cord Manipulation:
- Try braiding multiple strands of elastic cord together before stringing beads. This technique creates a woven effect, adding complexity and uniqueness to your bracelets.
Customizing Fit for Comfort:
- Offer adjustable options by incorporating sliding knots or button closures. This allows wearers to customize the fit according to their wrist size, enhancing comfort and wearability.
Exploring Advanced Jewelry Tools:
Invest in specialized tools like bead reamers to smooth out sharp edges on beads, crimping pliers for professional-looking finishes, or a bead spinner to speed up the stringing process for larger projects.
Learning From Online Tutorials and Classes:
Take advantage of online resources to learn new techniques and gain inspiration. Many platforms offer free or paid tutorials and classes taught by experienced jewelry makers.
In conclusion
Selecting the best elastic cord for your DIY bracelet projects involves understanding the different types available, considering the specific needs of your design, and mastering the techniques for a professional finish. By investing in quality materials and practicing your skills, you’ll soon be crafting stunning, durable bracelets that not only enhance your personal style but also serve as thoughtful, handmade gifts for loved ones. Unleash your creativity and let your imagination guide you on this rewarding journey of bracelet making.
By incorporating these advanced tips into your bracelet-making practice, you can create distinctive, high-quality pieces that stand out. Remember, jewelry making is a continuous learning process, and experimenting with new ideas and techniques keeps the craft fresh and exciting. As you refine your skills and explore new avenues of creativity, your DIY elastic cord bracelets will evolve into wearable art that reflects your growth as a jewelry artisan.