Introduction
Clay bracelet – Creating your own clay bracelets is not only a fun and creative activity but also a fantastic way to craft personalized jewelry that can reflect your unique style. Whether you’re looking to make a statement piece for yourself or create thoughtful gifts for friends and family, handcrafted clay bracelets are a great choice. In this comprehensive guide, we’ll walk you through the entire process, from selecting materials to finishing touches.
Materials You’ll Need
Before diving into the process of making clay bracelets, it’s essential to gather all your materials. Here’s a comprehensive list:
1. Polymer Clay:
- Choose your favorite colors or textures. Brands like Sculpey, Fimo, or Premo! are popular options.
2. Tools:
- Cutting Blade: A craft knife or a polymer clay blade for cutting shapes.
- Rolling Pin: For flattening the clay.
- Clay Extruder (Optional): Useful for creating uniform shapes and strings.
- Beading Tools: Pliers or a bead needle for adding closures or embellishments.
- Dotting Tool: To create dots and other patterns on the clay.
3. Mold (Optional):
- You can create your own or purchase silicone molds for unique shapes.
4. Baking Tray and Parchment Paper:
- Needed for baking the clay according to the manufacturer’s instructions.
5. Sealer (Optional):
- A clear glaze or sealant for a professional finish.
6. Stringing Material:
7. Additional Embellishments (Optional):
- Beads, charms, or metal spacers.
Step-by-Step Guide to Crafting Clay Bracelets
Now that you have all the materials, let’s walk through the process step-by-step.
Conditioning the Clay
Before starting, it’s crucial to condition your polymer clay. Start by breaking off a small piece of clay and knead it with your hands until it becomes soft and pliable. This process ensures even mixing of colors and reduces the risk of cracking during baking.
Planning Your Design
Sketch out a rough idea of what you want your bracelet to look like. You can mix and match colors, incorporate different shapes, and consider patterns. Think about how you want each piece to fit together and the overall aesthetic you’re aiming for.
Rolling and Shaping the Clay
Using your rolling pin, flatten your conditioned clay to your desired thickness—usually about 1/4 inch thick is a good standard. Once flattened, start cutting the clay into shapes according to your design. You can use a cookie cutter, knife, or a mold here.
Creating Beads
If you would like to create beads:
- Roll small pieces of clay into balls.
- Use a dotting tool to make a hole through the center of each bead.
- Make sure the holes are wide enough for your stringing material.
Step 4: Adding Texture and Patterns
Use various tools to add texture to your clay pieces. This could include simple patterns made with stamps, dotting tools, or even your fingers. Remember, the more unique your textures, the more personalized your piece will be!
Baking the Clay
Preheat your oven according to the manufacturer’s instructions (usually around 275°F or 130°C). Place your clay pieces on a baking tray lined with parchment paper and bake for the recommended time—typically 15 to 30 minutes, depending on the thickness of your pieces. Once baked, allow them to cool completely.
Finishing Touches
Once your clay has cooled down, you may want to add a glaze for shine and protection. Apply a thin coating of your chosen sealer with a brush and allow it to dry according to package instructions.
Assembling the Bracelet
Now comes the fun part—stringing your clay pieces into a bracelet!
- Cut the elastic cord or string to your desired length, ensuring you account for the width of the clay pieces.
- Start threading your pieces onto the cord. If you’re using beads, mix them in for added flair.
- Once you’re satisfied with the arrangement, secure the ends. If using elastic, tie a sturdy knot and add a bead or charm over the knot for a finished look.
Final Adjustments
After assembling your bracelet, adjust it for fit. Make sure it’s snug but comfortable. You may need to trim any excess cord and secure any last knots properly.
Show Off Your Creation!
Your unique clay bracelet is now complete! Wear it proudly, or gift it to someone special. The beauty of handmade jewelry is that it carries a piece of your personality and creativity.
Tips for Making the Most of Your Clay Bracelet Crafting
- Experiment with Color Mixing: Don’t hesitate to blend different clay colors together for unique hues.
- Practice Makes Perfect: Your first few bracelets may not turn out as expected, but practice will improve your skills.
- Stay Organized: Keep your workspace tidy and organized to streamline the crafting process.
- Safety First: Ensure your workspace is well-ventilated when baking clay, and follow all safety instructions for your tools.

Understanding Polymer Clay
Before diving into the jewelry-making process, it’s essential to understand what polymer clay is. Polymer clay is a type of modeling clay that consists of polyvinyl chloride (PVC) and a range of additives that give it a pliable consistency. It comes in various colors and can be mixed, painted, or embellished to create stunning effects. The clay is baked at a low temperature to set it, making it durable and lightweight—perfect for creating jewelry pieces that can be worn daily.
Tools and Materials Needed
To make beautiful polymer clay bracelets, you’ll need a few essential tools and materials:
Basic Materials:
- Polymer Clay: Choose from a wide variety of colors. Brands like Sculpey, Fimo, and Premo offer high-quality options.
- Baking Tray: A flat surface lined with parchment paper for baking your creations.
- Oven: A conventional oven or toaster oven to cure the clay.
Tools:
- Rolling Pin: For rolling out the clay evenly.
- Cutters: Cookie cutters or specialized jewelry cutters for shaping.
- Needles and Pins: For creating holes and textures.
- Dotting Tools: Useful for fine detailing or creating designs.
- Sandpaper: For smoothing rough edges after baking.
- Glues and Finishers: To attach findings, such as clasps or jump rings.
Optional Materials:
- Metal Findings: Such as clasps, jump rings, and chains.
- Beads and Embellishments: To enhance your designs.
- Mica Powders or Glitter: For adding sparkle and depth.
Basic Techniques
1. Condition the Clay
Before you begin working with polymer clay, you should condition it to ensure it is soft and pliable. Knead the clay in your hands or use a pasta machine to roll it out evenly. This step is vital as it allows for easier manipulation and helps avoid cracks during baking.
2. Create Shapes and Patterns
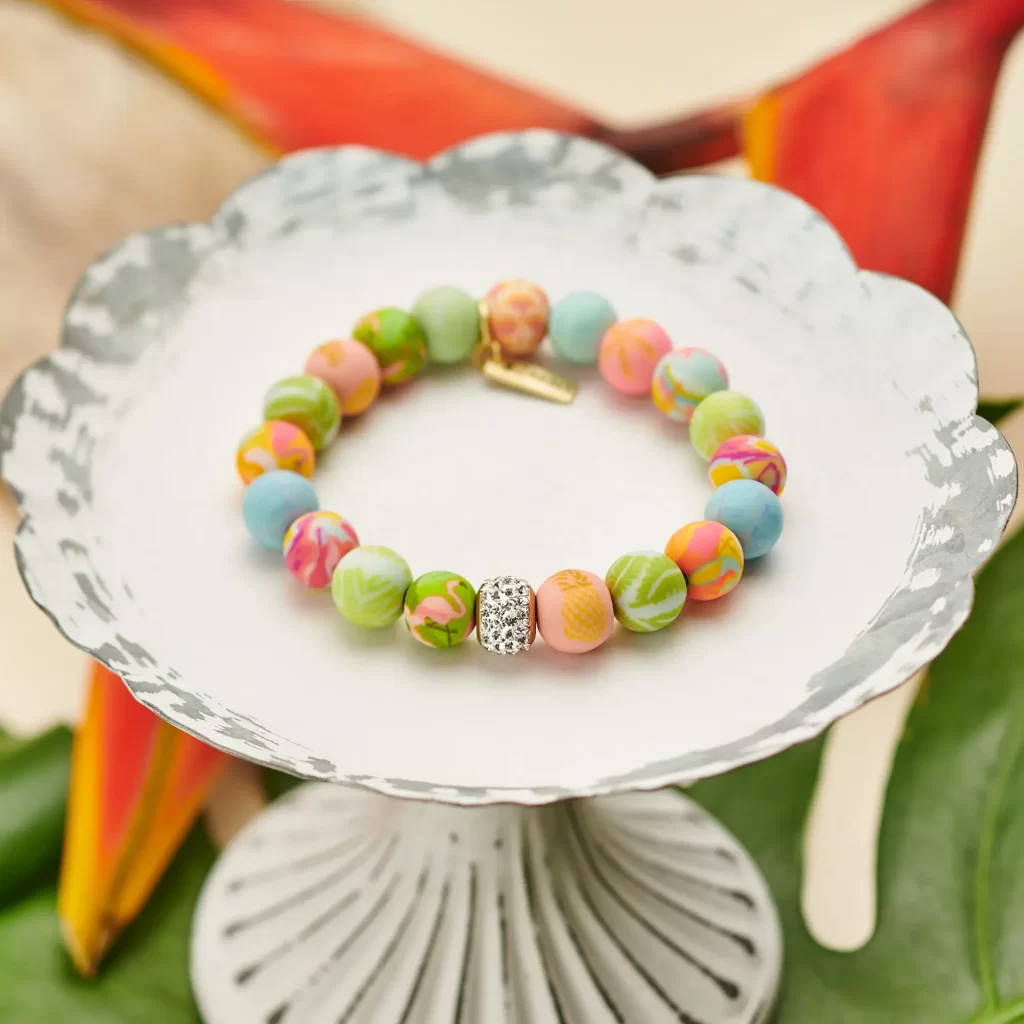
Start by rolling the conditioned clay into different shapes for your bracelet. You can create beads by rolling the clay into balls or cylinders. Consider experimenting with shapes like triangles, hearts, or even abstract forms. Use tools to imprint patterns or textures into the clay. Common techniques include marbling, caning, and stacking colors to achieve striped or swirled effects.
3. Assembling Your Bracelet
Once you have the individual components made, you can start assembling your bracelet. Consider the design layout—will it be a simple strand with evenly spaced beads, or a more elaborate pattern? Use a needle to create holes in the clay pieces for threading. You can string together the beads using elastic cord for stretchable bracelets or use metal wire for a more structured look.
4. Baking
After assembling your bracelet, place it on the baking tray lined with parchment paper and bake according to the manufacturer’s instructions, typically at 265°F to 275°F (129°C to 135°C) for 15-30 minutes, depending on the thickness. Allow the pieces to cool completely after baking to avoid breaking or shattering.
Creative Design Ideas
Now that you’ve mastered the basics, let’s explore some creative design ideas to inspire your next polymer clay bracelet project!
1. Color Block Bracelets
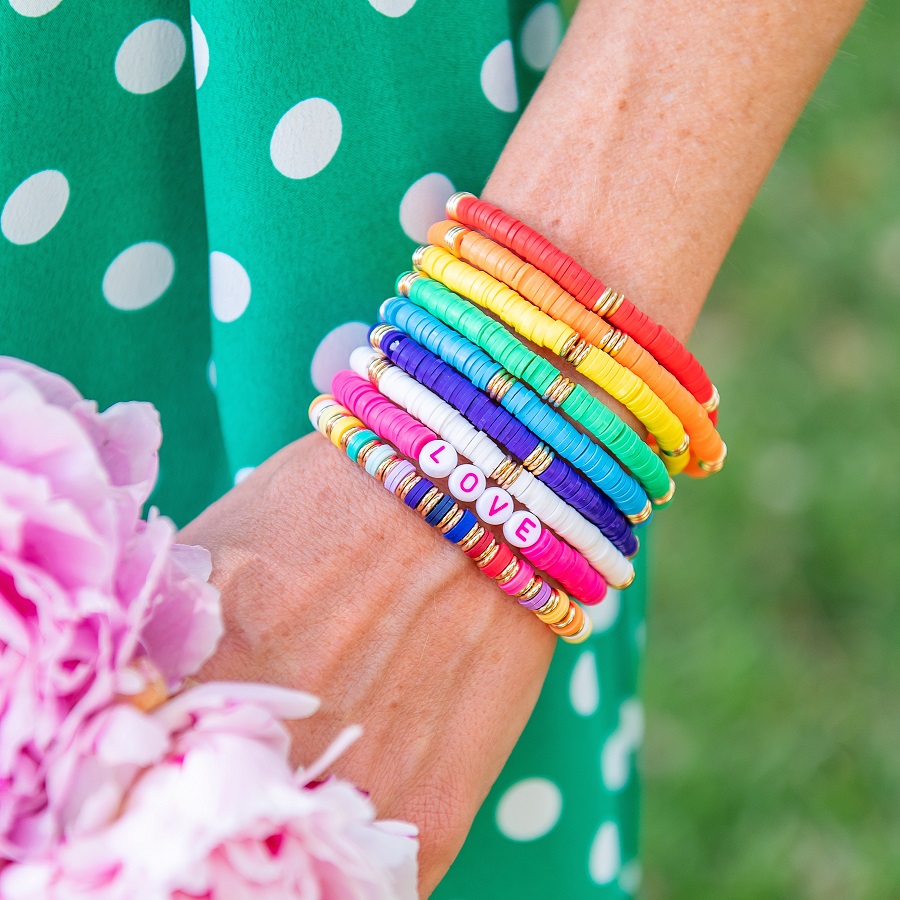
Create vibrant and eye-catching color block bracelets by rolling out pieces of different colored clay and layering them together. Cut them into sections and shape them into beads. This design results in a playful, modern look that adds a splash of color to any outfit.
2. Nature-Inspired Designs
Take inspiration from nature by incorporating leaf patterns, floral designs, or earthy tones. Create leaf-shaped charms or beads with textured veins. For a floral theme, twist together small flowers and leaves for a whimsical touch.
3. Geometric Shapes
For a trendy look, experiment with geometric shapes like hexagons, triangles, and circles. Use contrasting colors and sizes to create visual interest. These minimalist designs fit well with contemporary styles.
4. Themed Bracelets
Consider creating bracelets based on specific themes, such as ocean-inspired designs with blues and greens, or bohemian style with earthy colors and beads. Incorporate small charms or symbols that represent your theme for added character.
5. Layered Bracelets
Combine several thin bracelets of varying colors and textures for a layered look. You can mix and match themes, patterns, and styles, allowing you to express your individuality. Use unique clasps to emphasize the layered effect.
6. Mixed Media
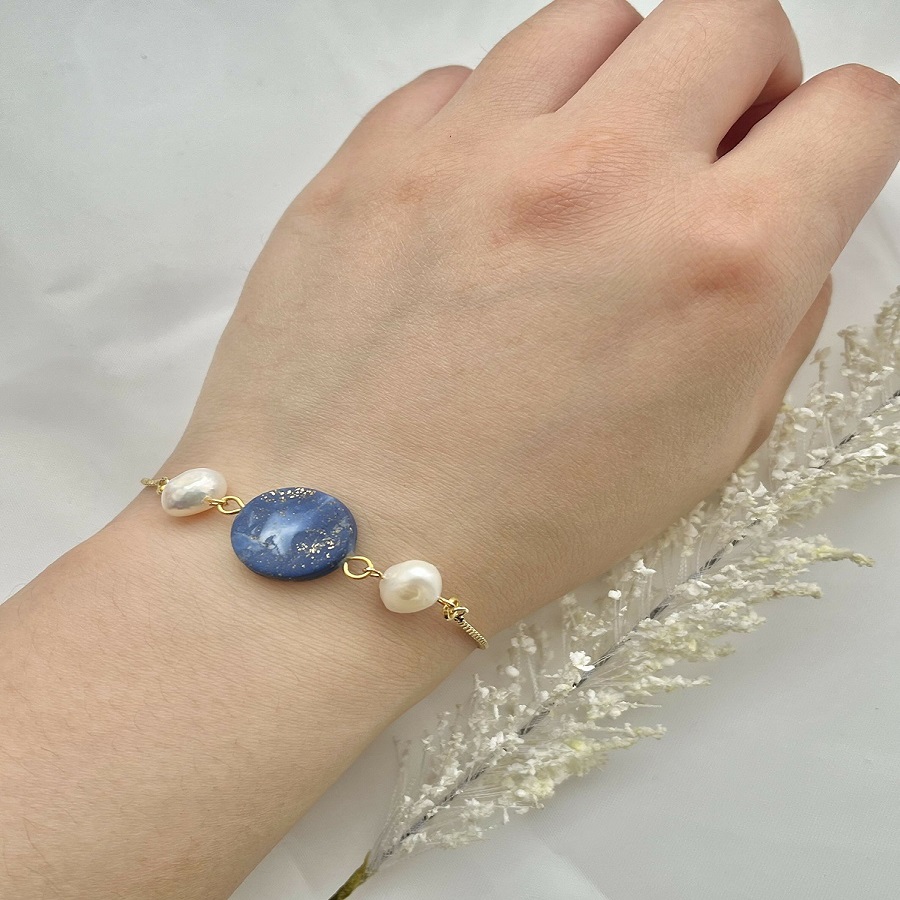
Add a unique twist to your polymer clay bracelets by pairing them with other materials. Incorporate leather, fabric, or metal into your designs. Polymer clay charms can be used alongside gemstone beads or metal components for a more sophisticated look.
7. Personalized Initial Bracelets
Craft personalized bracelets by incorporating initials or meaningful words into your designs. Use smaller clay pieces to create letter beads that can be spaced out between other decorative elements.
8. Texture Play
Experiment with various textures by using tools, stamps, or household objects to create intricate designs on each clay piece. Add depth and interest to your bracelets with raised elements and contrasting smooth spots.
Tips for Success
- Experiment Freely: Don’t be afraid to try new techniques and color combinations. Polymer clay is forgiving, and practice helps improve your skills.
- Keep it Clean: Clean your workspace regularly, as clay can easily pick up dust and lint.
- Storage: Store your unused clay in airtight containers to prevent it from drying out.
- Safety First: Make sure to use clay tools only for clay, as they can be contaminated with food or other materials.

Conclusion
Crafting unique clay bracelets is a rewarding and enjoyable process. With just a few materials and some creativity, you can create stunning jewelry pieces that not only beautify the wrist but also tell your story. Whether for personal use or as gifts, handmade clay bracelets are sure to delight both the maker and the recipient. So gather your materials, follow the steps above, and let your imagination run wild! Happy crafting!
