Introduction to Paperclip Bracelet Craft
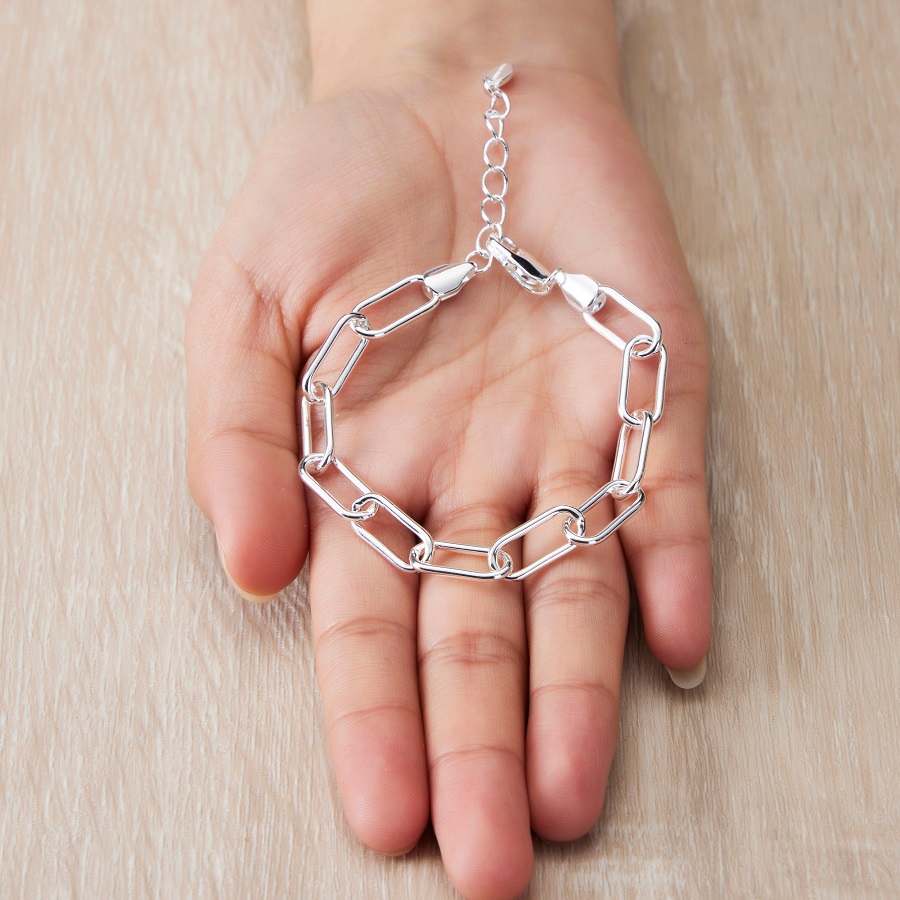
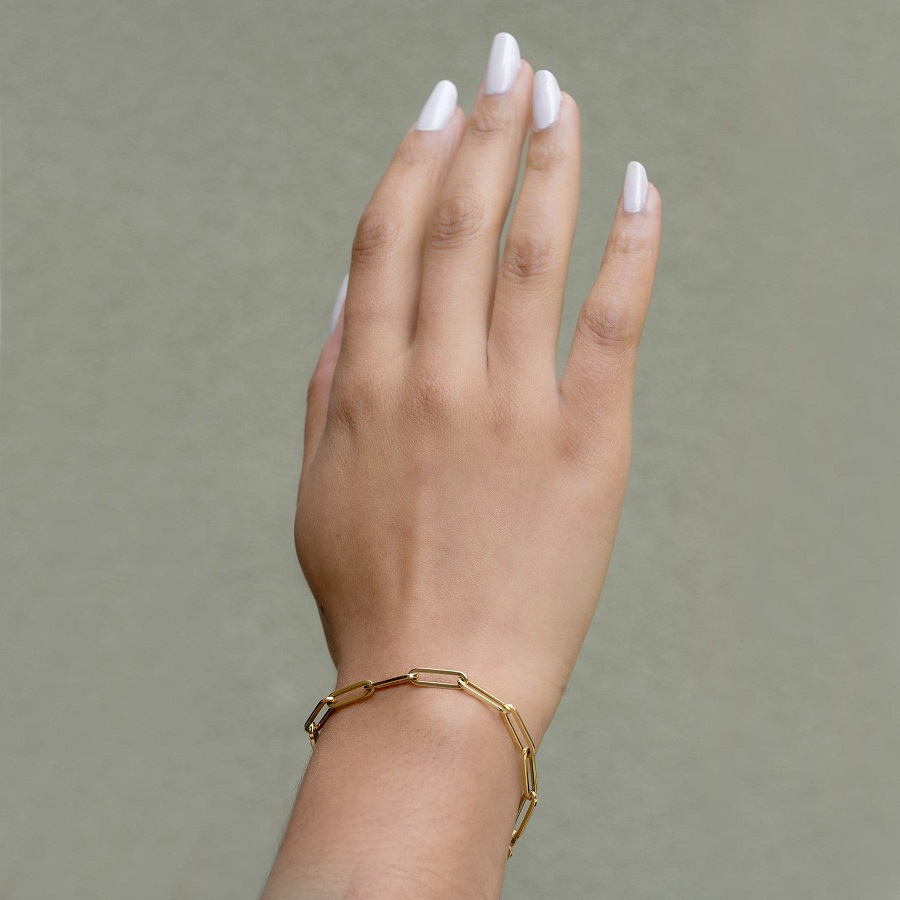
The paperclip bracelet craft is a fun, innovative way to create jewelry from everyday items. These simple yet elegant accessories have become a DIY favorite for people of all ages. The beauty of paperclip bracelets lies in their versatility and ease of creation. Not only do they make for a fashionable statement, but they also serve as a reminder that beautiful things can come from the most unexpected places.
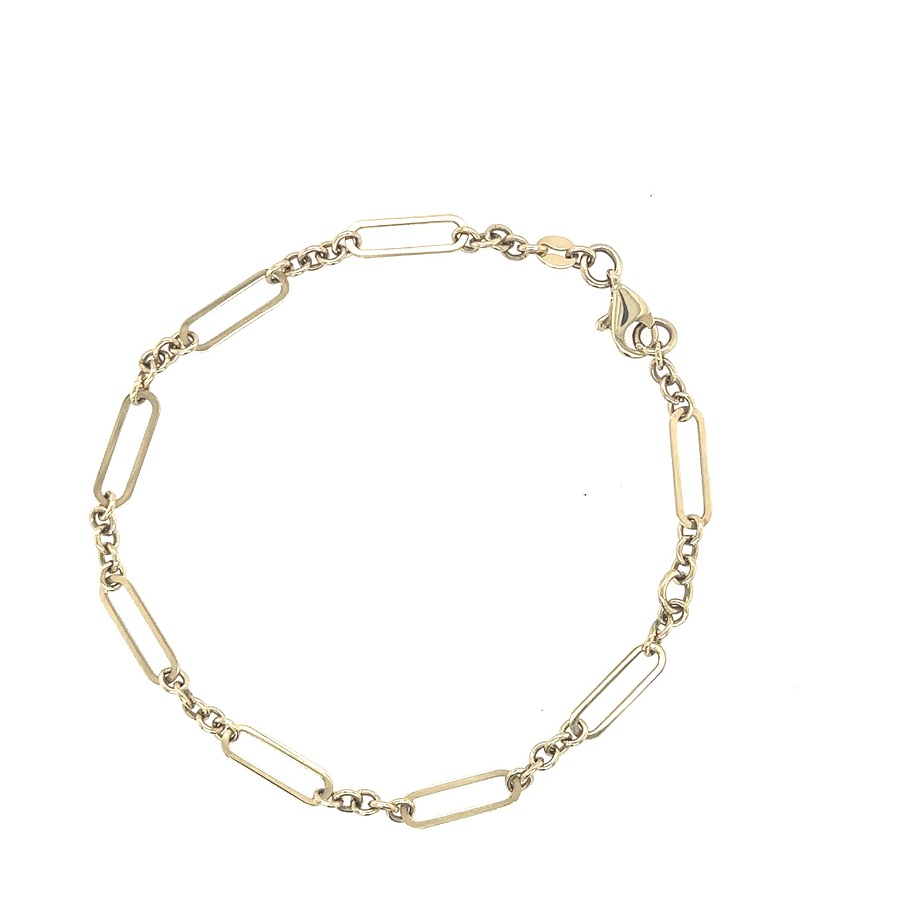
From the very basic designs to those adorned with beads and charms, paperclip bracelets can be customized to fit any style or occasion. If you’re looking for a craft that is both cost-effective and rewarding, then diving into the world of paperclip bracelets is a perfect choice. Whether you’re a beginner or an experienced crafter, you’ll find that making these bracelets is an enjoyable and satisfying experience.
Essential Materials for Paperclip Bracelet Making
Creating a paperclip bracelet begins with gathering the right materials. To start, you’ll need paperclips. These are the backbone of your bracelet. Opt for standard-sized paperclips for a traditional look, or larger ones for a bolder statement. Next, collect some pliers. Pliers will help you bend and shape the paperclips safely and with precision. You’ll also need a ruler to measure the length of your bracelet accurately.
String or elastic cord comes next. This is essential if you plan to add beads or create a braided design. Beads and charms bring personality to your bracelet. Choose a variety to suit your style. Jump rings and clasps are also key. They’ll secure your bracelet and make it easy to wear. Lastly, consider having some clear nail polish or spray varnish on hand. A coat of this will prevent the metal from tarnishing.
To summarize, make sure you have:
- Paperclips of your desired size
- Pliers for bending
- Ruler for precise measurements
- String or elastic cord for designs with beads or braiding
- Beads and charms to personalize
- Jump rings and clasps for closure
- Clear nail polish or spray varnish for protection
Gather these materials, and you’re well on your way to creating your very own paperclip bracelet.
Basic Paperclip Bracelet: Step-by-Step Guide
To craft a basic paperclip bracelet, follow these simple steps for a chic and minimalistic accessory. Remember, the goal is to create a piece that’s both stylish and easy to make. Let’s get started!
- Gather Your Paperclips: Select smooth, standard-sized paperclips for a uniform look.
- Straighten Paperclips: Use your pliers to straighten each paperclip into a long piece of wire.
- Cut to Length: Measure your wrist with the ruler and cut the straightened paperclips to match the desired bracelet length.
- Shape the Links: Bend the wire pieces into oval or circular shapes. This will form the links of your bracelet.
- Connect the Links: Use the pliers to open one end of a paperclip link, slide on another, and then close it securely.
- Repeat: Continue connecting the links until you reach the desired length for your bracelet.
- Add a Clasp: Attach a jump ring to one end and a clasp to the other. This ensures your bracelet will stay on your wrist.
- Finishing Touches: Inspect the bracelet for any sharp edges or loose ends, using your pliers to make adjustments. Apply clear nail polish to prevent tarnishing.
- Wear with Pride: Your paperclip bracelet is now ready to wear or gift!
Creating a basic paperclip bracelet is as simple as these nine steps. With practice, you’ll be able to make them quickly and with great ease. Use this guide as a starting point and let your creativity lead you to more intricate designs.
 Decorative Paperclip Bracelet Ideas
Once you have mastered the basic paperclip bracelet, it’s time to get creative. Simple alterations can transform your bracelet into a decorative piece that reflects your personal style. Here are some ideas to inspire your next project:
- Colorful Paperclips: Use colored paperclips to add a vibrant touch to your design.
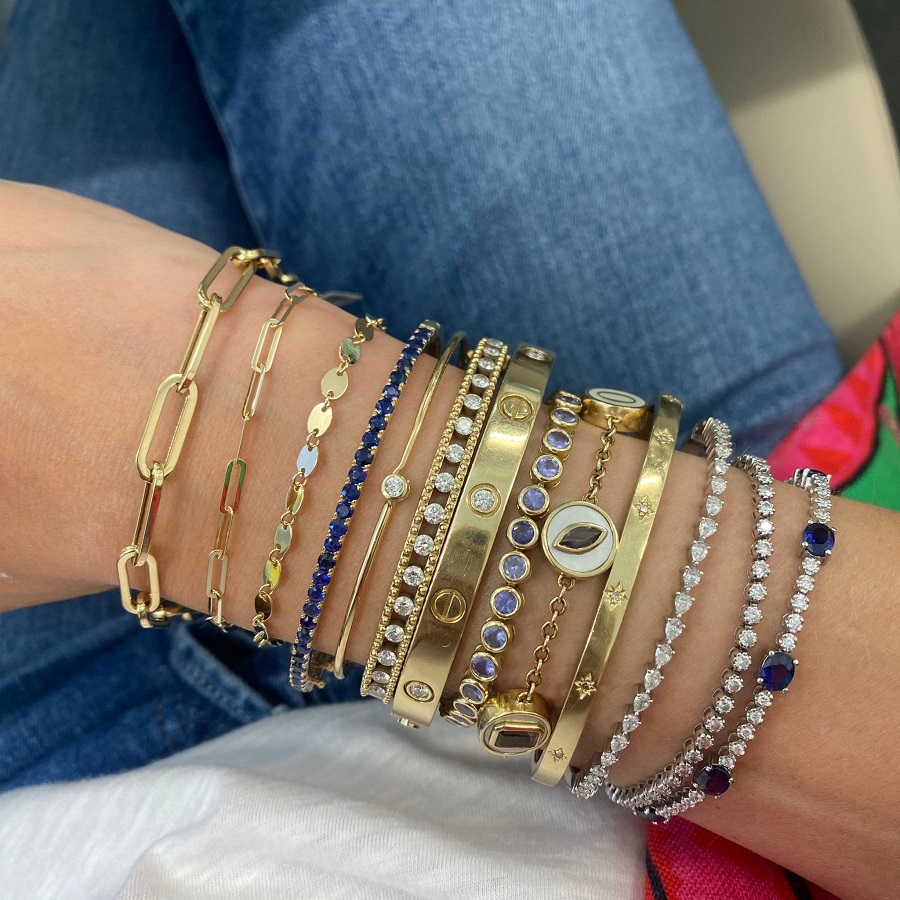
- Layered Links: Stack multiple bracelets or create one with several layers of paperclips for a chunkier look.
- Mixed Metals: Combine gold, silver, and colored metal clips for a modern, eclectic effect.
- Textured Clips: Search for paperclips with interesting textures or shapes to give your bracelet a unique twist.
- Themed Bracelets: Create bracelets with paperclips and charms that follow a theme, like hearts for Valentine’s Day or flowers for spring.
With these ideas, you can elevate the humble paperclip bracelet into a trendy and stylish accessory. Experiment with different variations and discover the endless possibilities that paperclip bracelet crafting offers. Transform an everyday office supply into a statement piece that stands out. Have fun, be bold, and let your imagination guide you to amazing creations.
Adding Beads and Charms to Your Paperclip Bracelet
Enhancing your paperclip bracelet with beads and charms is a fantastic way to personalize your creation. This addition gives a unique flair that sets your jewelry apart. Here’s how you can incorporate beads and charms into your paperclip bracelet design.
- Choose Your Beads and Charms: Select beads and charms that reflect your style or the theme you’re aiming for.
- Prepare Your Paperclips: Straighten your paperclips and bend them into links if you haven’t done so already.
- Thread Beads onto Paperclips: Before connecting the links, slide beads onto the paperclips. Plan your pattern ahead.
- Attach Charms with Jump Rings: Use the pliers to open jump rings, attach charms, and then secure them to the paperclip links.
- Design Pattern: Decide on the order of beaded paperclips and charm-laden links within your bracelet.
- Assemble the Bracelet: Follow the basic construction process, including your beaded links and charms in your pattern.
- Secure the Clasp: Ensure your bracelet has a clasp for easy wearing. A lobster clasp is a popular choice.
- Final Adjustments: Make any needed tweaks with your pliers and check that all elements are secure.
By adding beads and charms, your paperclip bracelet becomes more than just a simple accessory; it’s a personal statement piece. Experiment with different styles and have fun making a bracelet that’s truly your own.
Paperclip and String Bracelet Variations
Exploring variations of paperclip and string bracelets can lead to unique and intriguing designs. This method involves using string or elastic cord with paperclips to create diverse and vibrant patterns that go beyond the basic link style. Here are some variations that you can try to further personalize your bracelet:
- Braided Designs: Combine strings of different colors with paperclips to braid intricate patterns. This adds a soft texture and colorful appeal to your piece.
- Knotting Techniques: Instead of simple threading, use various knotting techniques to enhance the complexity and durability of your bracelet.
- Multi-strand Bracelets: Create a multi-strand bracelet by using several strings intertwined with paperclips. This can give a fuller and more detailed appearance.
- Incorporation of Other Materials: Weave in other materials like ribbons or thin wires along with the paperclips for a mixed-media effect.
- Adjustable Sliding Knots: For easy adjustment of bracelet size, use sliding knots in your string design. This is practical and trendy.
Each variation offers a new way to embed more of your personal style into your craft. Experiment with different combinations and string techniques to see which one reflects your style best. Mixing and matching these methods will not only enhance your crafting skills but also increase the uniqueness of each bracelet you create. Whether for personal use or as gifts, these variations can offer more customized options for everyone.
Upcycled Chic: Transforming Old Paperclips into Stylish Accessories
Turning your old paperclips into chic accessories is not only creative but also eco-friendly. This approach encourages upcycling, breathing new life into items that would otherwise be discarded. Here’s how you can transform old paperclips into stylish accessories:
- Clean the Paperclips: Start by cleaning your old paperclips. This prep removes any rust or dirt.
- Paint or Coat: Apply nail polish or spray paint to add color and prevent further rusting.
- Shape Your Designs: Bend the paperclips into desired shapes. Use pliers for intricate twists and turns.
- Combine with Other Materials: Add elements like strings, beads, or charms to enrich the design.
- Assemble the Accessory: Depending on your design, this might involve linking paperclips together or adding clasps.
- Final Touches: Check for any sharp edges and smooth them out. Apply a final coat if needed.
Through these steps, old paperclips can become unique, personalized accessories. They can be the highlight of your outfit or a special handmade gift. Plus, this upcycled option is kind to your wallet and the planet.
Tips for Perfecting Your Paperclip Bracelet Technique
Crafting the perfect paperclip bracelet requires practice and attention to detail. Here are essential tips to elevate your technique and create flawless designs:
- Maintain Consistent Link Sizes: For a uniform appearance, ensure all paperclip links are of similar size. Use a ruler for accuracy.
- Smooth Edges: Always smooth out sharp ends with pliers. This prevents any potential scratches while wearing the bracelet.
- Secure Closures: Double-check that all clasps and jump rings are securely closed. This enhances the durability of your bracelet.
- Experiment with Coatings: Protect your bracelets from tarnishing by applying a clear nail polish or spray varnish. This also adds a glossy finish.
- Practice Symmetry in Beading: When adding beads, aim for symmetrical patterns for a balanced look.
- Keep Tools in Good Condition: Ensure your pliers and other tools are in good shape. This affects the quality of your bracelet.
- Stay Patient and Creative: Experiment with different designs and don’t rush the process. Creativity flourishes with time.
By following these tips, your paperclip bracelet making skills will improve. Soon you’ll be creating professional-looking accessories with ease.
 Conclusion: Unleashing Your Creativity with Paperclip Bracelets
As we wrap up this exploration of paperclip bracelet crafts, it’s clear that these tiny office staples can transform into stunning jewelry. This hobby does more than produce wearable art; it sparks creativity. It allows a simple paperclip to embody your personal style and flair in endless ways.
Whether you’re making a basic looped bracelet or a complex, beaded masterpiece, the process enhances your fine motor skills and artistic vision. Each creation you make adds to your experience, making you a better crafter. You get to explore the use of various materials like beads, charms, and strings, learning new techniques with each project.
The economic and eco-friendly aspects of using paperclips make this craft particularly rewarding. You’re not just making bracelets; you’re upcycling what would otherwise be everyday clutter into chic accessories.
So, keep those pliers handy, stock up on colorful paperclips, beads, and strings, and let your imagination guide you. Dive into the crafting process, perfect your technique, and who knows? Maybe your next paperclip bracelet will be your fashion statement!
