Introduction to Picture Bracelets
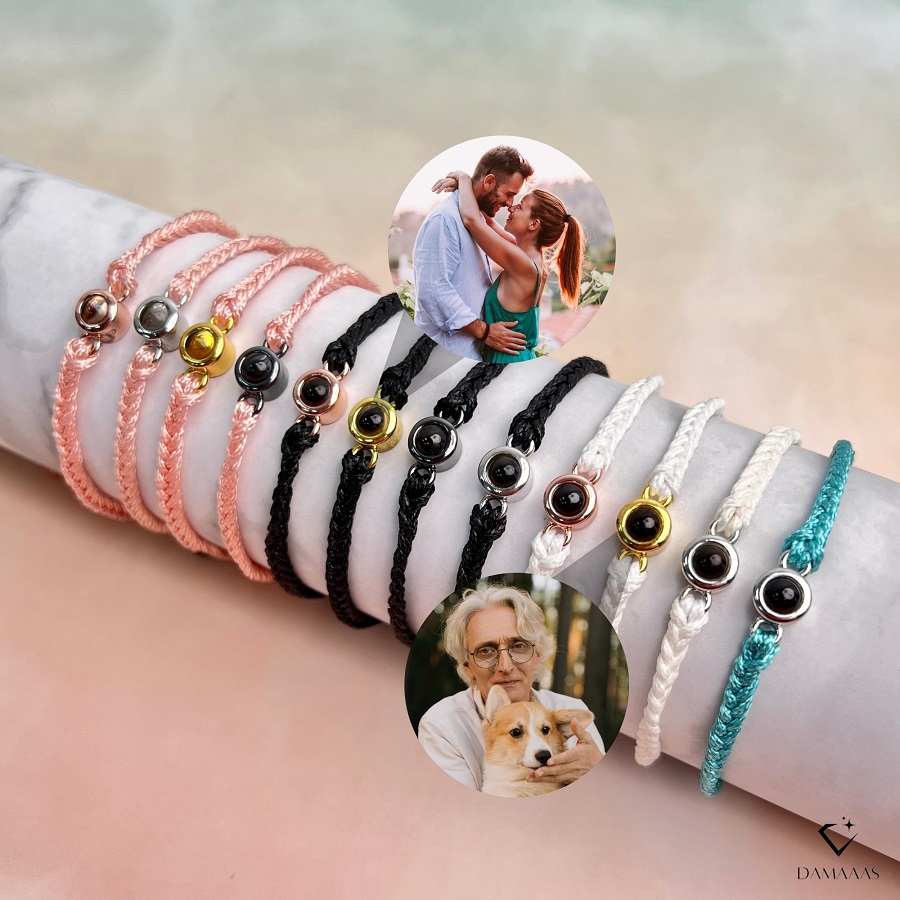
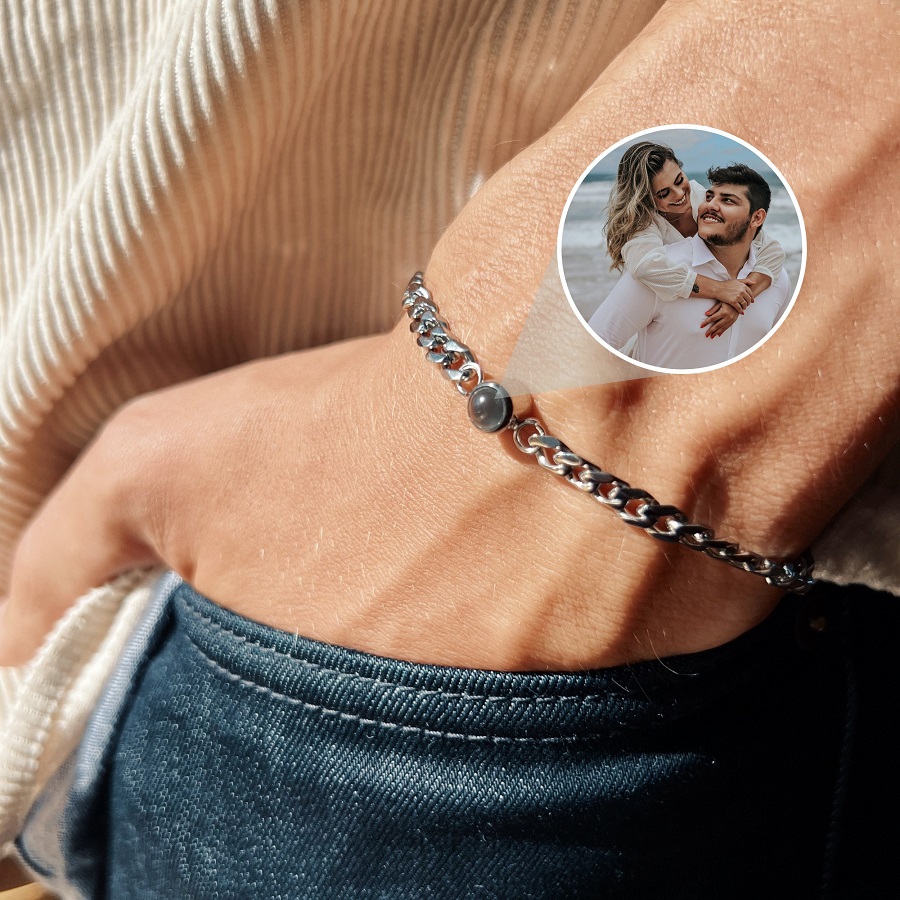
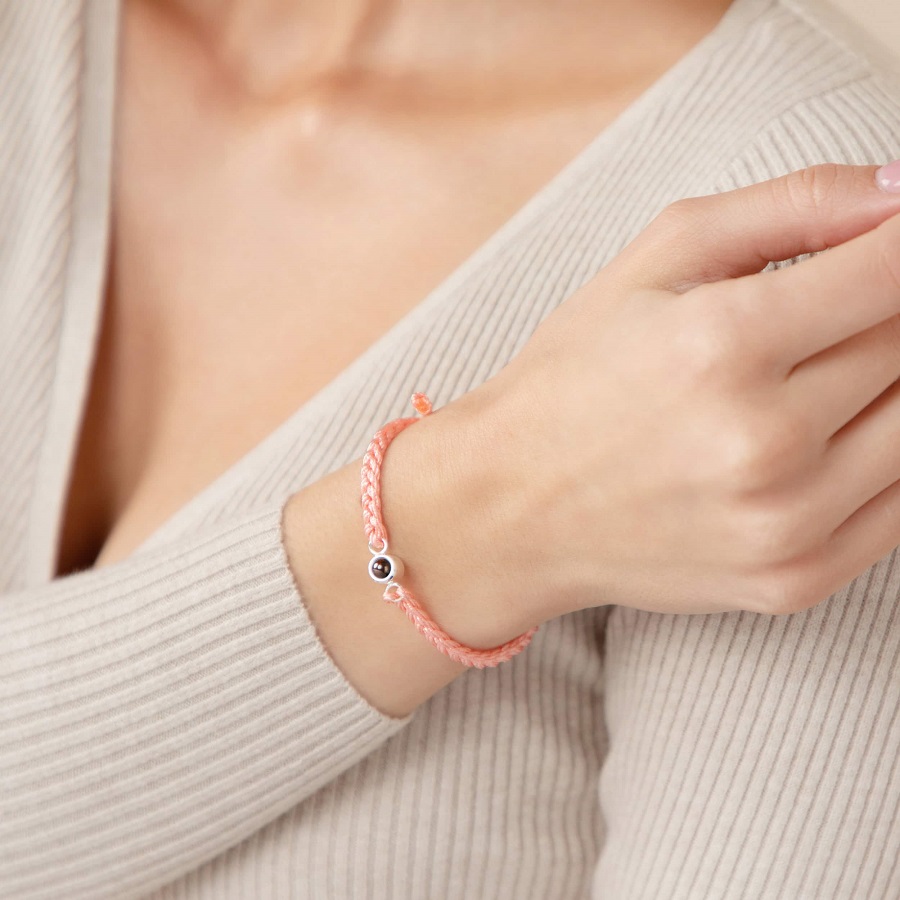
Picture bracelets are a unique and personal way to keep cherished memories close. These accessories combine the charm of traditional jewelry with the sentimentality of photographs, encapsulating your favorite moments in a wearable format. A picture bracelet can consist of one or multiple images linked together in a stylish and eye-catching manner. They serve as a constant reminder of the special times, people, and places in your life. Making a picture bracelet allows for creativity and personal expression. You can choose from a variety of materials and designs to create a piece that truly reflects your style. Furthermore, these bracelets make thoughtful and heartfelt gifts for friends and family. Whether for birthdays, anniversaries, or just because, a custom-made picture bracelet is a heartfelt gift that keeps on giving.
Essential Materials for Creating Picture Bracelets
Before you embark on the journey of crafting your own picture bracelet, it’s crucial to gather all the necessary materials. Here’s a breakdown of what you’ll need:
- Photos: Select high-quality photos that hold special meaning. Ensure they are printed on durable photo paper.
- Bracelet Blanks: These are the foundations of your bracelet. They come in various shapes and sizes.
- Glass Cabochons: These clear glass pieces will cover and protect your photos.
- Glue: A strong adhesive is important to securely attach your photos to the bracelet blanks.
- Mod Podge: This is used to seal the photo on the paper and prevent damage.
- Scissors or Punches: To precisely cut out the photos to fit the bracelet blanks.
- Jewelry Pliers: Needed for opening and closing jump rings and other adjustments.
- Jump Rings and Clasps: These are the metal pieces that link the bracelet blanks together and secure the bracelet on your wrist.
Make sure that you choose materials that not only look good but are also long-lasting. Quality materials will ensure that your picture bracelet remains a cherished item for years to come. With the right materials at hand, you’ll be ready to start the exciting process of assembling your memories into a beautiful bracelet.
Choosing the Perfect Images for Your Bracelet
Choosing the right images for your picture bracelet is crucial. It’s about finding photos that are not only visually appealing but also significant. Here are key considerations to keep in mind:
- Emotional Connection: Opt for images that evoke strong, positive emotions. This could be photos from a special event, memorable trips, or loved ones.
- Clarity and Quality: Ensure the photos are clear and high resolution. Blurry or low-quality images won’t do justice to your bracelet.
- Color Scheme: Consider how the colors in the photos will look with the materials of the bracelet. Harmonizing colors enhance the bracelet’s overall aesthetic.
- Size and Fit: Check that the size of the photos matches the bracelet blanks. They should fit perfectly within the framing area.
- Variety: Mixing different types of images, like close-ups and landscapes, can make your bracelet more intriguing and personal.
Selecting images with care will ensure that your picture bracelet truly captures the essence of your cherished memories and remains a meaningful accessory.
 Step-by-Step Guide to Making a Picture Bracelet
Creating a picture bracelet takes patience and attention to detail. Follow these simple steps to craft your personalized accessory:
- Select Your Images: Starting with the images you previously chose, ensure they are of high quality and emotionally significant.
- Prepare the Bracelet Blanks: Choose your bracelet blanks and lay them out. Make sure they’re clean and ready to work with.
- Size the Photos: Use your scissors or punches to cut out the photos to match the size of the bracelet blanks.
- Apply Glue: Spread a thin layer of strong adhesive on the back of each photo. Carefully place them onto the bracelet blanks.
- Add the Glass Cabochons: Once the glue is slightly set, place the glass cabochons on top of the photos, pressing down gently to remove any air bubbles.
- Seal the Images: Brush a coat of Mod Podge over the photos to seal them. Allow this to dry thoroughly before proceeding.
- Assemble the Bracelet: Open the jump rings with pliers and connect each bracelet blank together. Attach the clasp at the end.
- Let it Settle: Once assembled, let the picture bracelet sit undisturbed for a while. This ensures the adhesive and sealer set properly.
- Final Inspection: Check each part is secure and the photos are protected. Your picture bracelet is now ready to wear.
By following these steps, you can transform your treasured photographs into a stylish picture bracelet that keeps memories close at hand.
Adding Personal Touches to Your Picture Bracelet
Once you have assembled your picture bracelet following the step-by-step guide, it’s time to add personal touches that reflect your individuality. These details turn a beautiful accessory into a unique piece that speaks volumes about your personality and style. Here are some ideas to consider:
- Engrave Initials or Dates: Personalize your bracelet by engraving initials, significant dates, or short messages on the bracelet blanks or clasp. This extra step can mark an occasion or honor a loved one.
- Beads and Charms: Incorporate beads and charms that carry personal significance. Choose colors and shapes that complement your images and add visual interest to your bracelet.
- Color Coordination: Match the color of the bracelet’s metal with the predominant colors in your photos. A unified color scheme can enhance the overall aesthetic of your bracelet.
- Theme: Create a theme for your bracelet. It could be travel, family, pets, or any other subject that has a special place in your heart. Stick to the theme with your image selection and additional decorative elements.
- Mix and Match: Don’t be afraid to mix different styles and materials. For example, use different sizes or shapes of bracelet blanks for a contemporary look.
- Packaging: If you plan to gift the bracelet, consider custom packaging. A handcrafted box or a personalized note can add a touching final touch.
By adding these personalized elements, your picture bracelet becomes a true work of art. It showcases your creativity while ensuring that the memories encapsulated in the bracelet are as special as the moments they represent. Keep it unique, keep it personal, and above all, have fun with the process.
Creative Variations of Picture Bracelets
When crafting a picture bracelet, there are many creative pathways you can explore. Each variation adds a unique flair to your creation, making it stand out as a personal piece of art. Here are some ideas to inspire your next project:
- Use Different Shapes: Go beyond the traditional rectangle frame. Try circles, hearts, or oval shapes for your pictures.
- Experiment with Materials: Instead of metal, use leather or fabric straps. This can give your bracelet a rustic or soft look.
- Create a Locket Style: Design your bracelet with a locket that opens to reveal your picture, adding a layer of intimacy.
- Tell a Story: Sequence your photos in a way that tells a story or represents a timeline of events.
- Mix Media: Incorporate other elements like buttons, lace, or even small tokens that complement your photos.
- Interchangeable Photos: Use bracelet blanks that allow you to switch out photos. This way, you can update your bracelet with new memories.
Embrace these suggestions and mix them with your style. Your picture bracelet will not just reflect cherished memories but also your creativity and innovation. Keep trying new things and watch your collection of personalized jewelry grow.
Tips for Preserving and Caring for Your Picture Bracelet
Once you’ve created your picture bracelet, keeping it in great condition is key. Here are tips to help preserve your bracelet for years to come:
- Avoid Water: Don’t wear your picture bracelet in the shower or pool. Water can damage photos.
- Keep It Clean: Gently wipe the bracelet with a soft, dry cloth. This removes dust and oils.
- Store Properly: When not in use, keep your bracelet in a dry place. A jewelry box is ideal.
- Limit Sun Exposure: Too much sunlight can fade photos. Wear your bracelet in moderation outdoors.
- Handle with Care: Be gentle to avoid scratches on the glass cabochons or photos.
- Regular Checks: Inspect the bracelet regularly for loose parts or damage to fix them promptly.
Follow these steps to ensure those precious memories stay bright and clear on your wrist.
 Conclusion: Celebrating Moments with Picture Bracelets
As we wrap up our guide on crafting memory-filled picture bracelets, let’s reflect on the essence of these personal treasures. A picture bracelet is more than just an accessory; it is a portable gallery, a memento that carries the faces and places dear to your heart. With every piece you’ve carefully selected and assembled, you infuse the bracelet with stories and emotions that resonate with every glance.
A meticulously made picture bracelet offers endless joy and a touch of nostalgia. It allows us to keep our loved ones close, to relive magical moments, and to showcase our style with something truly one-of-a-kind. They are not just tokens of remembrance but also symbols of our connection to the past and the people in it.
Whether you’re making a picture bracelet for yourself or as a heartfelt gift, they exemplify thoughtfulness and creativity. The possibilities in design and variation mean no two bracelets will ever be the same. Each unique piece celebrates the individuality of the maker and the wearer alike.
By following the steps outlined in this blog, using the right materials, adding personal touches, exploring creative variations, and caring for the piece with love, you’re bound to create something extraordinary. Let’s embrace the beauty of keeping our memories alive through the art of picture bracelets. Armed with your toolkit of ideas, go forth and craft a wearable homage to the moments that define your life.
