
Introduction
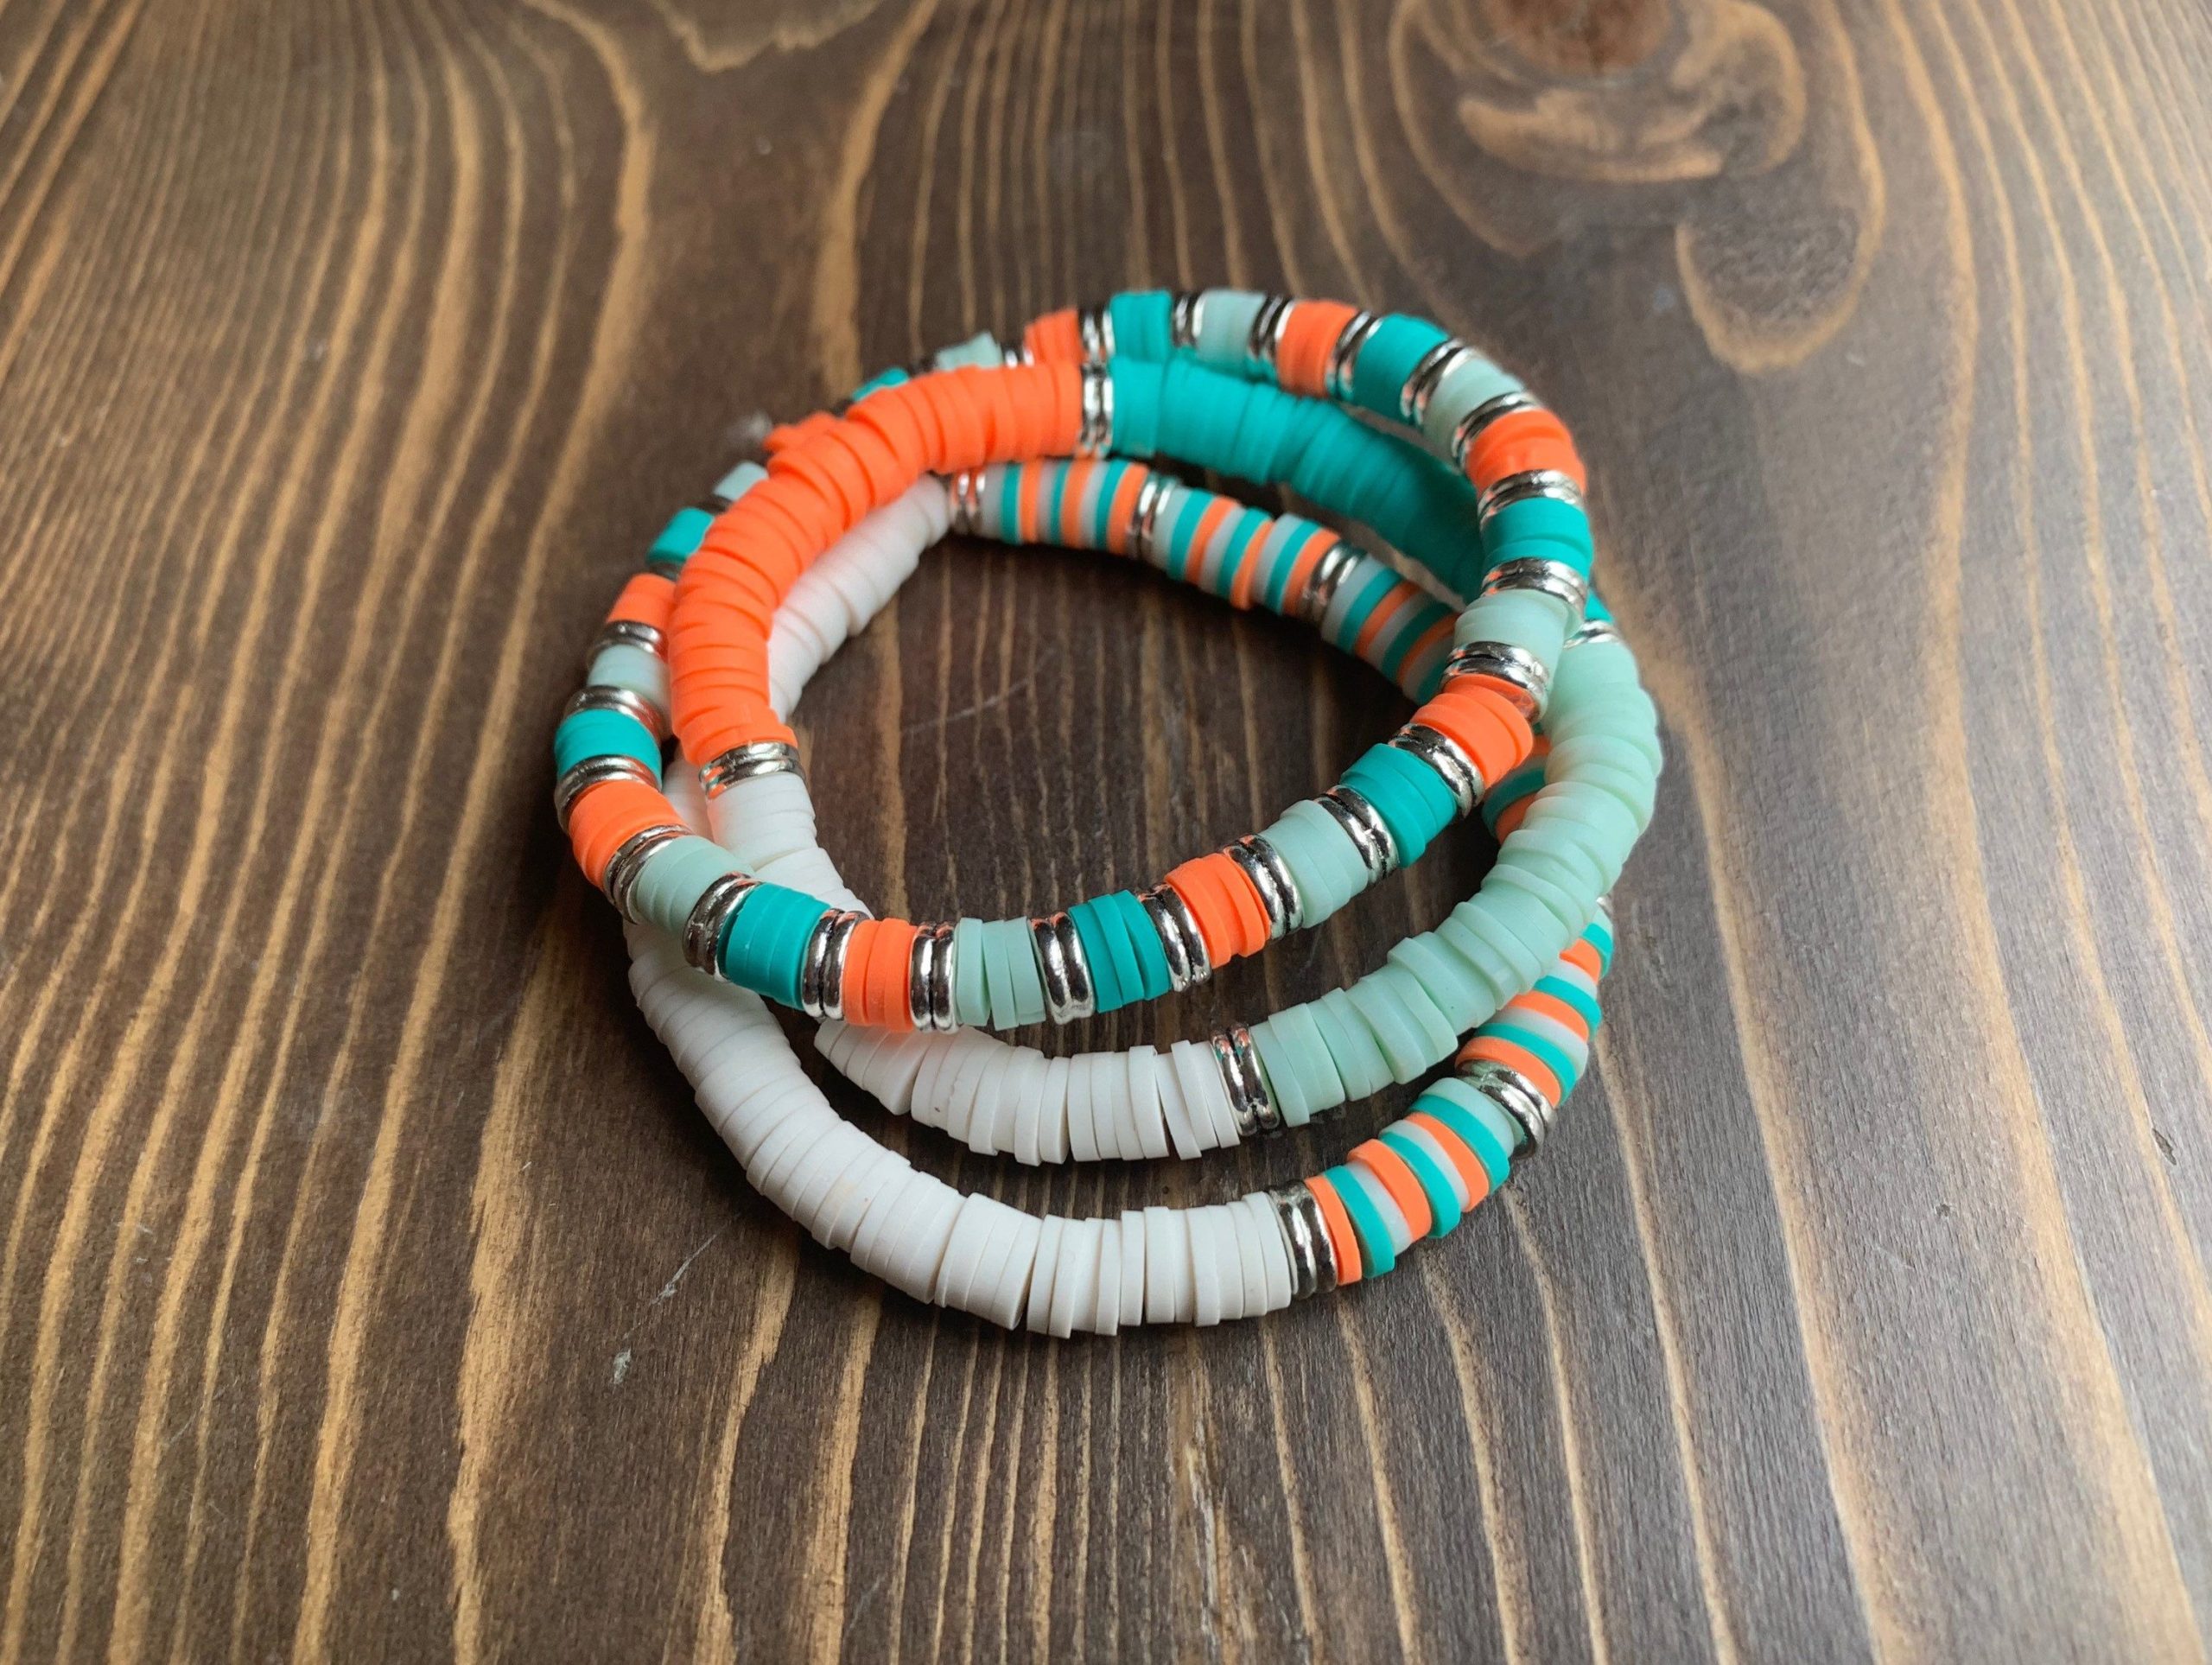
Clay bead bracelets are not just accessories; they are expressions of creativity and individuality. From selecting the clay to designing and stringing the beads, every step of the crafting process offers an opportunity for personalization and artistic expression. In this comprehensive guide, we’ll explore the art of crafting clay bead bracelets, providing step-by-step instructions, creative tips, and inspiration to help you create stunning pieces that reflect your unique style.
1. Getting Started: Choosing Your Clay
The first step in crafting clay bead bracelets is selecting the right type of clay for your project. Polymer clay is a popular choice due to its versatility, durability, and wide range of colors. You can find polymer clay in craft stores or online in various brands such as Fimo, Sculpey, and Cernit. Consider experimenting with different colors and textures to create eye-catching bead designs.
2. Preparing Your Workspace
Before diving into the crafting process, set up a clean and organized workspace. Lay out your clay, tools, and any additional materials you’ll need, such as bead rollers, cookie cutters, and toothpicks. Make sure your work surface is smooth and free of debris to prevent unwanted marks on your clay beads.
3. Shaping and Designing Your Beads
Now comes the fun part – shaping and designing your clay beads! Roll out small pieces of clay into balls or use bead rollers to create uniform shapes. Get creative with textures by imprinting designs onto the surface of the clay using stamps, textured mats, or even natural objects like leaves and shells. Experiment with different sizes and shapes to add visual interest to your bracelet.
4. Adding Color and Detail
Once you’ve shaped your beads, it’s time to add color and detail. You can use acrylic paints, alcohol inks, or pastels to add vibrant colors to your beads. For a more subtle effect, mix different shades of clay together before shaping your beads to create marbled or gradient patterns. Don’t be afraid to experiment with different techniques and color combinations to achieve the desired look for your bracelet.
5. Baking Your Beads
Before your clay beads are ready to be strung into a bracelet, they need to be baked to harden them. Follow the instructions on the packaging of your chosen clay for the correct baking temperature and time. Use a baking tray lined with parchment paper to prevent your beads from sticking to the surface. Once baked, allow your beads to cool completely before handling them.
6. Stringing Your Bracelet
Now that your beads are baked and cooled, it’s time to string them into a bracelet. Choose a durable stringing material such as elastic cord, nylon thread, or jewelry wire. Measure the desired length of your bracelet and add a few extra inches for tying knots and securing the ends. Experiment with different bead arrangements and spacing to create a balanced and visually appealing design.
7. Finishing Touches
Once your bracelet is strung, it’s time for the finishing touches. Tie secure knots at both ends of the string to prevent your beads from sliding off. You can also add decorative clasps, charms, or beads to embellish your bracelet and give it a polished look. Consider adding a dab of jewelry glue to the knots for extra security.
8. Personalizing Your Bracelet
Finally, don’t forget to personalize your clay bead bracelet to make it truly unique. Add meaningful charms, initials, or symbols that hold special significance to you. You can also incorporate other materials such as gemstones, glass beads, or metal accents to complement your clay beads and add texture and dimension to your bracelet.
9. Advanced Techniques and Tips
If you’re looking to take your clay bead bracelet crafting to the next level, consider exploring some advanced techniques and tips:
- Textured Beads: Experiment with creating textured beads using various tools like texture stamps, toothpicks, or even household items like lace or fabric. Textured beads add depth and visual interest to your bracelet.
- Intricate Designs: Challenge yourself with creating intricate designs on your beads using fine-tipped tools or sculpting tools. From geometric patterns to floral motifs, the possibilities are endless.
- Mixed Media: Incorporate other materials into your clay bead bracelets for a mixed media effect. Try adding tiny metal charms, seed beads, or even tiny fabric tassels to complement your clay beads.
- Custom Colors: Mix your own custom colors using different shades of polymer clay. Blend colors together to create unique gradients, ombre effects, or marbled patterns for your beads.
- Surface Treatments: After baking your beads, consider adding surface treatments like gloss or matte varnish to enhance their appearance and durability. Varnishing also helps protect the beads from scratches and wear over time.

10. Design Inspiration
Need some design inspiration for your clay bead bracelets? Here are a few ideas to get you started:
- Nature-Inspired: Create a bracelet featuring clay beads adorned with leaf imprints, floral designs, or earthy colors like greens and browns for a natural look.
- Bohemian Vibes: Incorporate vibrant colors, geometric patterns, and mixed media elements like feathers, beads, and charms to create a bohemian-inspired bracelet.
- Minimalist Elegance: Keep it simple yet stylish with a bracelet featuring monochromatic clay beads in shades of white, black, or grey, accented with subtle metallic touches.
- Personalized Charms: Add personalized charms or initials to your bracelet for a meaningful touch. Consider birthstone beads, zodiac symbols, or initials of loved ones.
11. Care and Maintenance
To ensure your clay bead bracelet stays looking its best for years to come, follow these care and maintenance tips:
- Avoid exposing your bracelet to excessive heat or direct sunlight, as this can cause the clay beads to become brittle or discolored over time.
- Remove your bracelet before showering, swimming, or engaging in activities that may expose it to moisture, chemicals, or abrasives.
- Store your bracelet in a cool, dry place away from humidity and sunlight. Consider placing it in a jewelry box or pouch to prevent dust and scratches.
- Clean your bracelet gently with a soft, damp cloth if needed. Avoid using harsh chemicals or cleaners that may damage the clay beads or stringing material.
Conclusion
By following these tips and techniques, you can create beautifully crafted clay bead bracelets that showcase your creativity and style while ensuring they remain in excellent condition for years of enjoyment. Happy crafting!