
Introduction
Creating your own custom rings is a deeply personal and rewarding experience that allows you to express your unique style and tell your story through wearable art. Whether you’re drawn to simple bands or intricate designs studded with gemstones, the process of making a ring from scratch adds a special sentimentality to every piece. This beginner’s guide will equip you with the fundamental knowledge and steps to embark on your jewelry-making journey and craft a ring that truly reflects who you are.
Materials and Tools Checklist
Before diving into the creative process, gather these essential materials and tools:
- Ring Blank or Wire: Sterling silver, gold-filled, or copper wire in the desired gauge for the band.
- Jeweler’s Pliers: Round-nose pliers, chain-nose pliers, and wire cutters are the basics.
- Hammer and Anvil: For shaping and texturing the metal.
- Files and Sandpaper: To smooth edges and refine the shape.
- Polishing Cloth: To bring out the shine.
- Gemstones or Beads (optional): If you plan to incorporate them into your design.
- Jeweler’s Saw and Blades (for advanced designs): For cutting metal or gemstones.
- Soldering Kit (optional): For joining metal parts, especially for more complex designs.
- Safety Gear: Eye protection, dust mask, and protective gloves.
Step-by-Step Guide
Design and Plan
Sketch your ring design on paper, considering the band’s width, shape, and any additional details like gem settings or engravings. This planning stage is crucial for gathering necessary materials and visualizing the end result.
Measure and Cut
Measure your finger or the recipient’s finger to determine the correct size using a ring sizer. If using wire, cut it to the appropriate length plus a bit extra for shaping and finishing. For a blank, ensure it matches the required size.
Shape the Band
Using pliers, gently bend the wire or blank into a circular shape, ensuring a comfortable fit. For a seamless band, overlap the ends and either solder them together (if using a metal soldering kit) or tightly wrap the ends around each other and secure with pliers for a cold connection.
Refine and Texture
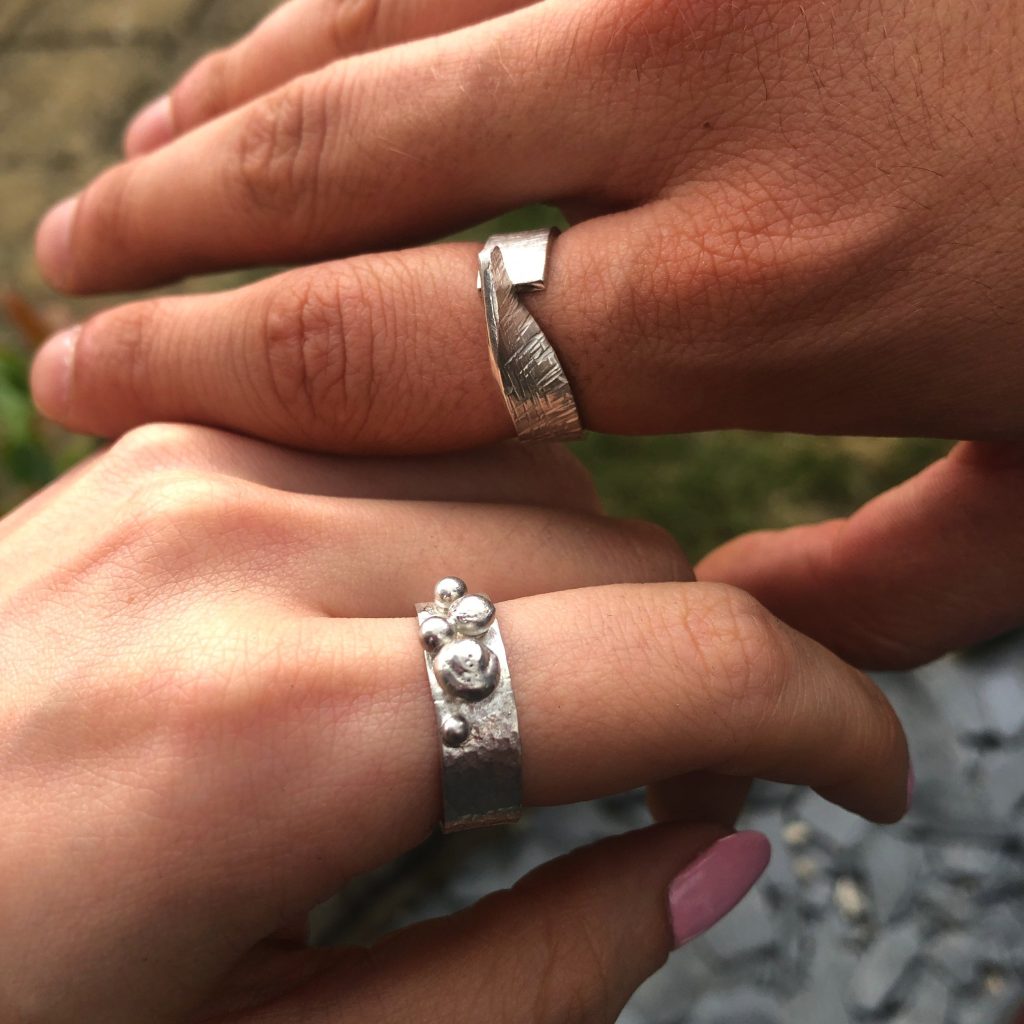
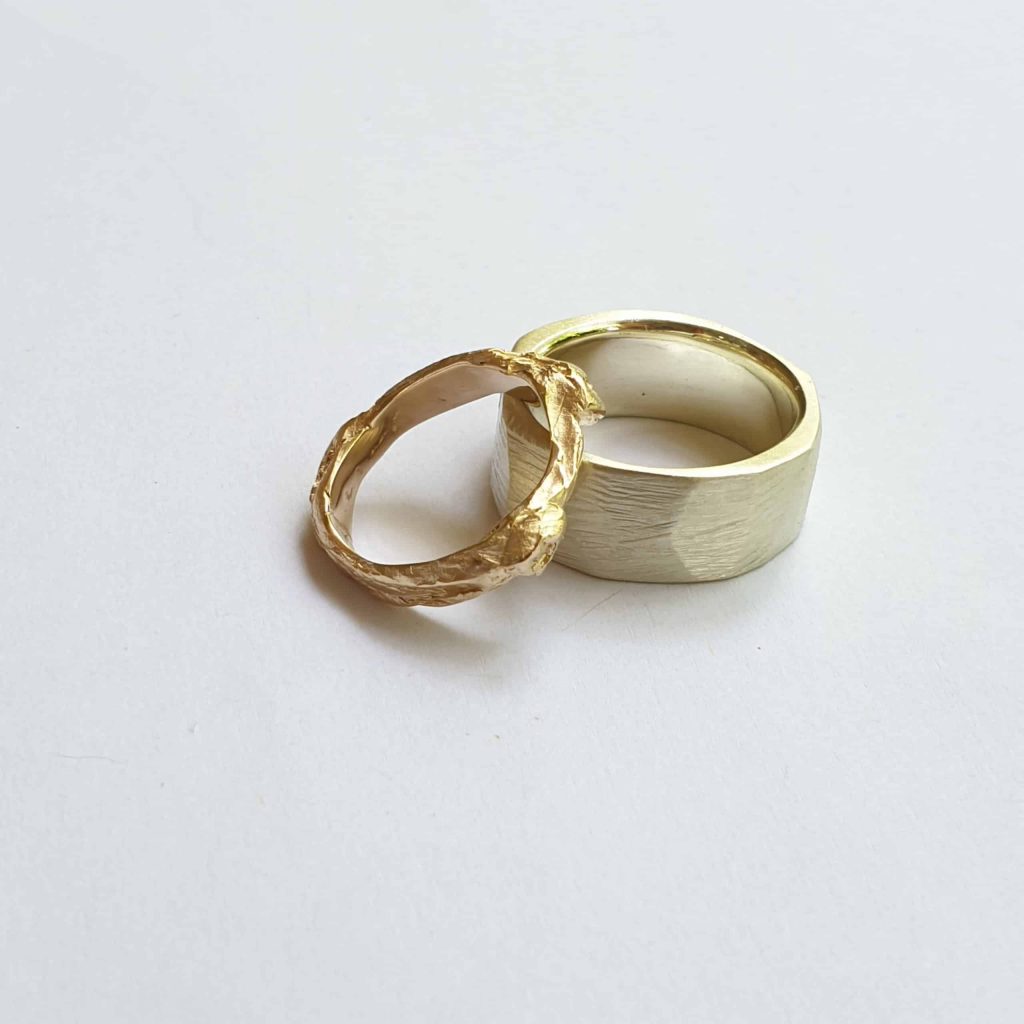
Smooth any sharp edges with files and sandpaper. If desired, texture the band using a hammer on an anvil. Different hammering techniques can create varied textures, from a subtle hammered finish to a more pronounced pattern.
Add Gems or Embellishments
If incorporating gemstones or beads, decide on the placement and method of attachment. For simpler designs, wire wrapping techniques can secure a bead or small gemstone. For镶嵌 stones, you’ll need to learn basic stone setting techniques or seek professional help.
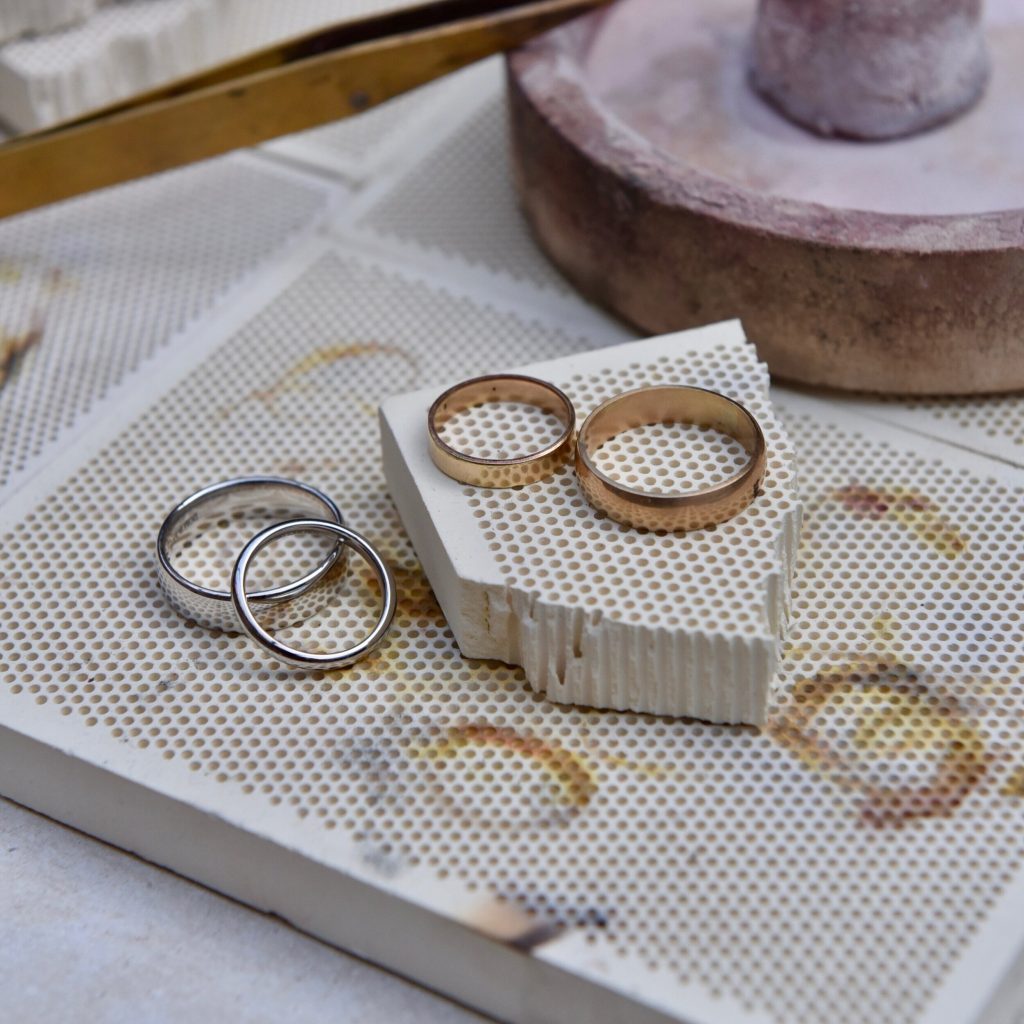
Polish and Finish
Use a polishing cloth to bring out the shine in your metalwork. For a professional touch, consider using a rotary tool with specialized bits for a high polish. If you’ve incorporated gemstones, clean them gently with a soft brush and soapy water to remove any residue from the crafting process.
Advanced Techniques and Inspiration
As you gain confidence and skills, explore more advanced techniques to elevate your ring designs:
- Stone Setting: Learn bezel, prong, or flush settings to securely and beautifully mount gemstones.
- Engraving: Personalize your rings with names, dates, or messages using manual or machine engraving methods.
- Metal Fusion: Experiment with combining different metals or adding patina for unique color effects.
- Wire Wrapping: Master intricate wire weaving and wrapping techniques to create ornate designs without soldering.
Safety and Creativity
Throughout your jewelry-making journey, prioritize safety by wearing appropriate gear and handling tools with care. Remember, the beauty of handmade jewelry lies in its imperfections and the story behind it. Embrace your creativity, and don’t be afraid to experiment with different materials, techniques, and styles. Each ring you craft becomes a tangible chapter in your personal narrative, a wearable testament to your artistic vision and the stories you wish to tell.
Tips for Success and Continuous Learning
- Practice Patience: Like any new skill, jewelry making requires patience and practice. Don’t be discouraged if your first attempts aren’t perfect – each piece is a learning experience.
- Join Workshops and Classes: Look for local workshops or online courses taught by experienced jewelers. Hands-on learning and expert guidance can significantly accelerate your skills.
- Online Resources: Utilize the wealth of tutorials, videos, and forums available online. Websites like YouTube, Instagram, and specialized jewelry-making blogs are treasure troves of inspiration and technical advice.
- Experiment and Innovate: Don’t be afraid to deviate from traditional methods or designs. Some of the most stunning pieces come from pushing boundaries and trying something new.
- Document Your Progress: Keep a journal or an online portfolio to track your projects, noting what worked well and what didn’t. This documentation will not only motivate you but also serve as a valuable reference for future creations.
Getting Started: Tools and Materials
Essential Tools:
- Ring Mandrel: Essential for shaping and sizing rings accurately.
- Pliers: Flat nose, round nose, and chain nose pliers for bending and manipulating wire.
- Wire Cutters: To cut metal wire cleanly and precisely.
- Jeweler’s Saw: For cutting metal sheets or thicker wire.
- Files: Smooth rough edges and refine shapes.
- Sanding Pads or Emery Boards: Smooth out imperfections in metal.
- Mallet or Rawhide Hammer: For hammering and shaping metal.
- Safety Gear: Goggles and gloves for protection when using tools like saws and torches.
Materials:
- Metal Wire: Sterling silver, gold-filled, copper, or brass wire in various gauges.
- Metal Sheets: Thin sheets for creating bases or embellishments.
- Gemstones and Beads: Choose stones or beads that complement your design.
- Resin: For embedding materials like flowers or creating custom charms.
- Soldering Supplies: If you plan to solder pieces together.
- Polishing Materials: Such as polishing cloths or polishing compounds.
Designing Your Ring
1. Inspiration:
- Sketching: Start with rough sketches of your ideas.
- Research: Explore different styles and techniques online or in jewelry books.
- Personalization: Consider themes or symbols that hold personal meaning.
2. Choosing Materials:
- Metal: Select based on durability, color preference, and budget.
- Gemstones: Decide on size, cut, and type based on your design.
- Beads and Charms: Add texture and personality to your ring.
3. Planning:
- Measurements: Use the ring mandrel to determine the size you want.
- Prototyping: Create a mockup using cheaper materials to test your design.
Making Your Ring
1. Basic Techniques:
- Wire Wrapping: Use pliers to twist and wrap wire into intricate designs.
- Forming: Shape wire or metal sheets around the ring mandrel or molds.
- Stone Setting: Secure gemstones using prongs or bezel settings.
2. Advanced Techniques:
- Soldering: Join metal components using solder and a torch.
- Resin Work: Embed elements or create custom resin charms.
- Texturing: Use hammers or stamping tools to add texture to metal.
3. Assembly:
- Layering: Stack or intertwine different wires for a dimensional look.
- Finishing Touches: Polish with cloths or tumblers to achieve a professional shine.
Safety Tips
- Always wear protective gear when using tools and handling chemicals.
- Work in a well-ventilated area when using adhesives or resins.
- Keep work surfaces clean and organized to prevent accidents.
Enjoying Your Creations
- Personal Use: Wear your custom rings proudly as expressions of your creativity.
- Gifts: Share your creations with loved ones for special occasions.
- Selling: Consider selling your designs online or at local craft fairs.
Final Thoughts
Creating custom rings is not just about crafting jewelry—it’s about telling your story through wearable art. Embrace the learning process, experiment with different techniques, and let your creativity flow. Whether you prefer minimalist designs or intricate statement pieces, each ring you create will be a reflection of your craftsmanship and personal style. So gather your tools, unleash your imagination, and start crafting your own custom rings today!