Introduction to Different Types of Bracelet Knots
Learning how to tie a bracelet knot is an essential skill for any DIY jewelry enthusiast. Knots not only secure the bracelet around your wrist but can also add aesthetic value to your design. Different knots serve various functions and can change the look and wearability of your bracelets. Let’s delve into some commonly used bracelet knots that you should know.
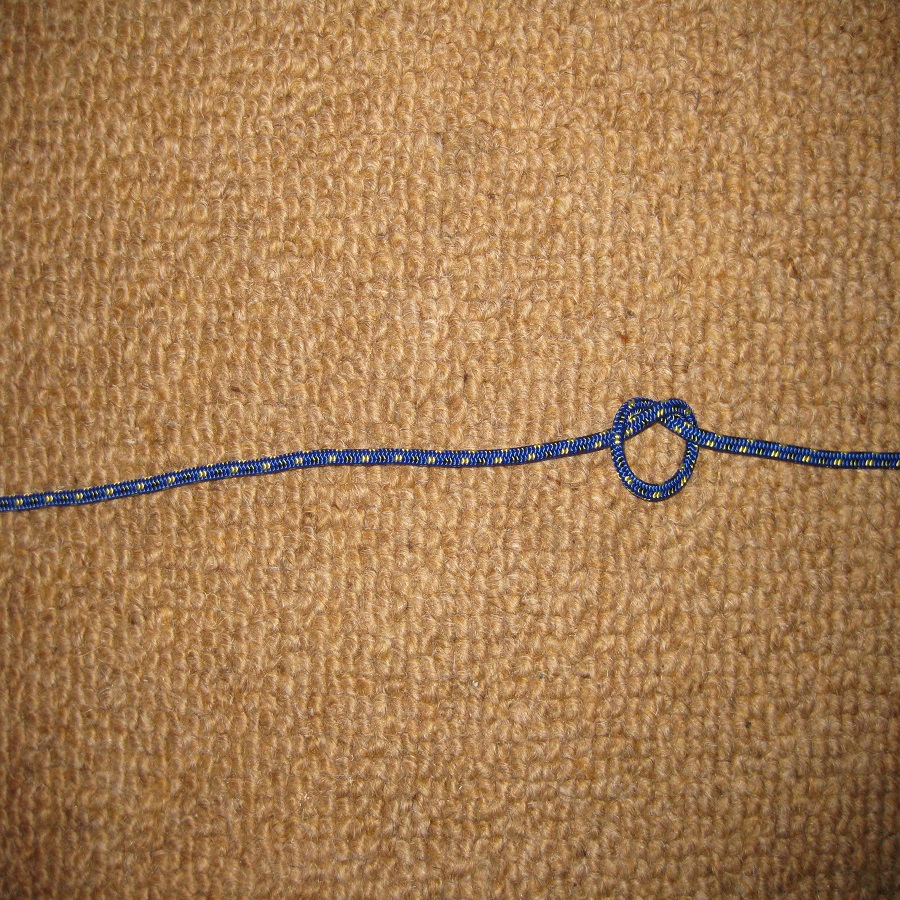
- Simple Knot: Known for its ease and straightforwardness, the simple knot is the starting point for many beginners. It’s the standard knot you would use for tying off a string.
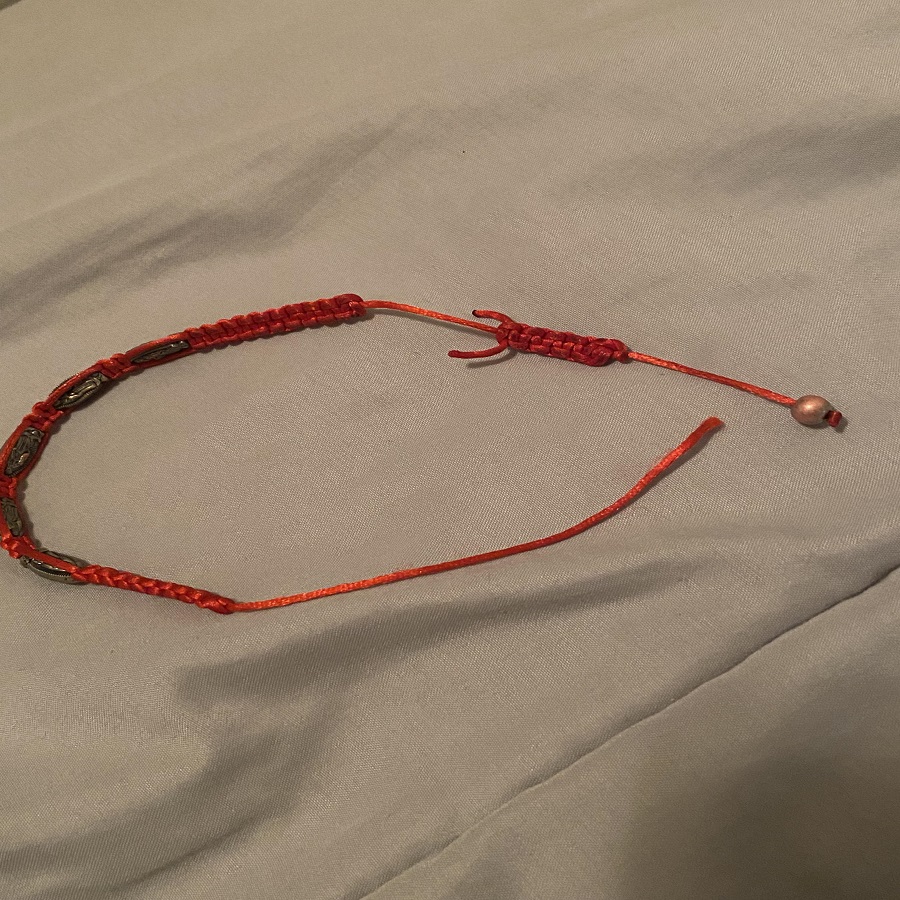
- Sliding Knot: This adjustable knot allows the wearer to tighten or loosen the bracelet as needed, making it perfect for bracelets that need to fit various wrist sizes.
- Surgeon’s Knot: When you need extra security, especially for heavier beads or materials, the surgeon’s knot is your go-to. It’s a reinforced simple knot that prevents slipping.
- Square Knot: Often used in macrame, the square knot is both decorative and functional, ideal for creating patterns within the bracelet strand.
It’s essential to choose the right knot for your project, as it can affect both the bracelet’s durability and the comfort of the wearer. As you prepare to begin your bracelet-making journey, keep these knots in mind and practice them to see which ones best fit your style and design intentions.
 Essential Tools and Materials for Bracelet Making
Before learning how to tie a bracelet knot, you need the right tools and materials. Start with a selection of cords or strings. These can vary in material, such as hemp, nylon, leather, or cotton. The choice depends on the type of bracelet you wish to make.
Choose beads, charms, or stones to add detail and character to your bracelets. Ensure they have holes large enough for your cord to pass through easily.
Scissors are a must for cutting your materials to the desired length. A lighter may be necessary to seal the ends of synthetic cords to prevent fraying.
Optionally, you might need a clipboard or tape to hold your bracelet in place as you work on the knots. A ruler can help measure the length of your bracelet and the spacing of any beads or charms.
Having the right materials and tools at hand is crucial. It ensures precision in making your bracelet and makes the process of learning how to tie a bracelet knot more enjoyable and efficient.
Step-by-Step Guide to Tying a Simple Knot
If you’re starting to learn how to tie a bracelet knot, the simple knot is the best place to begin. It’s quick to master, and you’ll use it often in bracelet making. Here is a detailed, easy-to-follow guide to tying a simple knot.
- Cut Your Cord: First, ensure your cord is cut to the required length with scissors.
- Cross the Ends: Hold the cord in both hands, then cross the right end over the left one.
- Make a Loop: Take the right end under the left now, creating a loop.
- Pull Through: While holding the loop with one hand, pull the right end through it.
- Tighten the Knot: Gently pull on both ends of the cord to tighten the knot.
- Adjust as Needed: Slide the knot along the cord if you need to adjust its position.
- Trim the Excess: Once satisfied with the knot’s placement, trim any excess cord with scissors.
- Seal the End: If using synthetic material, briefly use a lighter to seal the end and prevent fraying.
With these steps, you’ve successfully tied a simple knot. This knot forms the foundation for many bracelet designs. Practice it a few times to gain confidence before moving on to more complex knots. Remember, tying a bracelet knot firmly ensures your bracelet’s durability, so make sure to pull the ends tight but not so tight that you damage the cord.
Techniques for Tying a Sliding Knot for Adjustable Bracelets
Adjustable bracelets are a popular choice among jewelry lovers for their versatility. The sliding knot is a fundamental technique you’ll want to master. It allows wearers to adjust the fit of the bracelet to their wrist size. Here’s a step-by-step method to craft a sliding knot.
Measure Your Cord: Start with a longer piece of cord than you usually would. This accounts for the extra length needed for the sliding mechanism.
Fold the Cord: Lay the cord out in a ‘U’ shape. The two ends should be parallel to each other.
Create Loops: Take one end of the cord and form a loop where it lays over the parallel section of the cord. Repeat this on the other side, ensuring the second loop is on top of the tail of the first loop.
Weave the Ends: Weave the end of each cord through the loop on the opposite side. This should create a cross shape with the cord under the bracelet’s ‘U’ shape.
Tighten the Knots: Pull on the loops to tighten them around the bracelet cords. Leave them loose enough to be adjusted but secure enough not to come undone.
Trim and Seal: Trim any excess cord and use a lighter to seal the ends if necessary. Synthetic materials like nylon should be sealed to avoid fraying.
With practice, tying a sliding knot becomes second nature. Always ensure the loops are large enough to slide but tight enough to hold their position for the perfect fit.
Crafting a Secure Surgeon’s Knot for Bracelets
The surgeon’s knot, a must-know in how to tie a bracelet knot, offers extra security. It’s perfect for when your bracelets carry heavy beads or need a stronger hold. This knot type is a modified version of the simple knot. It has an additional wrap to ensure that your bracelets won’t easily come undone. Let’s learn how to tie a surgeon’s knot with these simple steps.
- Cross the Ends: Just like a simple knot, start by crossing the right end of your cord over the left.
- Wrap Twice: Now, wrap the right end around and under the left end twice. This creates the extra security.
- Pull Through: After the second wrap, pull the right end up through the loops that have formed.
- Secure the Knot: Tighten the wraps by pulling both ends. The wraps must lie flat against each other.
- Test the Hold: Gently pull the bracelet ends to ensure the knot holds well and is secure.
- Trim and Seal: Cut any excess cord and seal the ends with a lighter if needed.
Remember, the surgeon’s knot is stronger because of the double wrap. Ensure that each step is done with care to maintain a flat, secure knot. With practice, you will be able to tie this knot quickly and with ease. Use it to add strength to your bracelets, assuring they can hold up to daily wear.
How to Tie a Square Knot for Macrame Bracelets
Macrame bracelets use square knots to weave a unique and decorative look. This knot is not just about aesthetics but also about functionality. Learning how to tie a bracelet knot like the square knot is rewarding for macrame enthusiasts. Follow these simple steps to master the square knot.
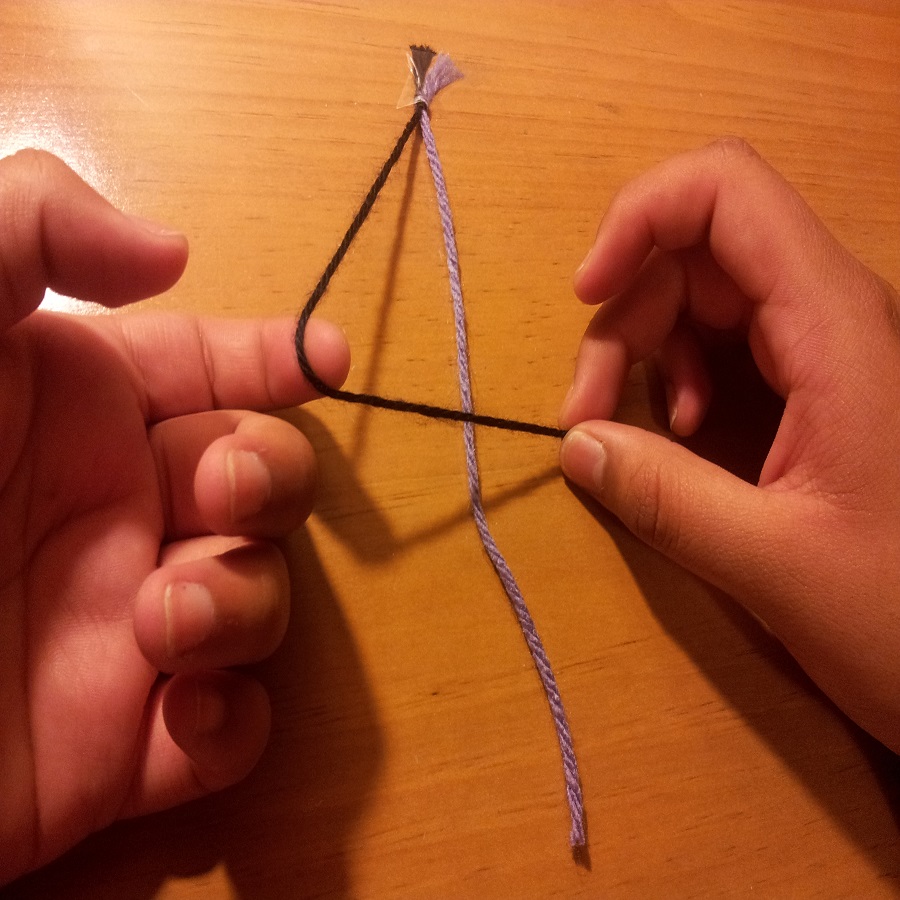
- Cut Two Cords: Begin with two cords or strings. One is the filler cord and the other is the working cord.
- Align the Cords: Lay the filler cord straight. Place the working cord under it, forming a T-shape.
- Create a Loop: Take the left end of the working cord over the filler cord, making a loop.
- Weave Right End: Pass the right end of the working cord over the left end, then under the filler cord, and finally through the loop on the left.
- Draw the Knot Tight: Pull both ends of the working cord while holding the filler cord in place.
- Repeat the Process: Now start with the right end, creating a loop, weaving the left end over it, under the filler cord, and through the loop.
- Continue Knotting: Continue alternating sides until you’ve reached the desired length for your bracelet.
The square knot forms the base of many macrame bracelet patterns. While practicing how to tie a bracelet knot, ensure each knot is firm yet not overly tight. The uniformity of your knots will give your macrame bracelet a professional finish. As you get more comfortable with square knots, you can explore different patterns and complexities within your macrame projects.
Finishing Touches: Sealing and Decorating Knots
After you’ve mastered how to tie a bracelet knot, your piece is nearly complete. But to ensure durability and add a personal flair, you need the finishing touches. Here are tips to seal and decorate your knots for a polished look.
- Seal the Knot: If your bracelet uses synthetic cords like nylon or polyester, use a lighter to lightly melt the ends. This prevents fraying. Be sure to do this in a well-ventilated area and handle the flame with care.
- Add Glue for Extra Security: Some knots can be even more secure with a dab of clear glue. Apply it sparingly and let it dry. Only use glue if you think the knot might be prone to slipping under stress.
- Incorporate Beads: Sliding knots or simple knots can be finished by adding beads onto the string’s ends. This decorative touch also serves as a stopper for the knots.
- Use Charms: Attach charms near the knot to personalize the bracelet. You can use symbols that mean something special to you or the person you’re crafting for.
- Try Different Knot Styles: Use a variety of knots to create a pattern that is visually appealing. Practice new knots to add diversity to your design.
- Color Coordinate: Choose strings or cords that complement the beads or charms. Selecting harmonious colors can enhance the overall aesthetic of your bracelet.
Remember, the attention to detail in these final steps can take your bracelet from homemade to handcrafted with love. Each knot is a chance to add beauty and ensure your creations stand out. Keep experimenting to find the perfect finishing touch for every piece you make.
Common Mistakes to Avoid When Tying Bracelet Knots
When learning how to tie a bracelet knot, it’s easy to make common errors. To help you perfect your bracelet-making skills, here are mistakes you should avoid:
- Pulling Too Tight: It’s tempting to yank the cord hard to secure the knot. Doing so can stretch or damage the cord, making the knot weak or the bracelet uncomfortable.
- Not Tightening Enough: Conversely, not pulling the knot tight enough will make it slip. For a secure bracelet, each knot needs a firm tug to hold it in place.
- Skipping the Seal on Synthetic Cords: Without sealing the ends of synthetic cords, they might unravel or fray. A quick flash of heat from a lighter can prevent this.
- Forgetting to Measure: If the cords are too short, you can run out of room to tie. Always measure your cord longer than you think you need, especially for adjustable knots like the sliding knot.
- Using the Wrong Knot: Different bracelets need specific knots. A simple knot is not secure enough for heavy beads, just as a square knot might be too bulky for a delicate design.
- Ignoring Loose Strands: Loose and stray strands can affect how the bracelet looks and functions. Trim and seal these to maintain a neat appearance.
By avoiding these mistakes, your handcrafted bracelets will not only look better but also be more durable and comfortable to wear. Remember, practice makes perfect, so keep trying until you’ve mastered how to tie a bracelet knot without these common pitfalls.